Here are some other little projects I've done that weren't big enough for their own project page but that I think are still cool enough to share!
standing desk
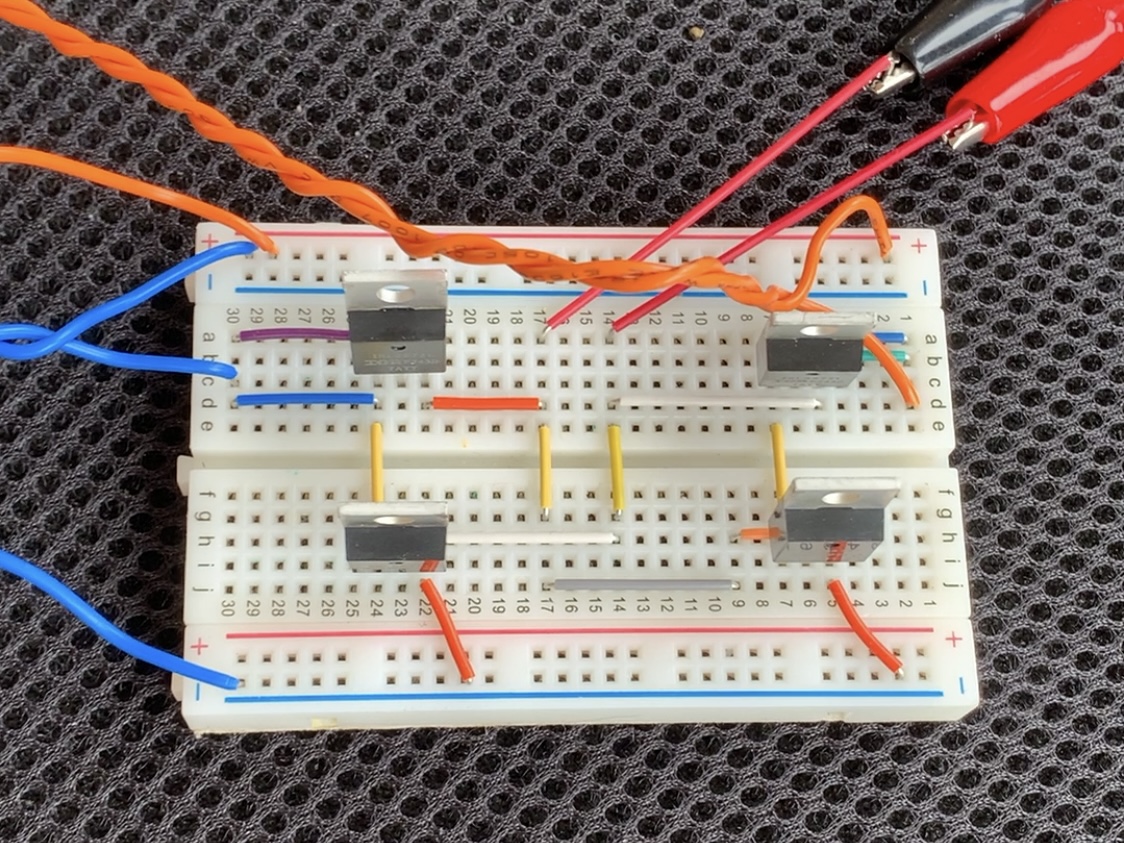
One day my roommate noticed that people across the street were throwing away the base for a few standing desks. Since getting the chance to use one at my co-op, I had been dreaming of having one of my own, and so I snagged one of the standing desk bases. The base did not have a power supply or any controls - the only input was a barrel jack - but I figured that was a solvable problem. I was able to find the desk specifications online, and found a suitable power supply to move the desk up. I recalled the H-bridge circuit we used to drive motors in my Mechatronics class, and built one out of MOSFETs, using push buttons to control the direction. I tested the circuit with a breadboard, and once successful, cut out a PCB to make the circuit more permanent. Finally, I mounted a desk top to the base, and laser cut and bent an acrylic panel to mount the control buttons for a slick finish.

|
|

|

|

|

|

|

|

|
gingerbread cathedral of learning
|
|
|
|
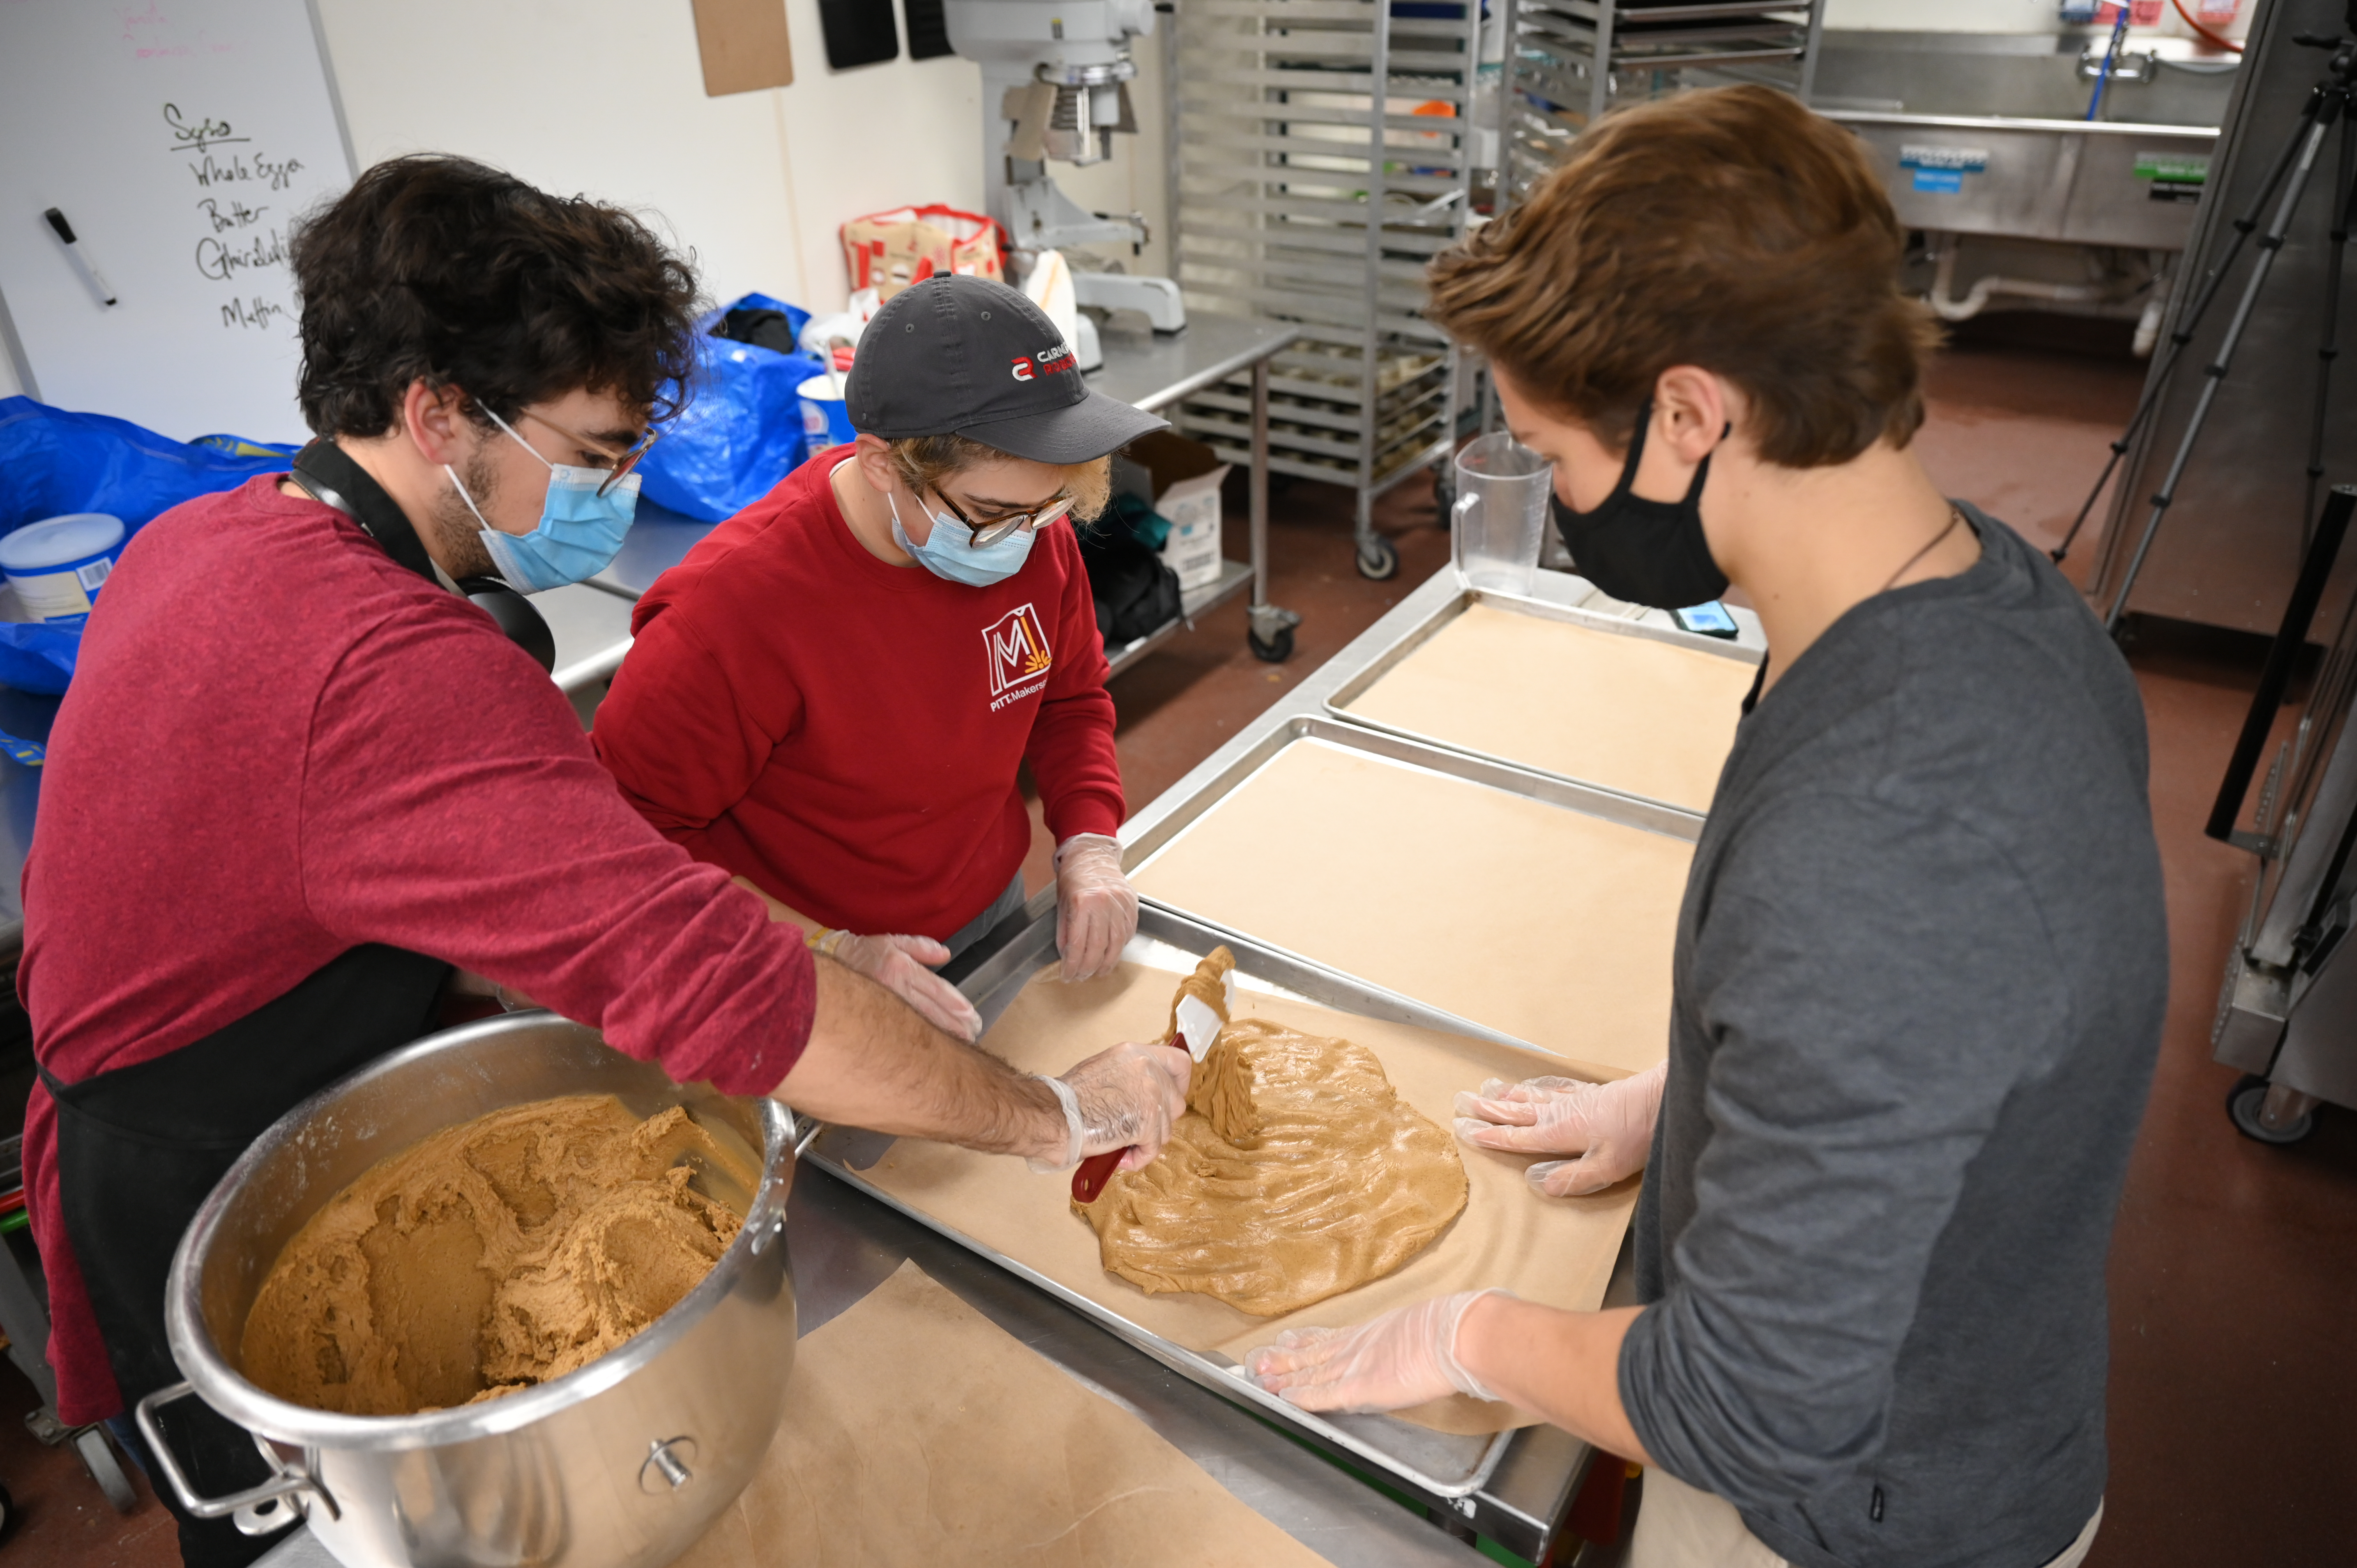
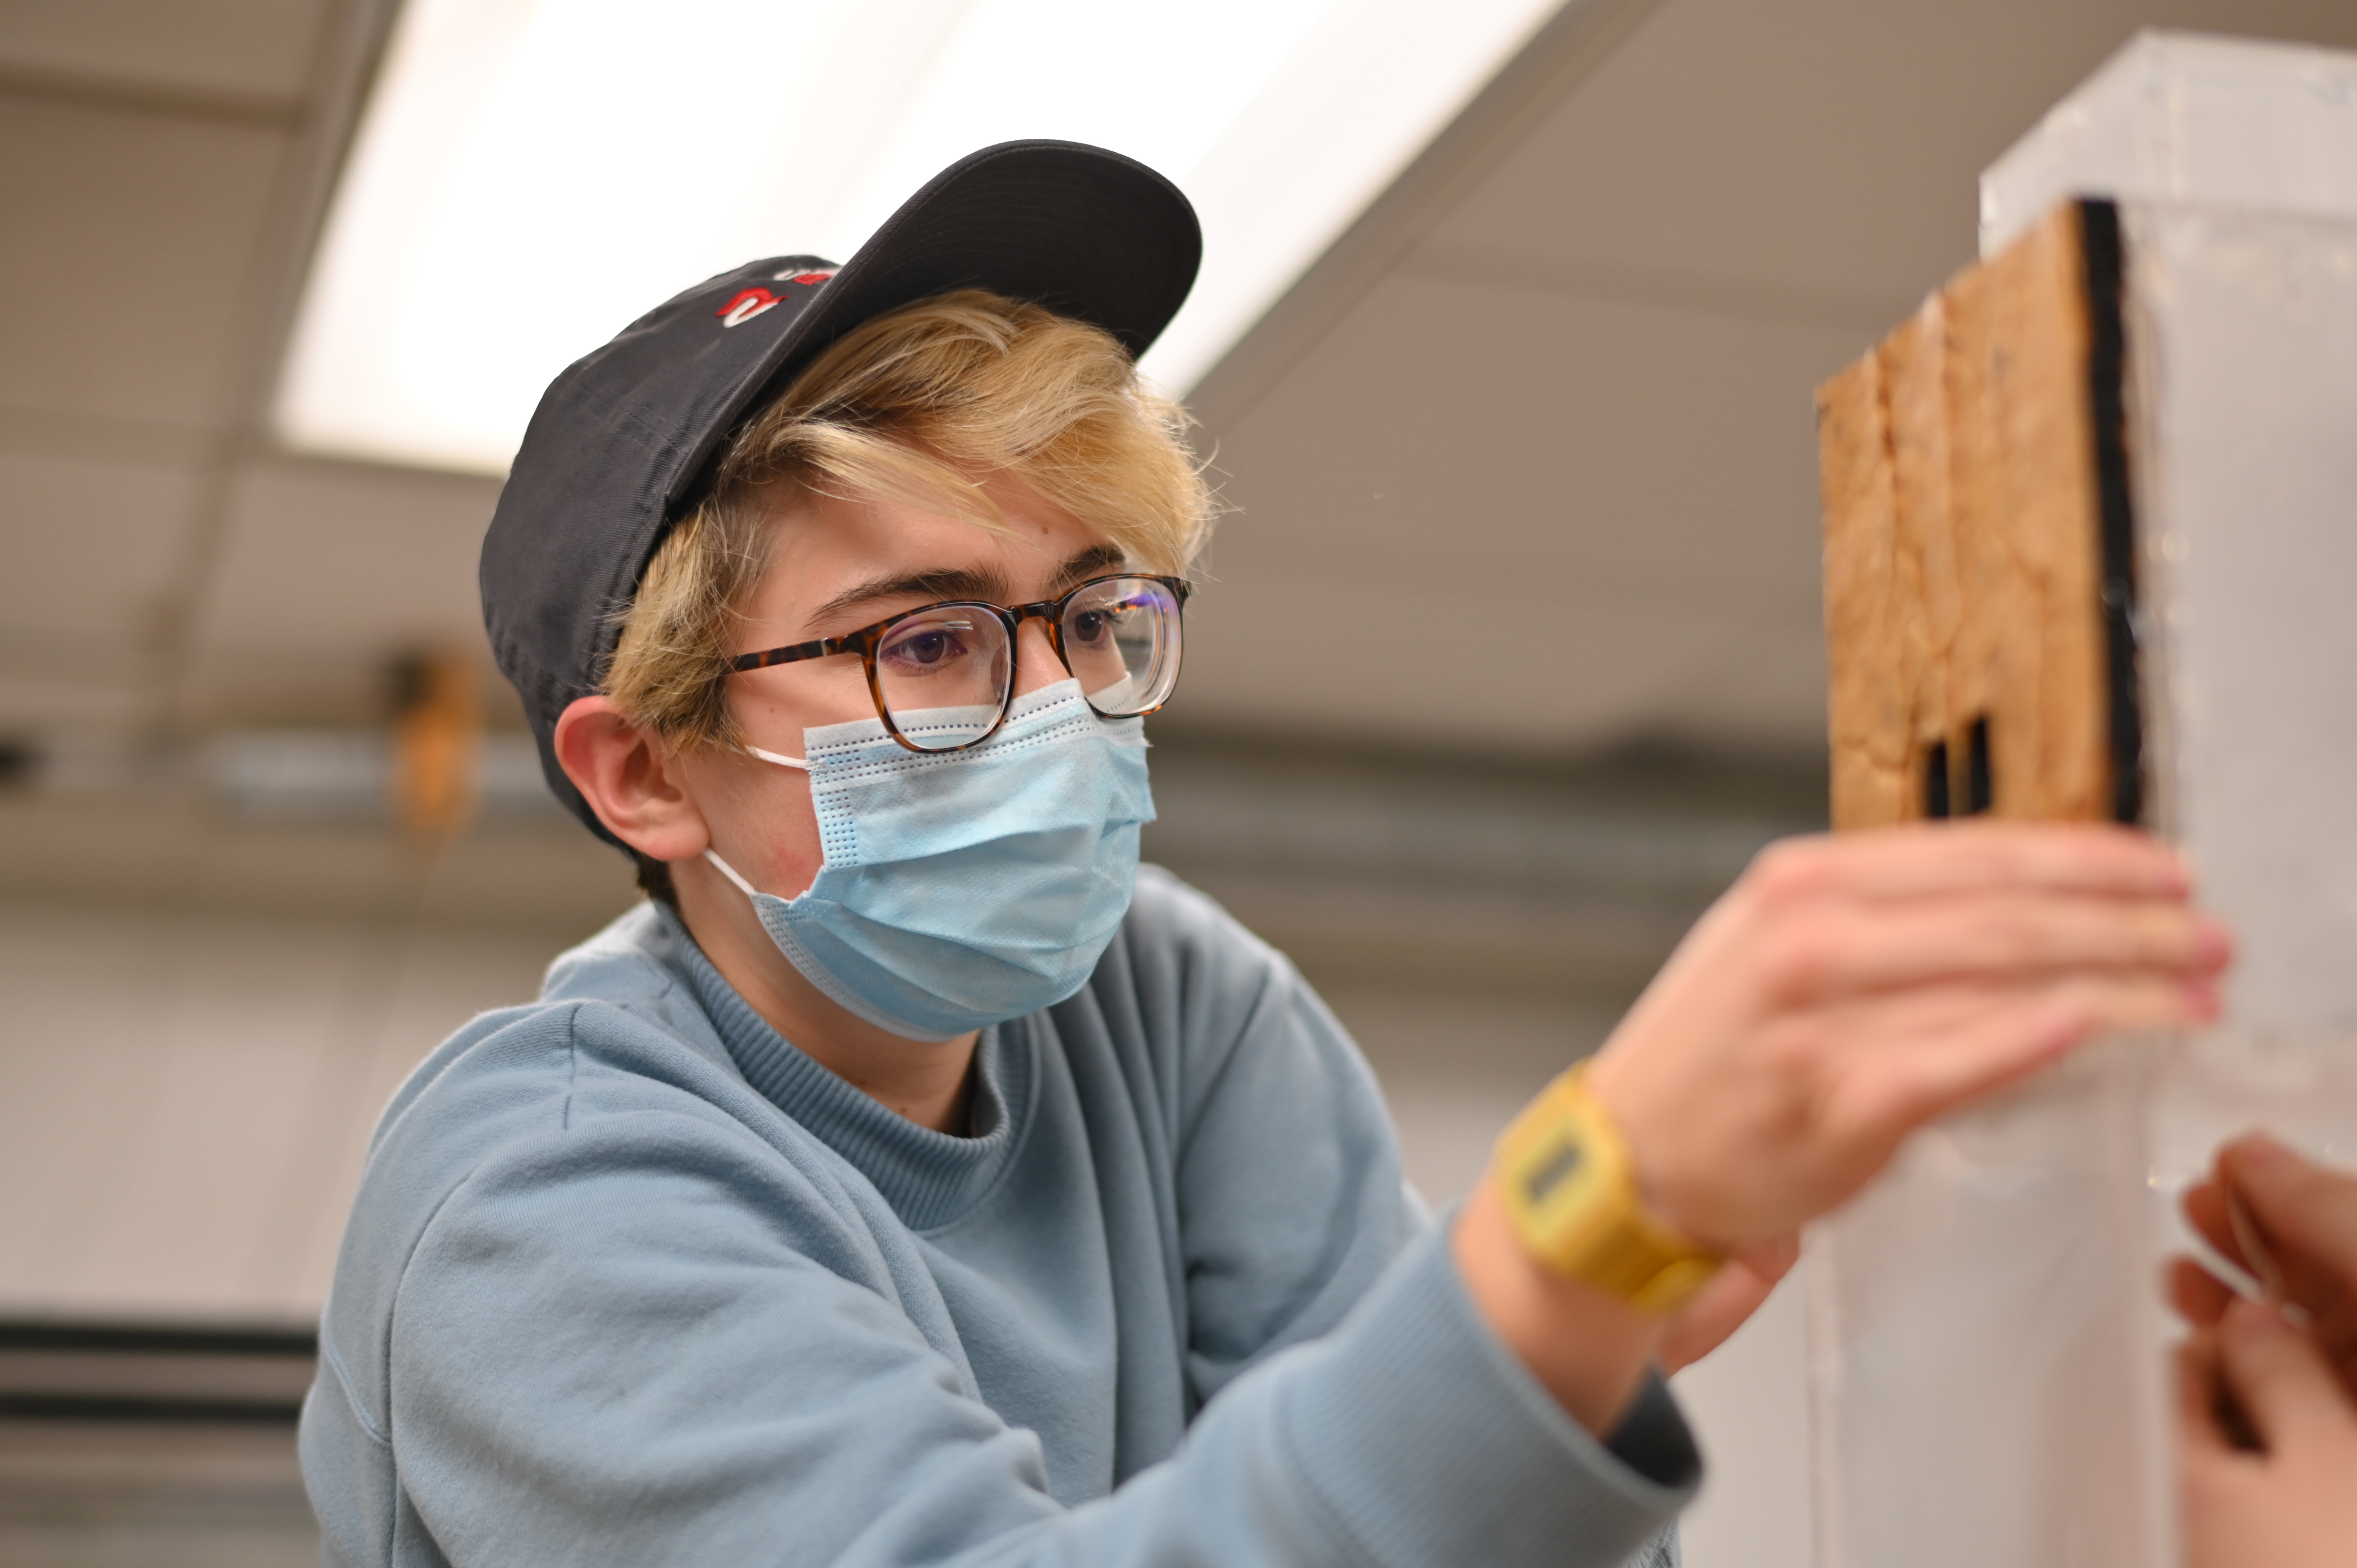
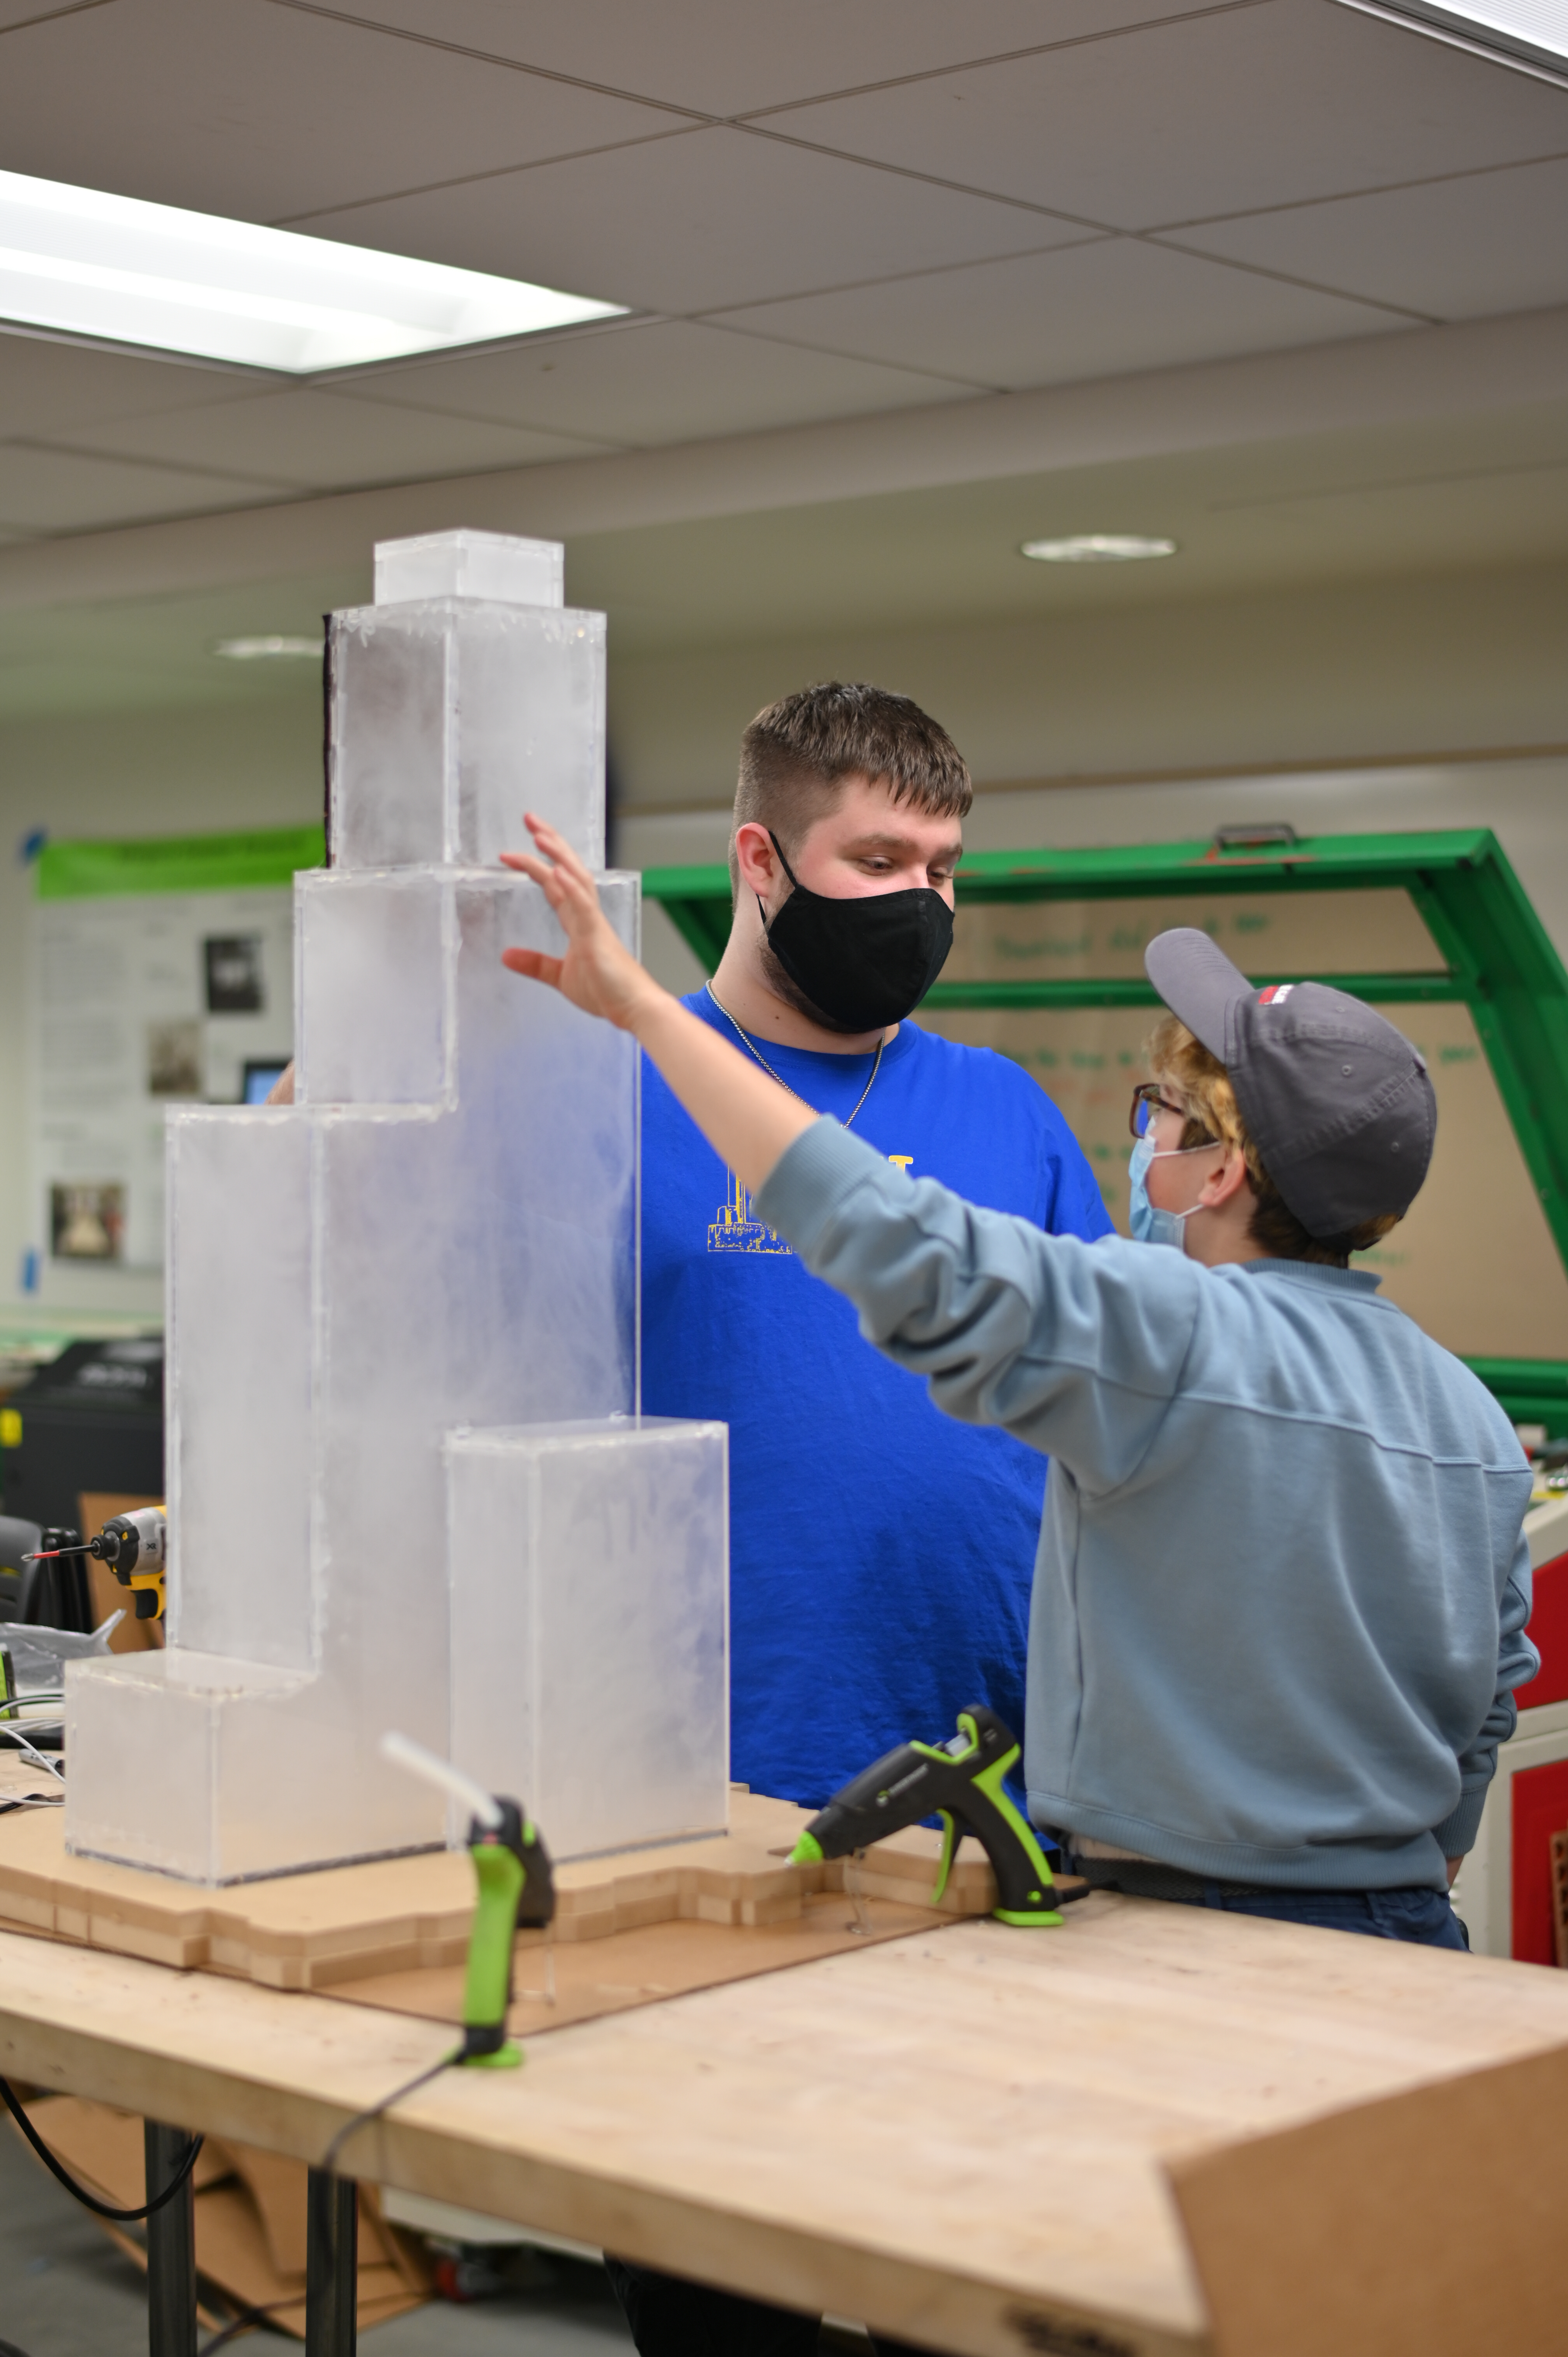
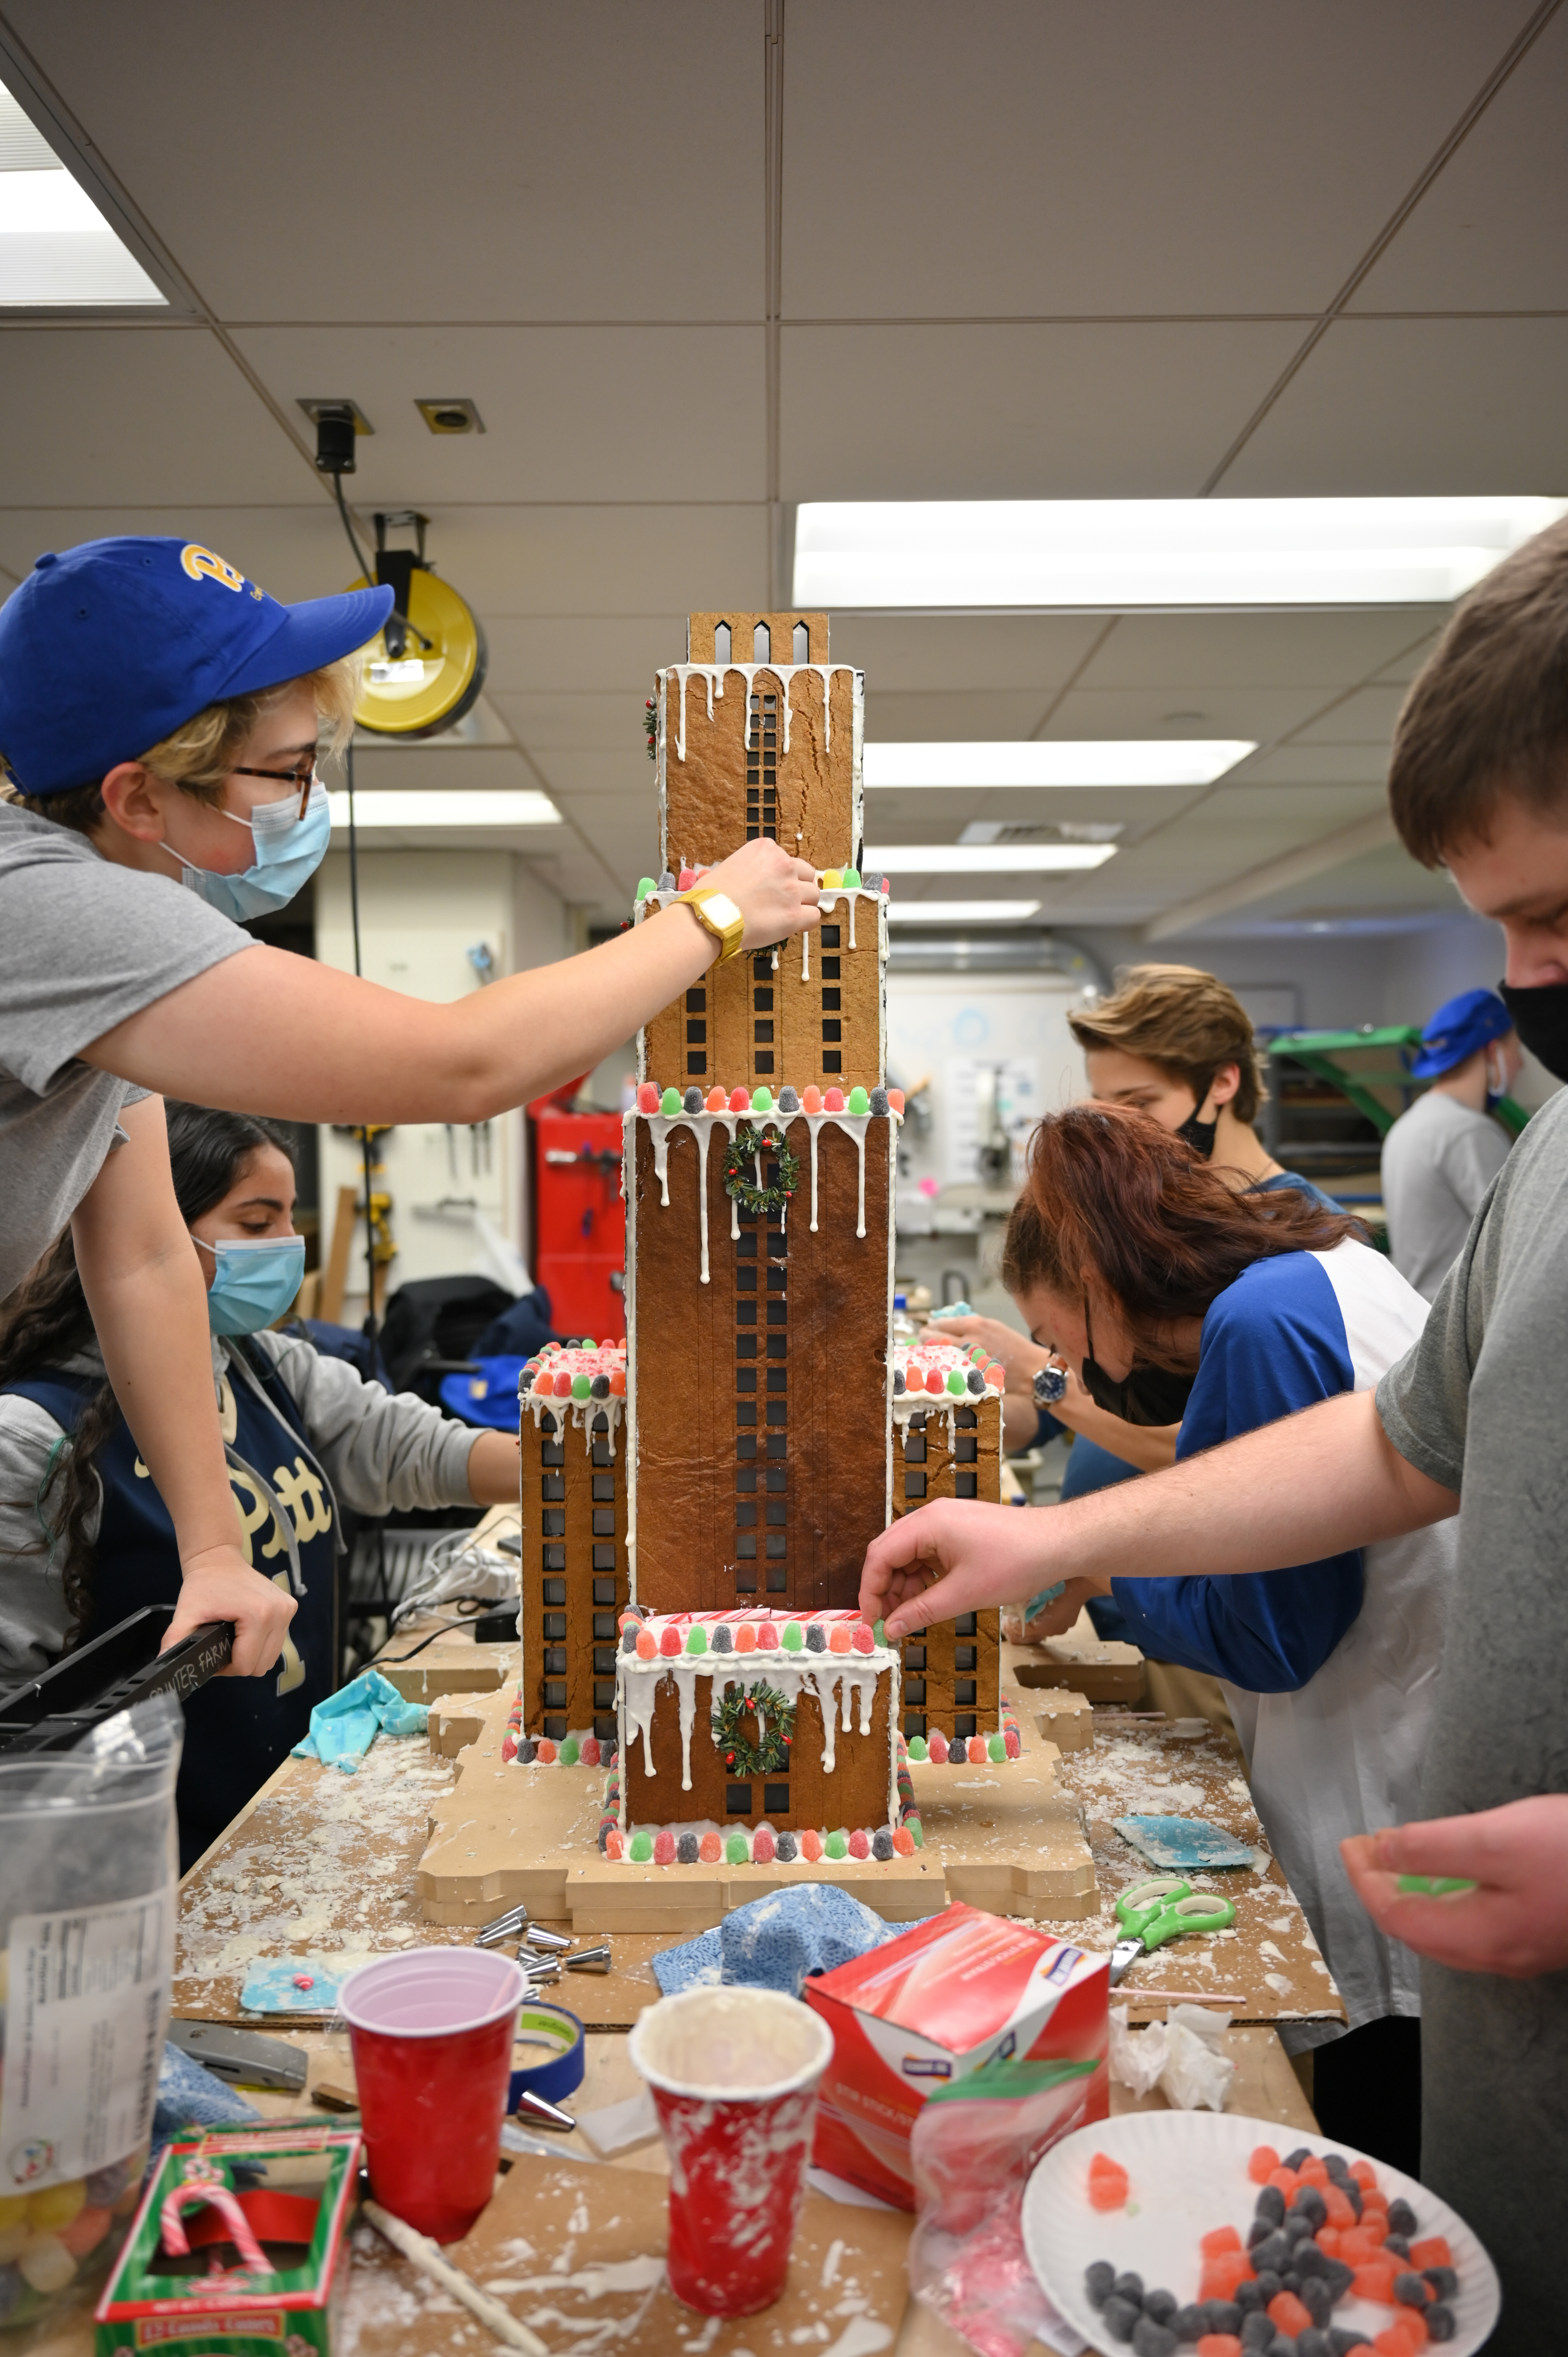
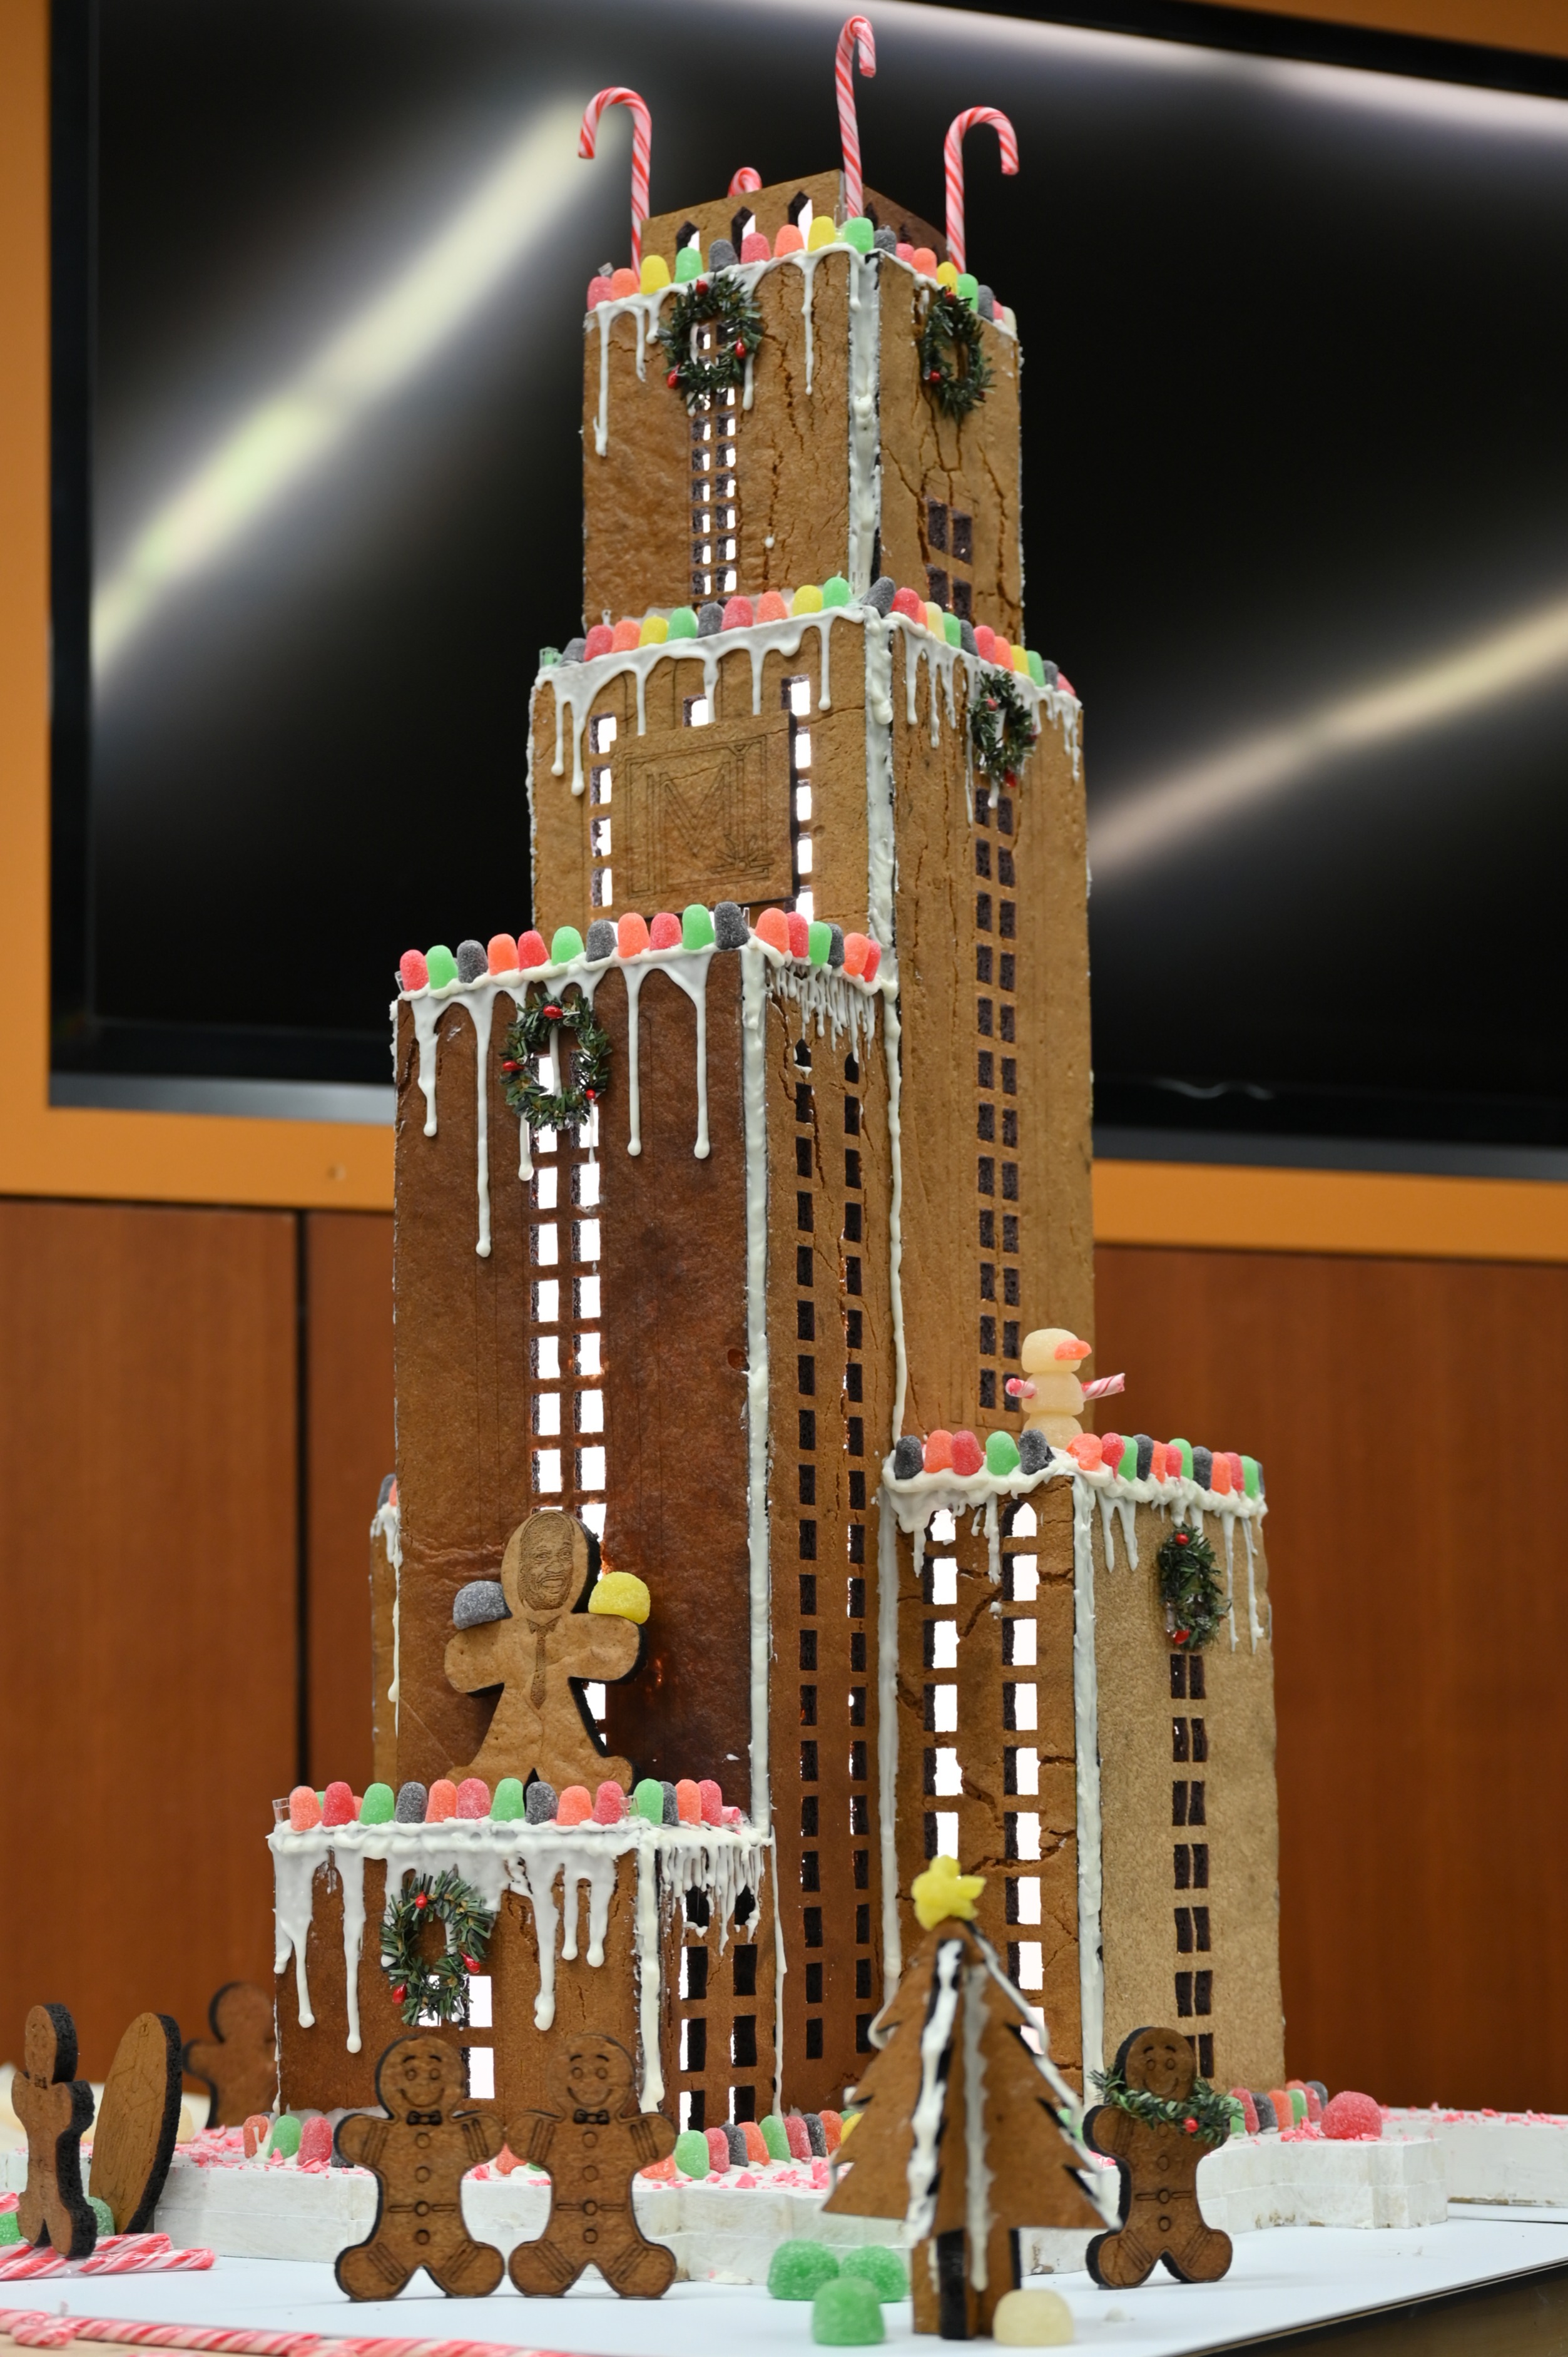
In November 2021, the makerspace leadership team was approached with the idea of making a gingerbread model of the Cathedral of Learning (Pitt's most iconic building and the tallest educational building in the western hemisphere). As president of the makerspaces, I took the lead on the project, and put together a group of about ten students interested in helping. I coordinated the use of one of the university's industrial kitchens to bake large sheets of gingerbread and helped make the design files. We created a base structure out of 1/4" clear acrylic that we laser cut, then sanded for a frosty look, and glued together. Then we laser cut gingerbread panels and glued them to the acrylic base. We put bright LEDs inside the structure and decorated the outside with icing, gumdrops, and candy canes. We surrounded the cathedral with gingerbread trees and people, including one with the face of Pitt's Vice Provost Kenyon Bonner! Our efforts were recognized on Pitt's official social media and in a PittWire article.
|
this portfolio
At the beginning of my sophomore year of college I put together an initial portfolio to supplement my resume in applications for co-op positions. At the time I only knew basic html, and wanted something quickly that looked decent, so I used Wix to build my portfolio (you can view the old Wix version of my portfolio here). I was successful in securing a co-op position, so I didn't have much need for a portfolio for about a year and a half. At the end of summer 2021, I decided I would revamp my portfolio with recent projects to supplement my applications to internships for the following summer. Frustrated with the lack of customization on Wix, and feeling more comfortable with html, CSS, and Bootstrap after lots of practice in my Technical Communication class (shout out to Dr. Steve Quigley), I found a Bootstrap template I liked, filled it up, and transformed it into something of my own!
moon tiles
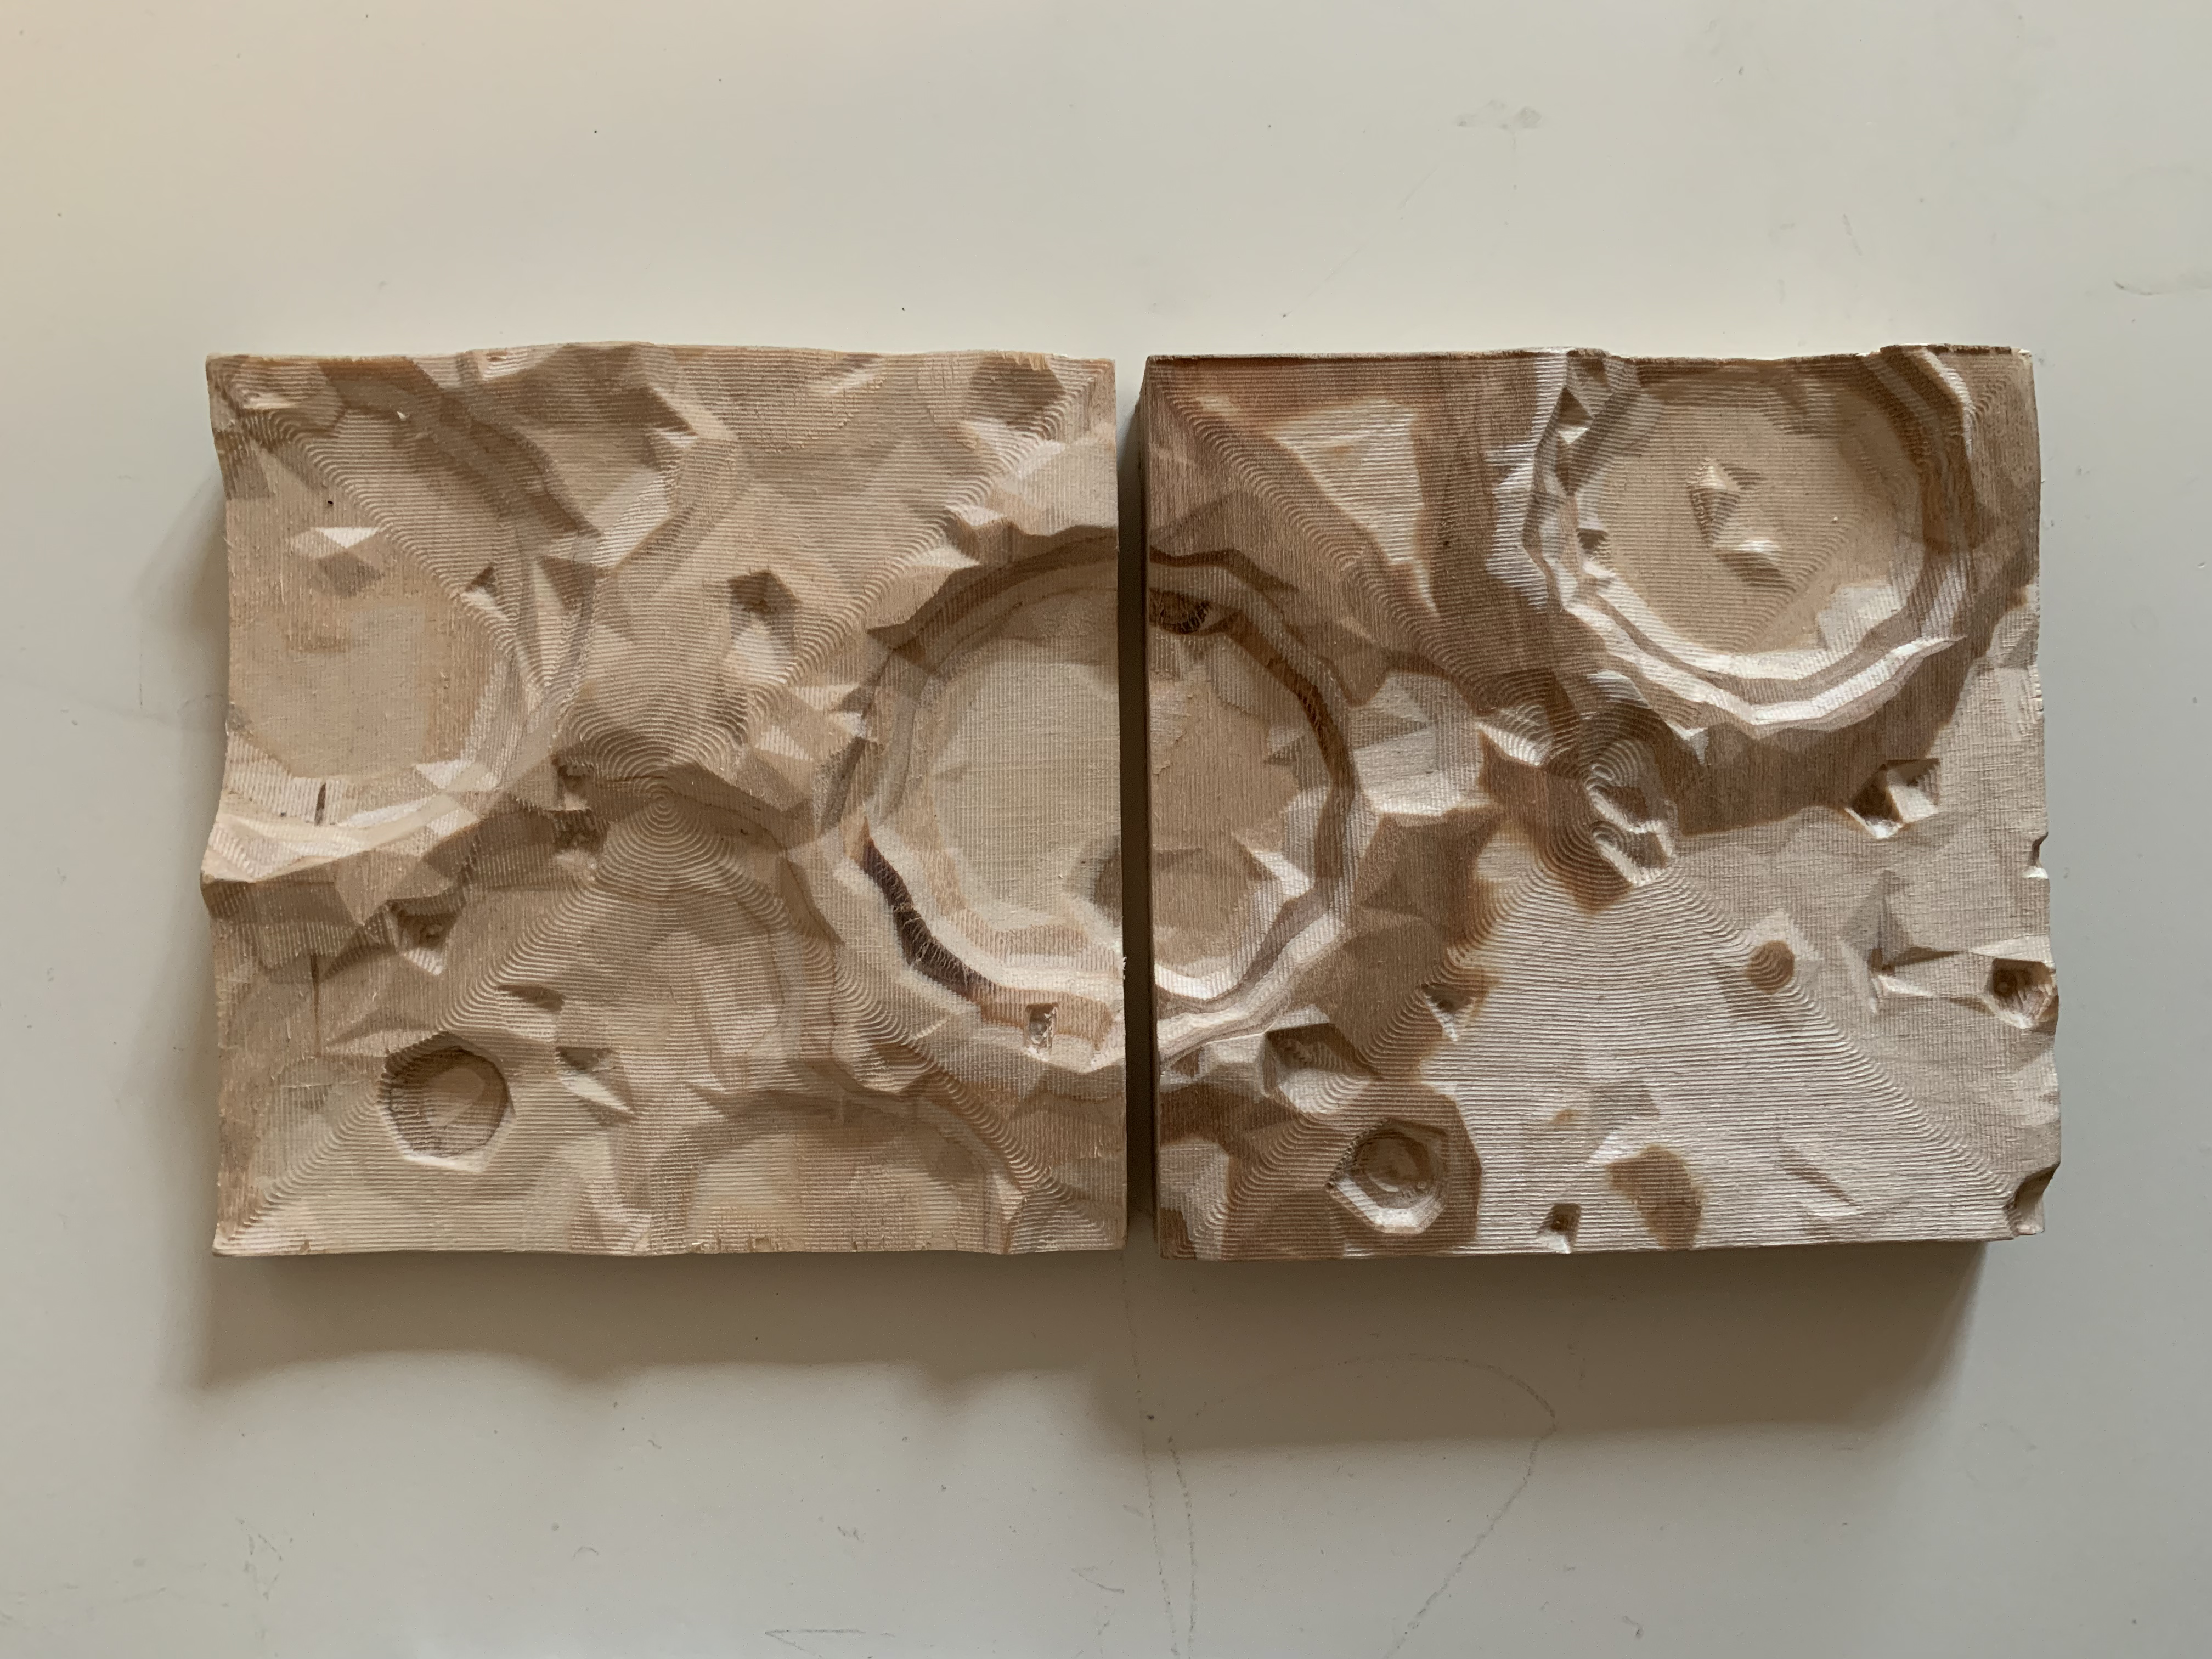
Two finished tiles that connect to form a crater. |
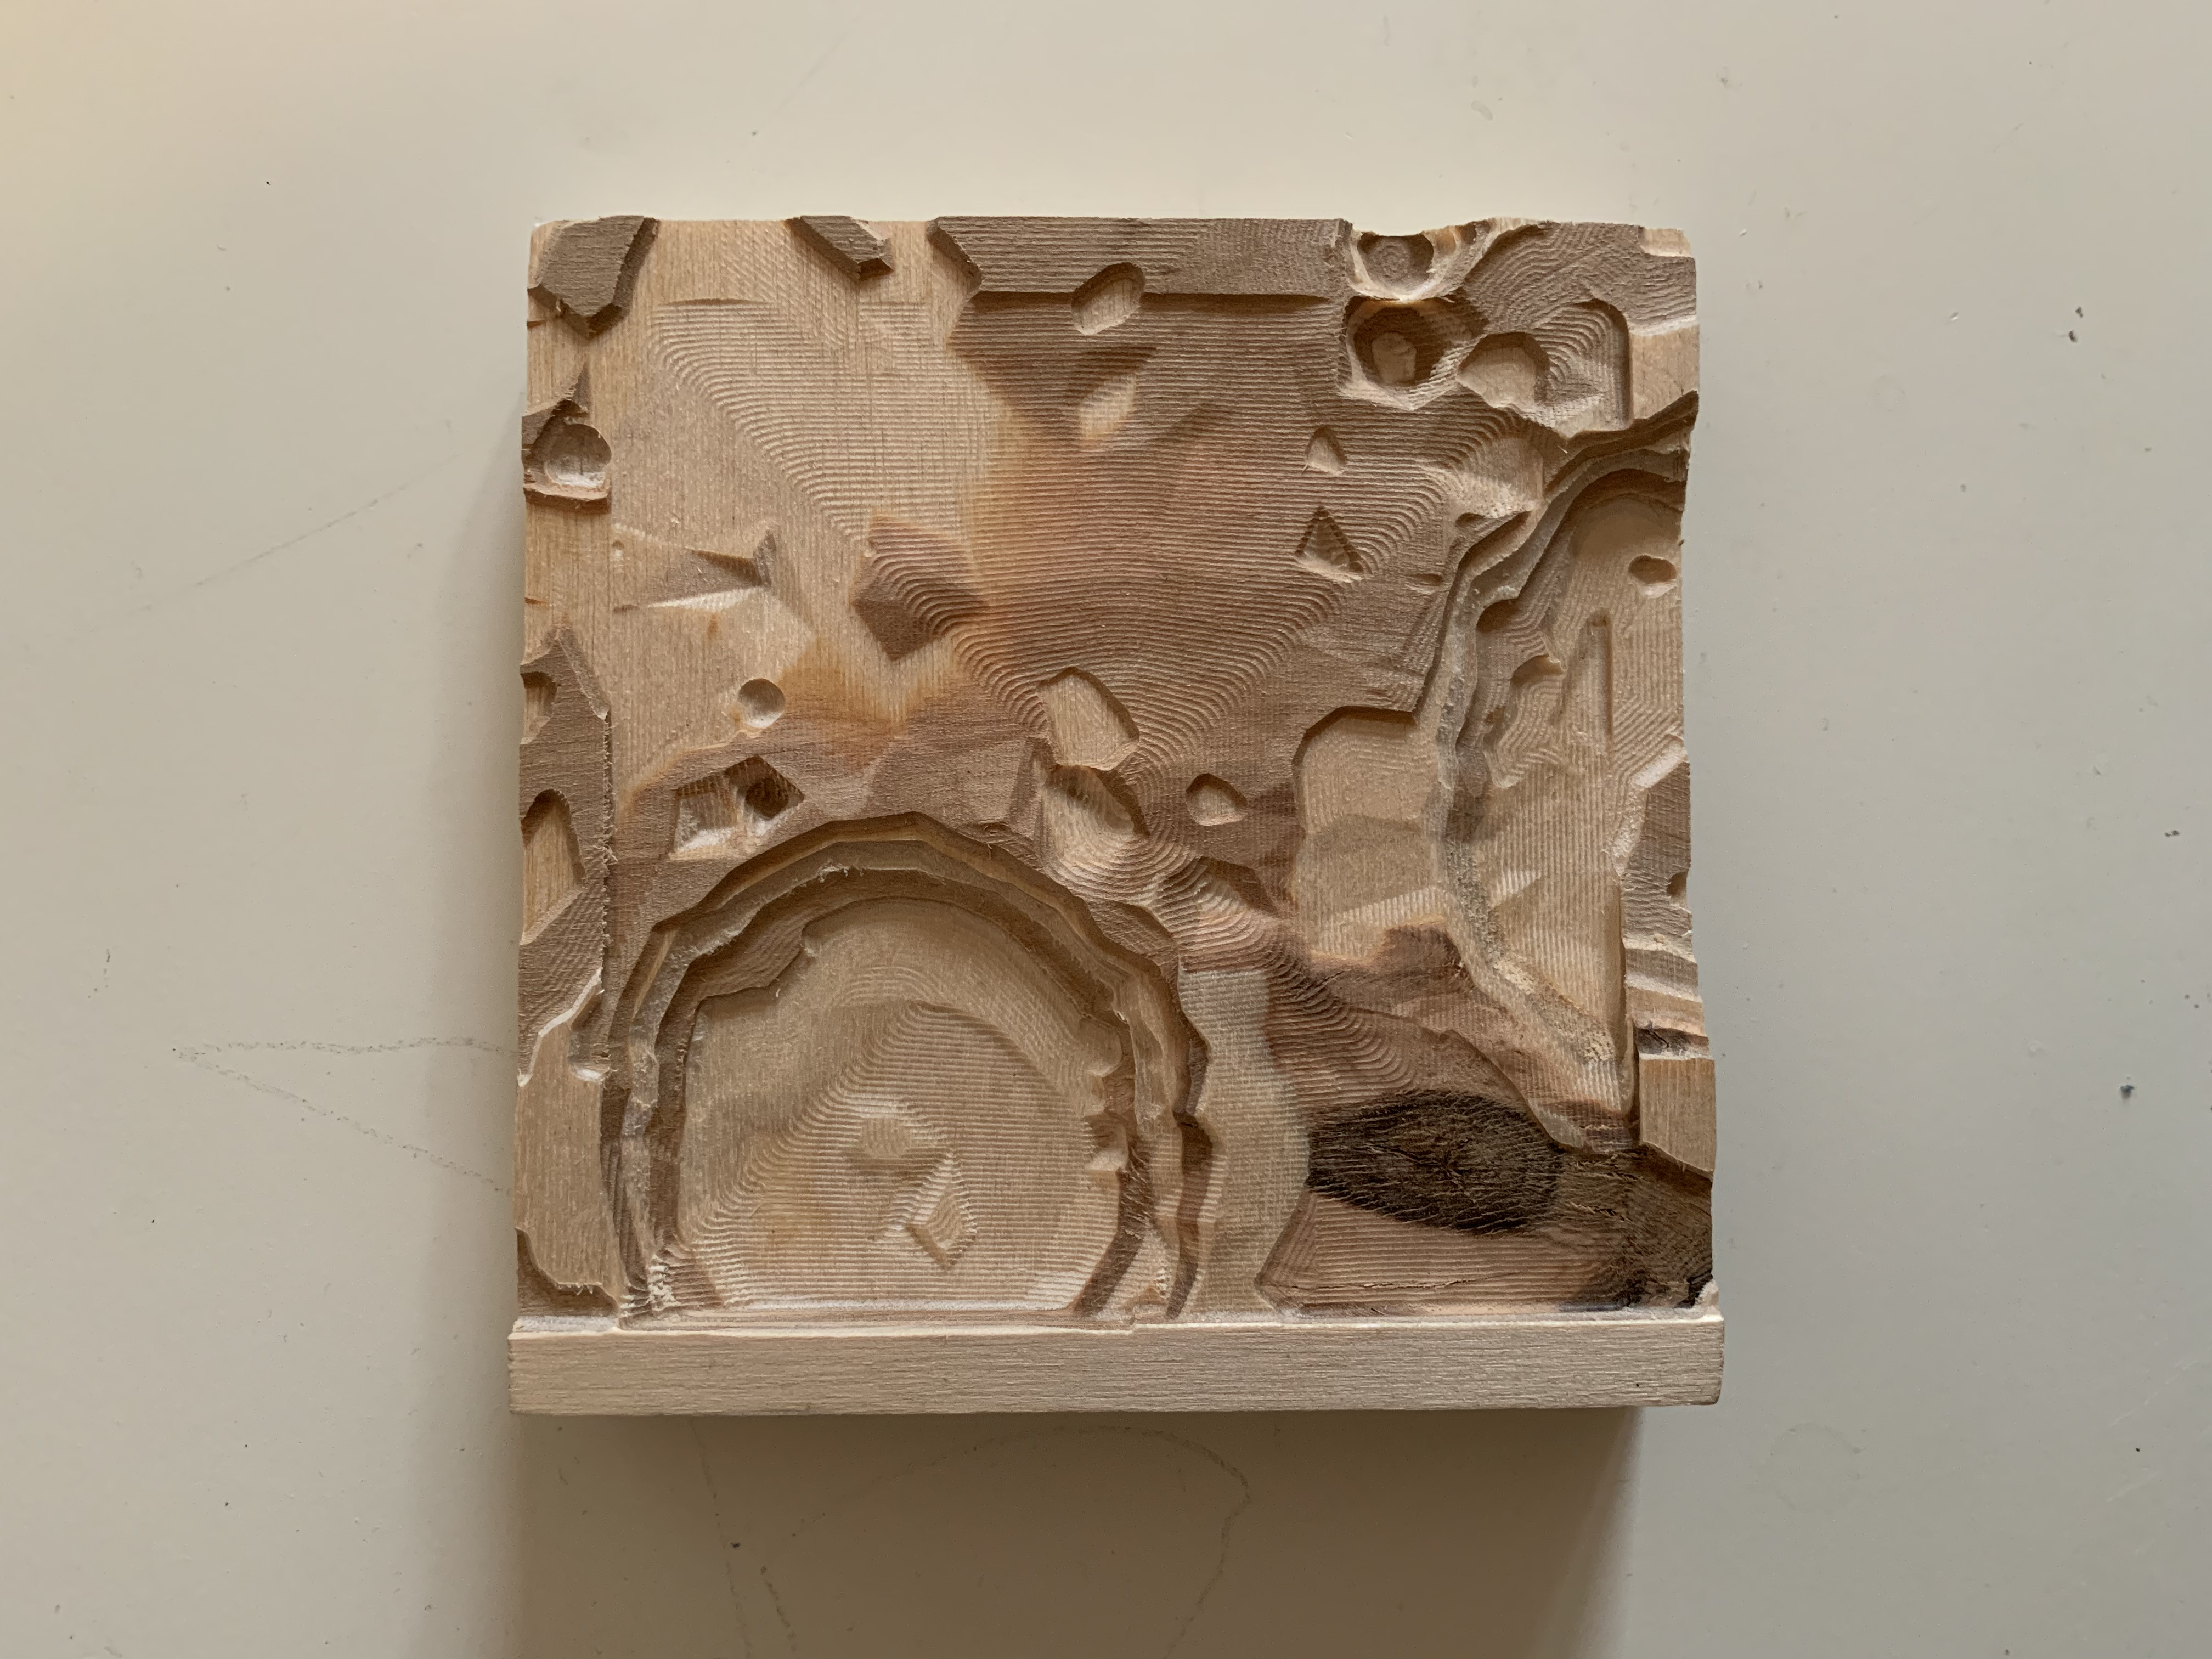
An unfinished tile, with the pocket roughing pass still visible. |
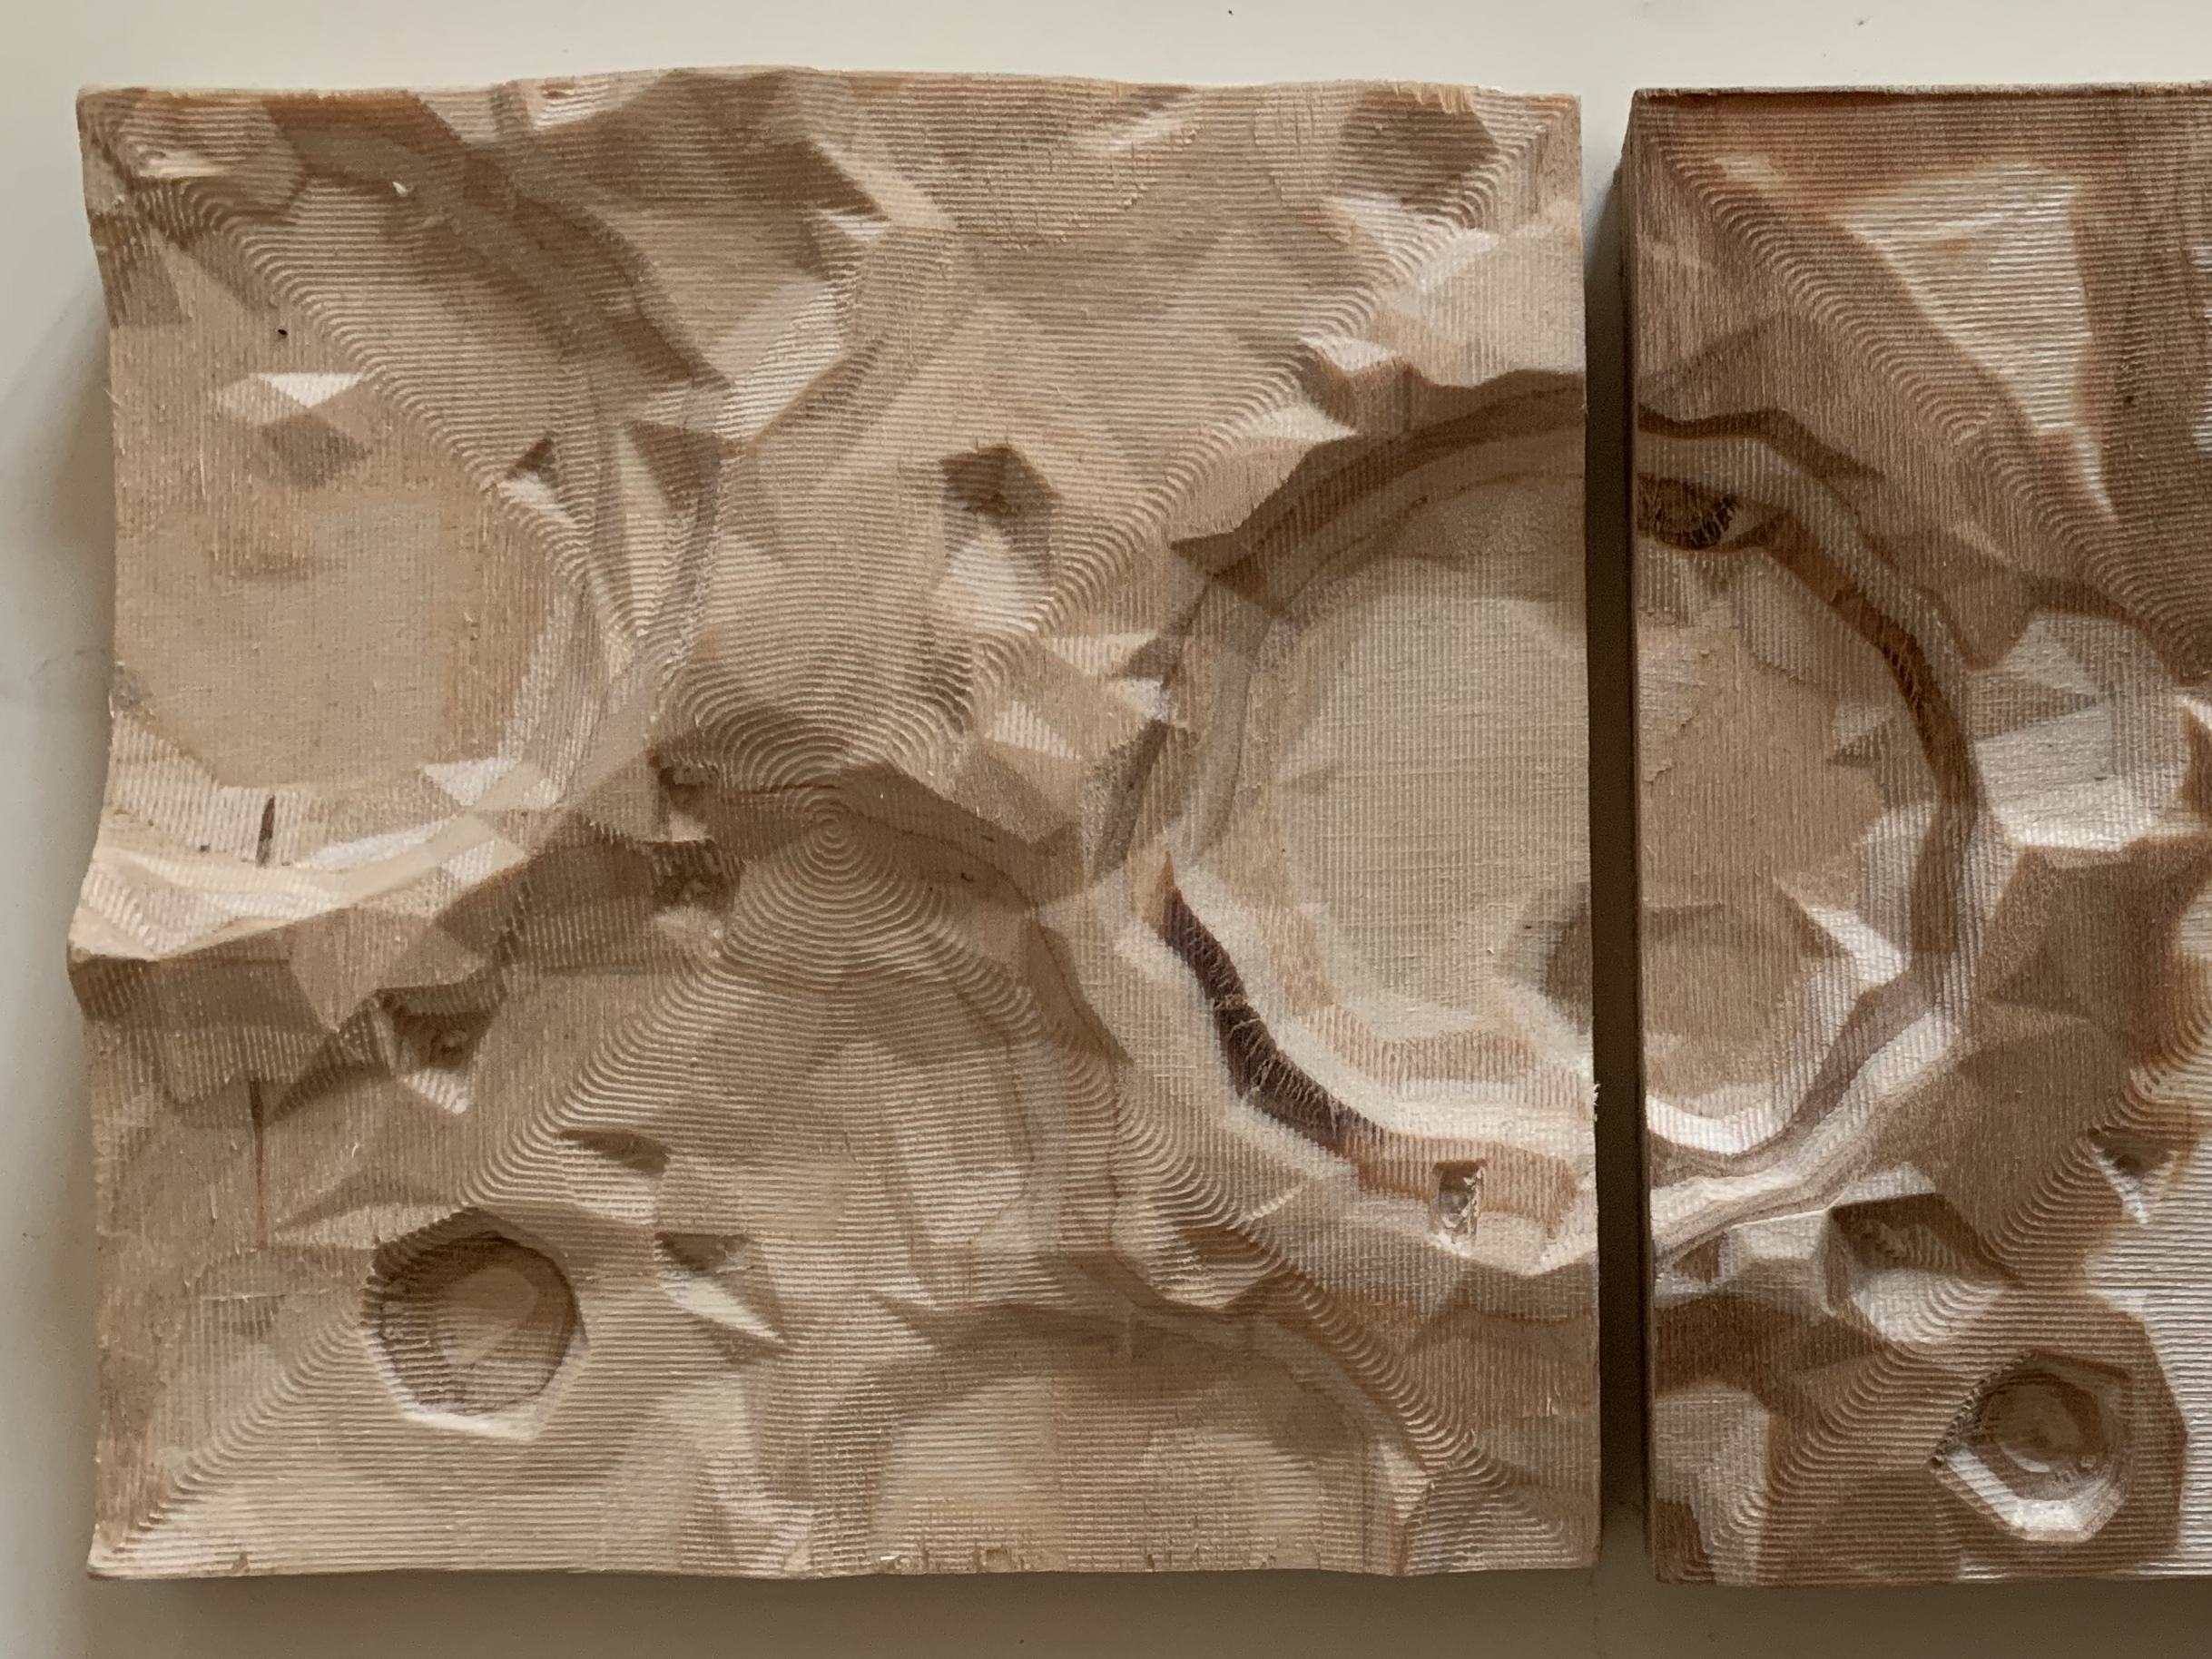
When I first became a mentor in the Pitt Makerspaces during my freshman year, we were encouraged to practice on all of the machines to become better teachers. I took particular interest with the Othermill, a small desktop milling machine primarily intended for routing out circuit boards. The manufacturer, Bantam Tools, has a few project tutorials to help new users get acquainted with the machine. I followed their moon tiles guide to cut out topographic tiles of the moon's surface. I used an X-Carve to cut out squares of plywood that would fit in the Othermill, and followed the tutorial to generate toolpaths in Fusion 360 to cut out the section of the moon's surface. I used a 3D pocket roughing pass with a flat end mill and a morphed spiral finishing pass with a ball end mill. Milling out the tiles was a great exercise to get myself more acquainted with the Othermill and tool path generation/CNC machining in general. The tiles go nicely with a cast aluminum block of the moon made with a mold I etched at a Rivers of Steel Arts event.
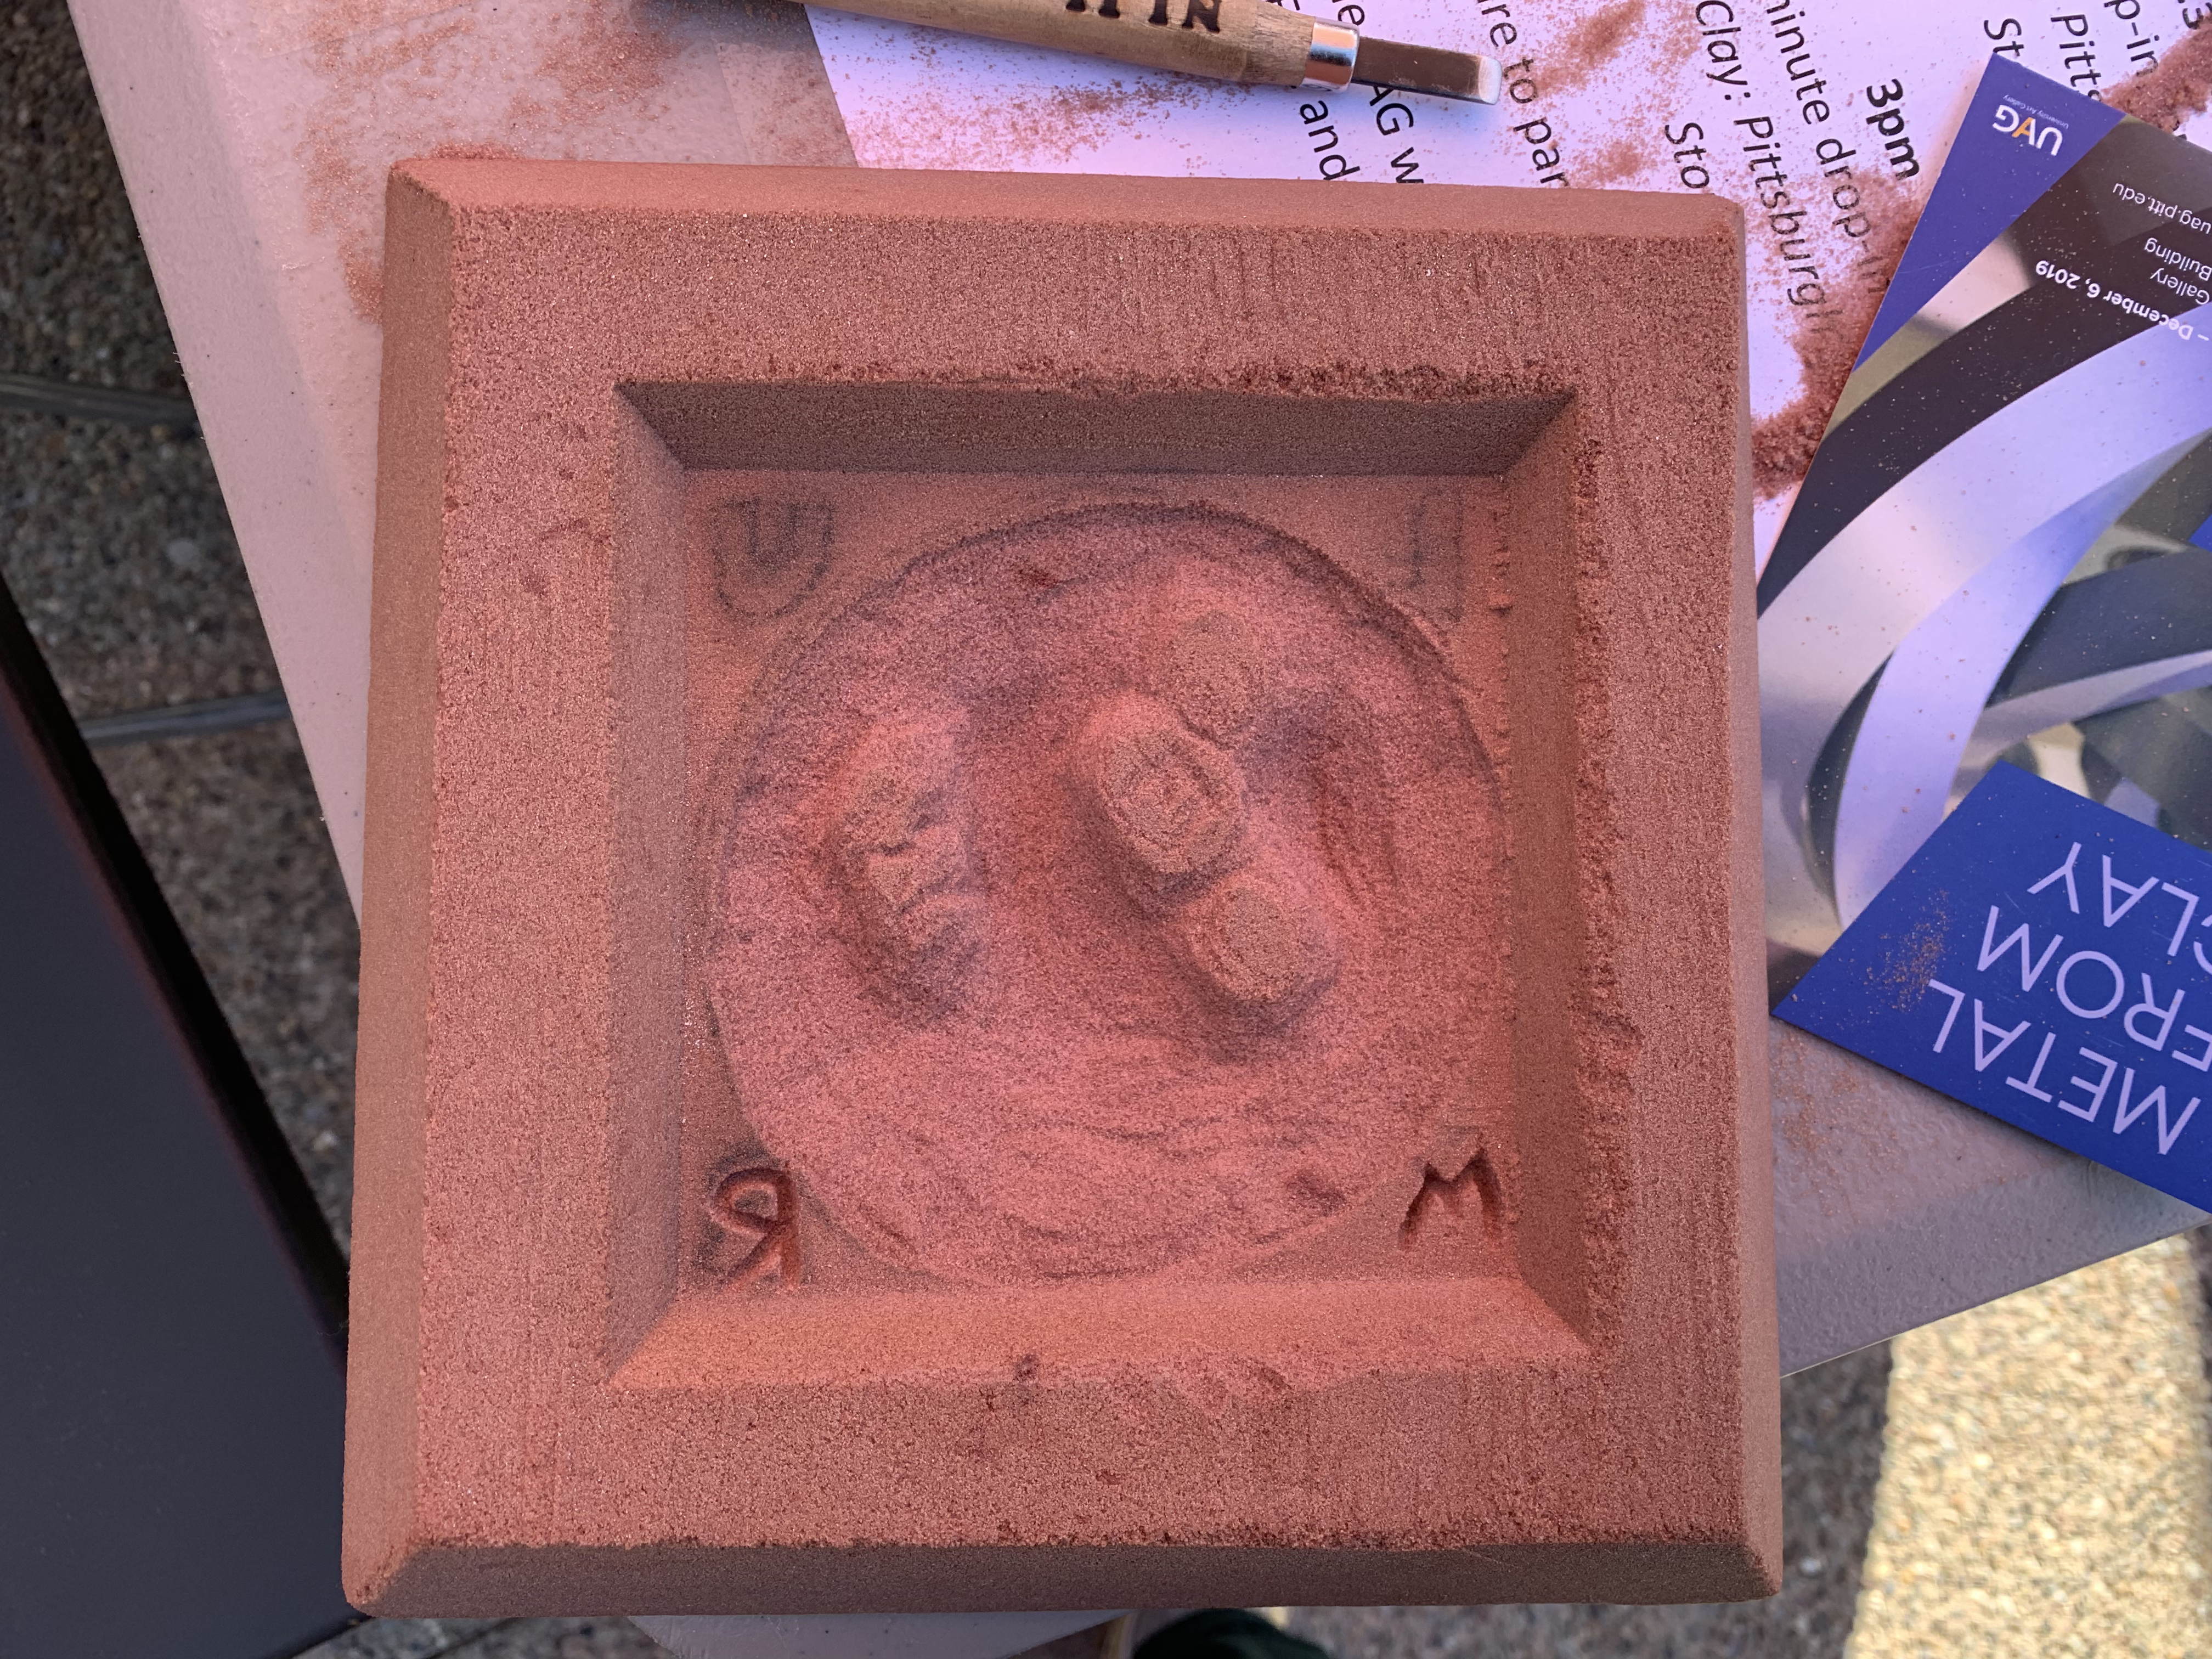
The sand mold I etched. |
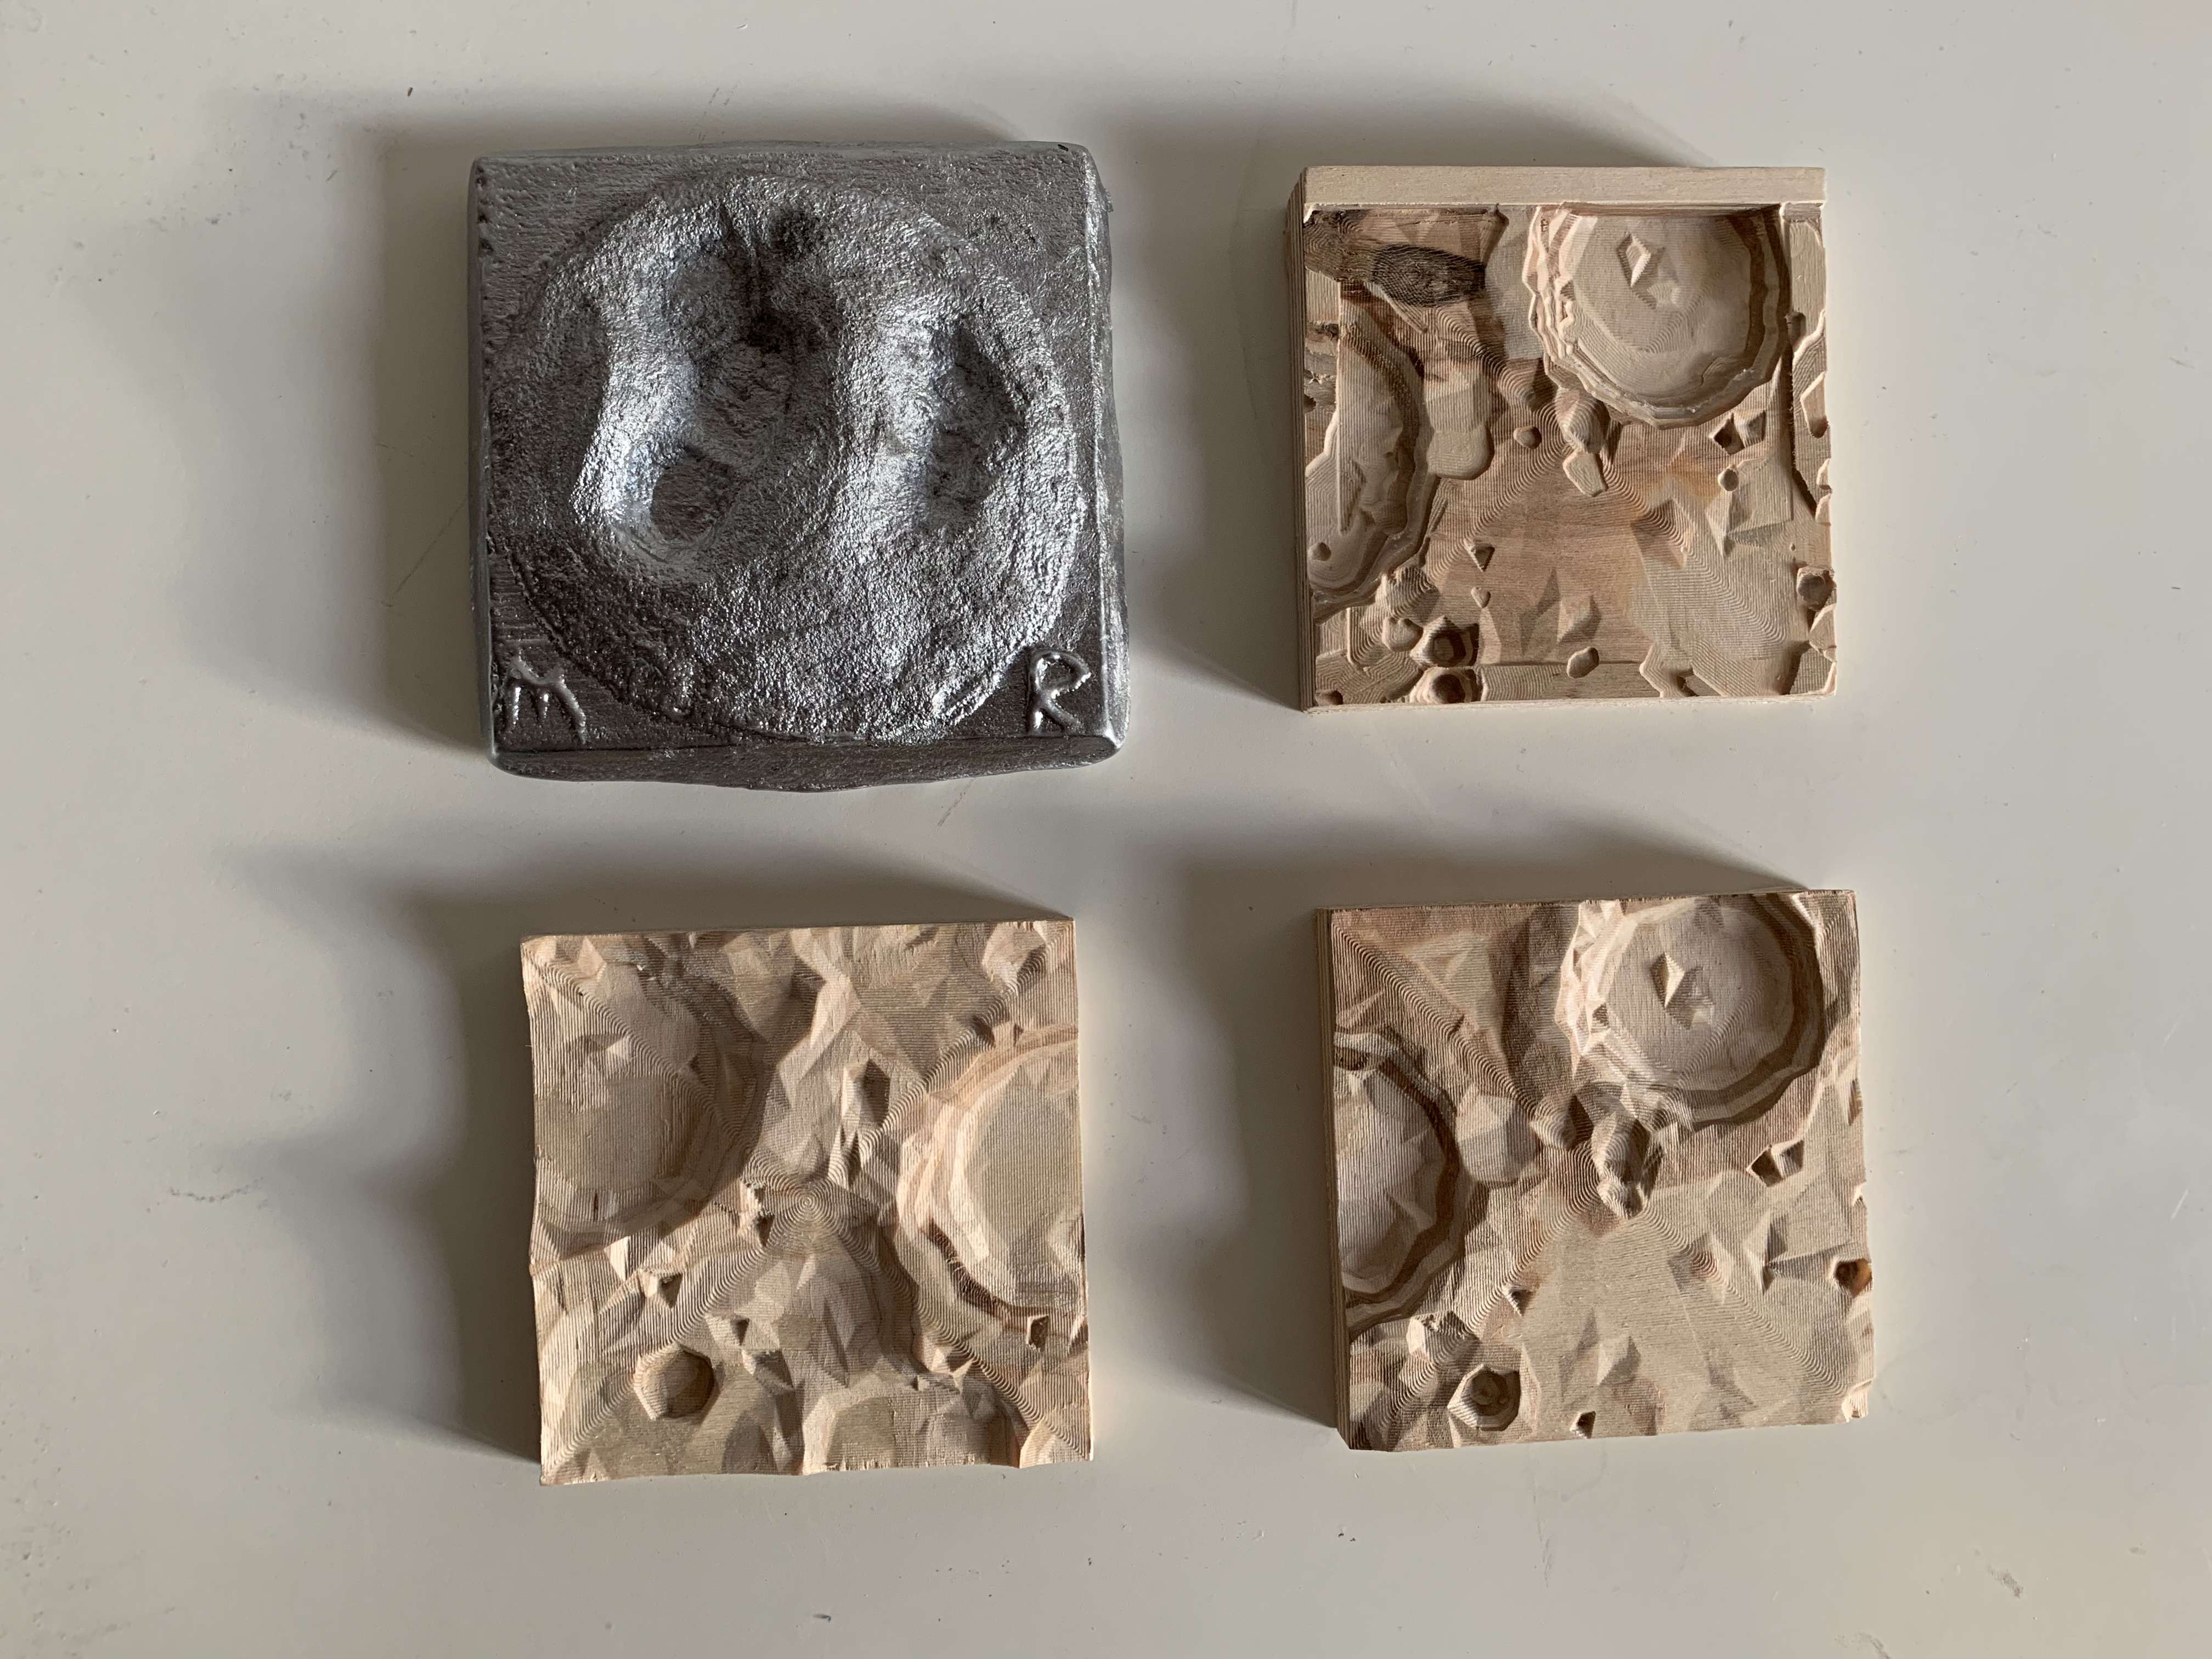
My collection of moon tiles. |
LED sculptures
|
|
|
|
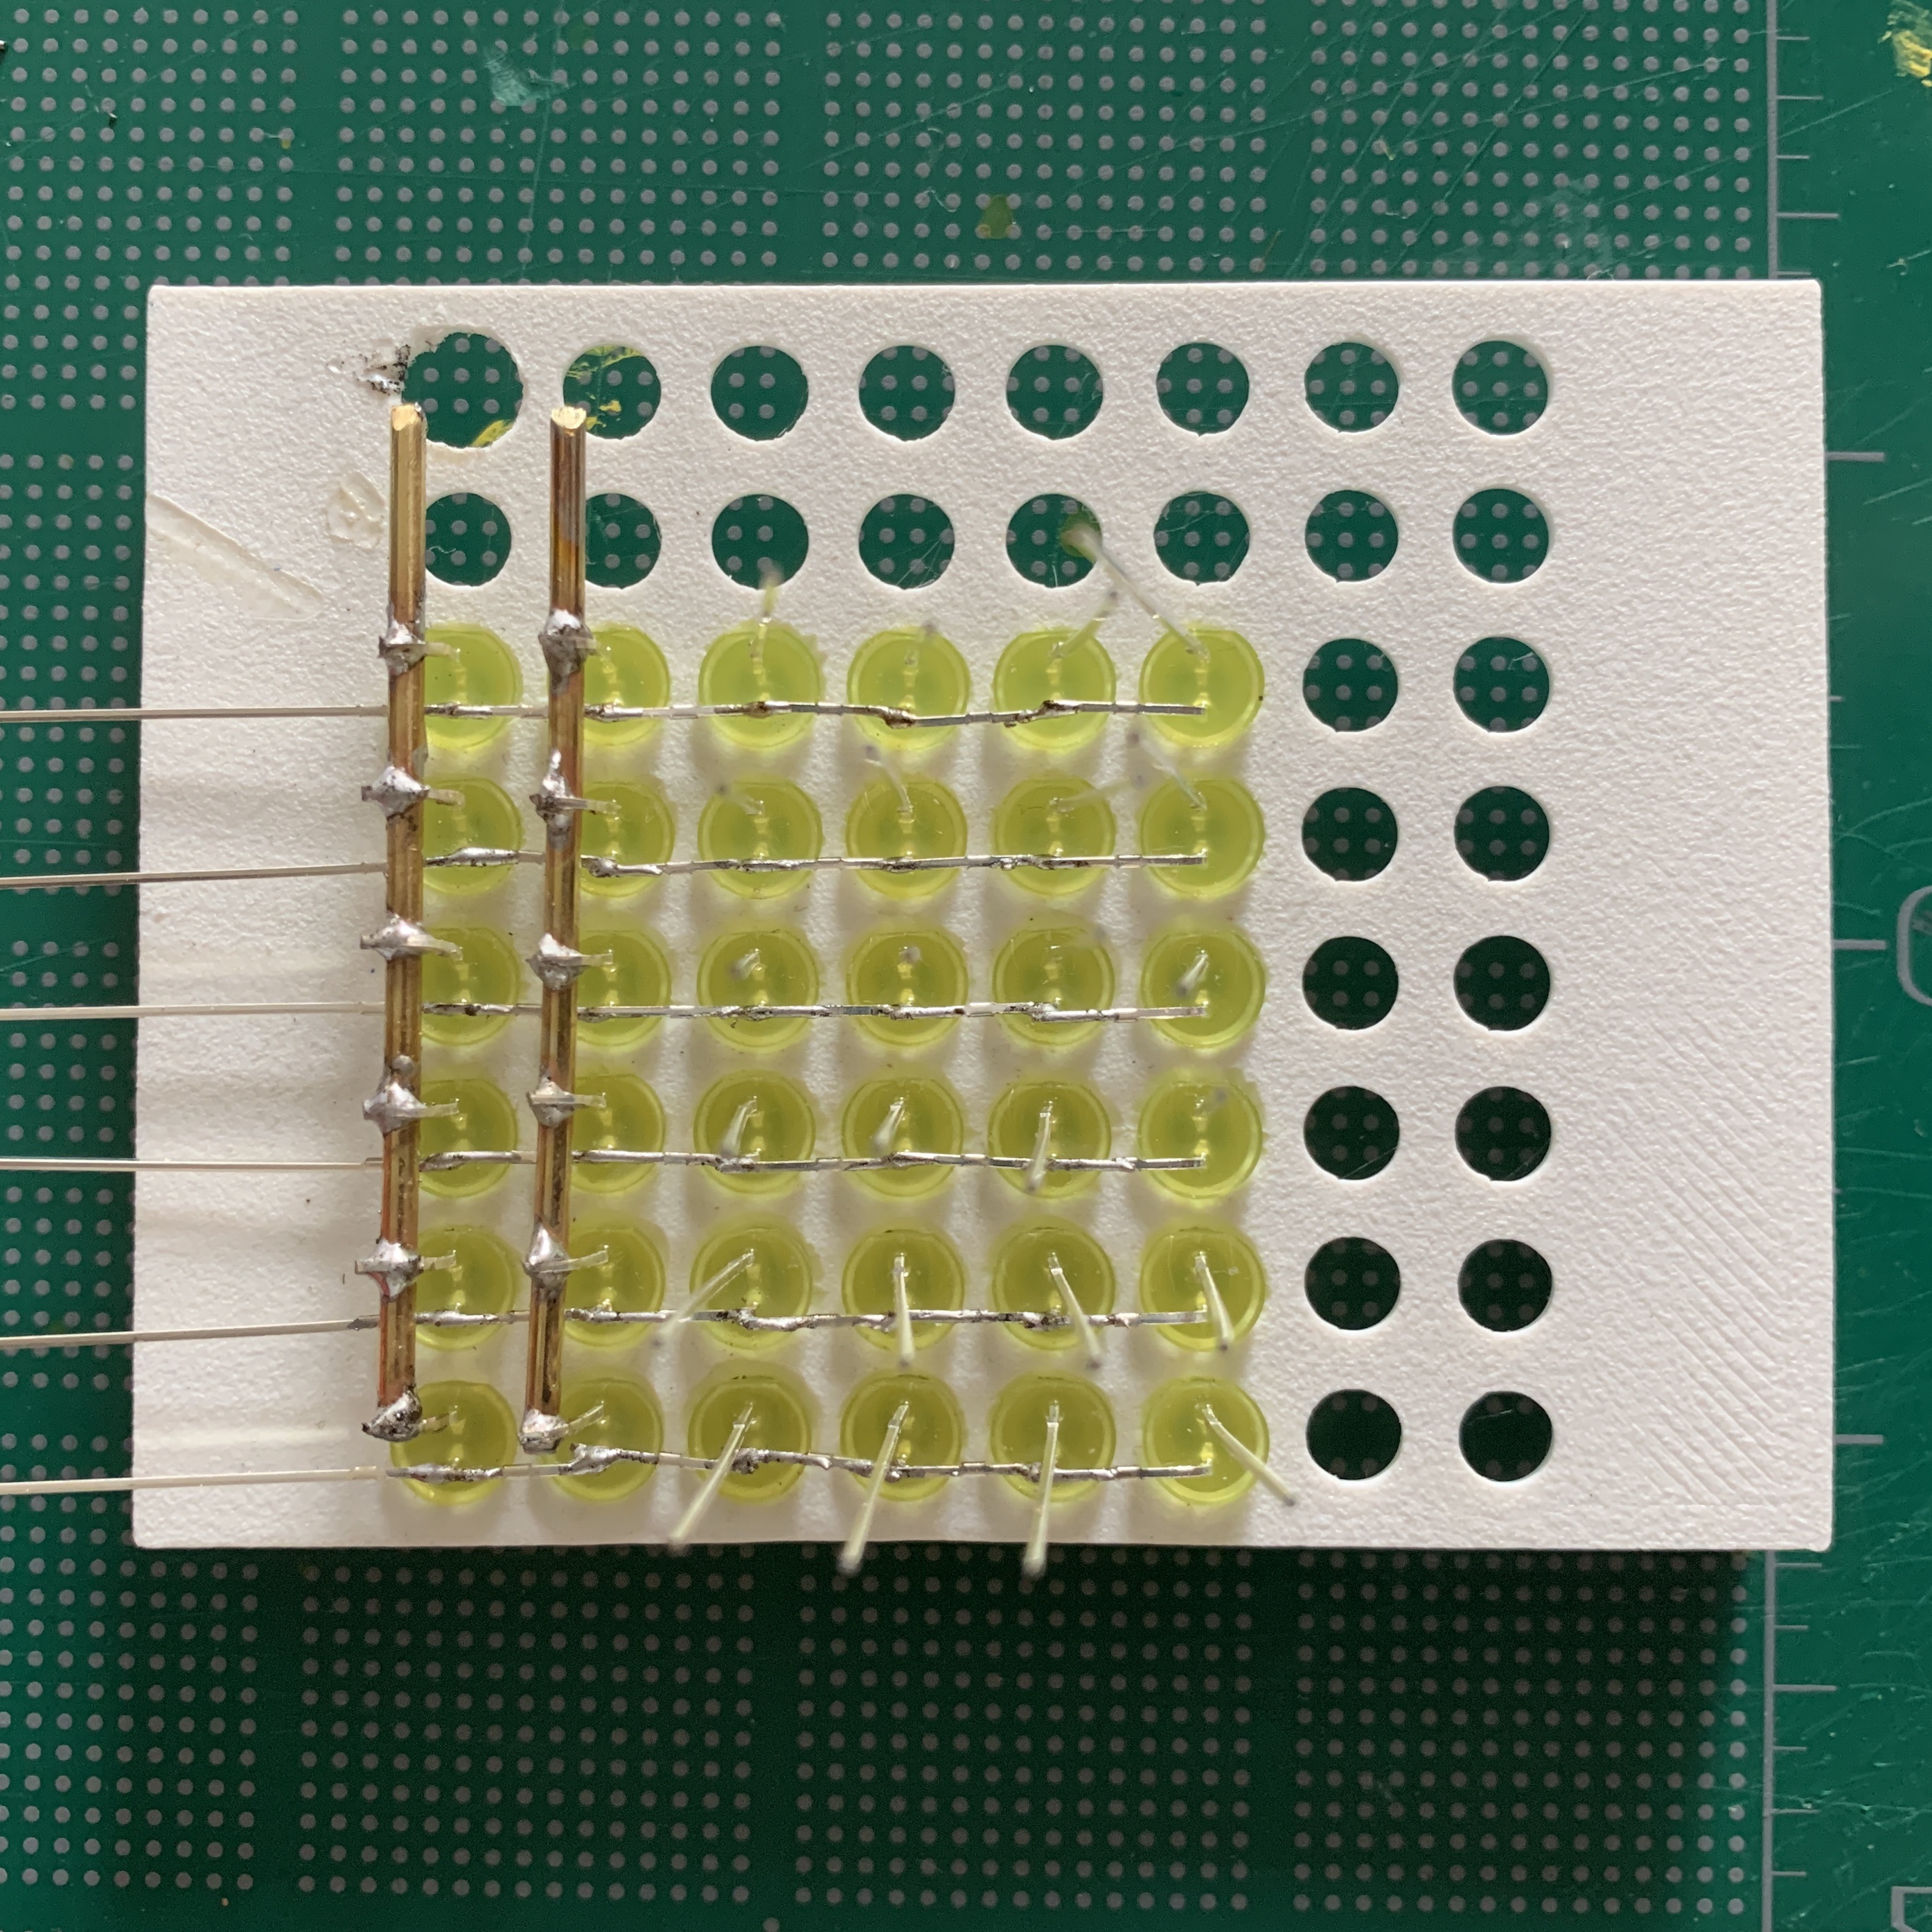
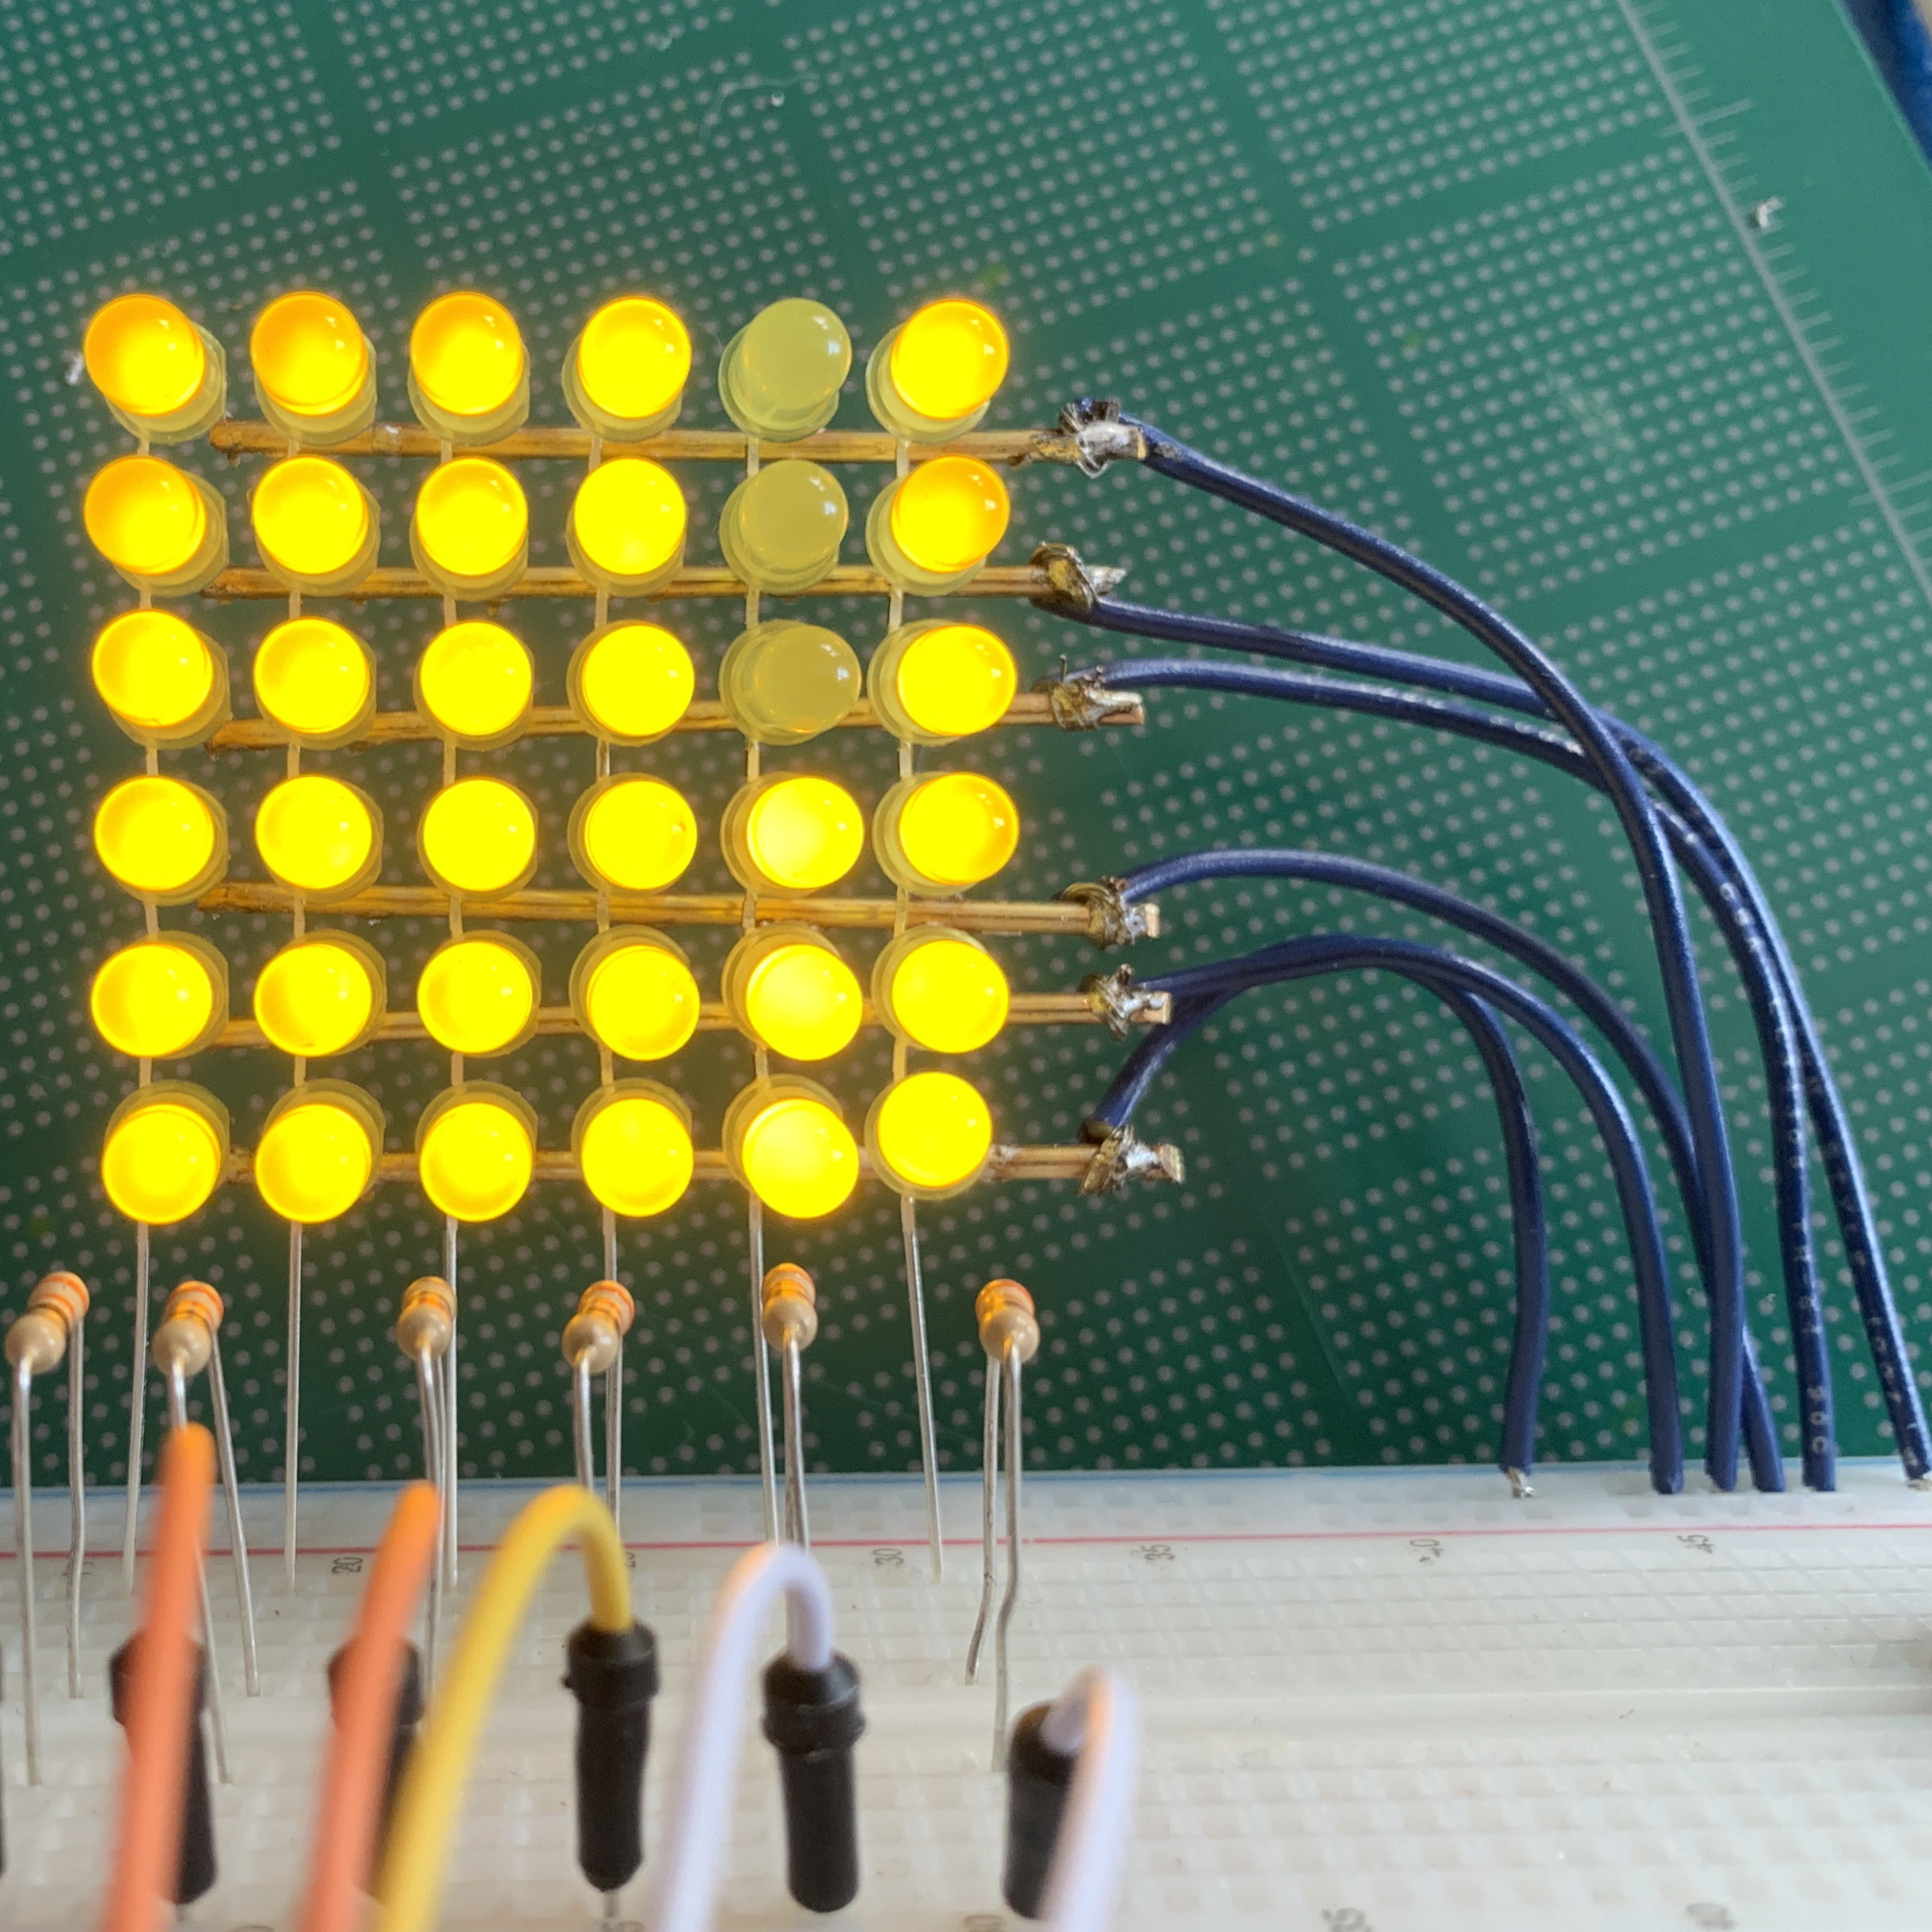
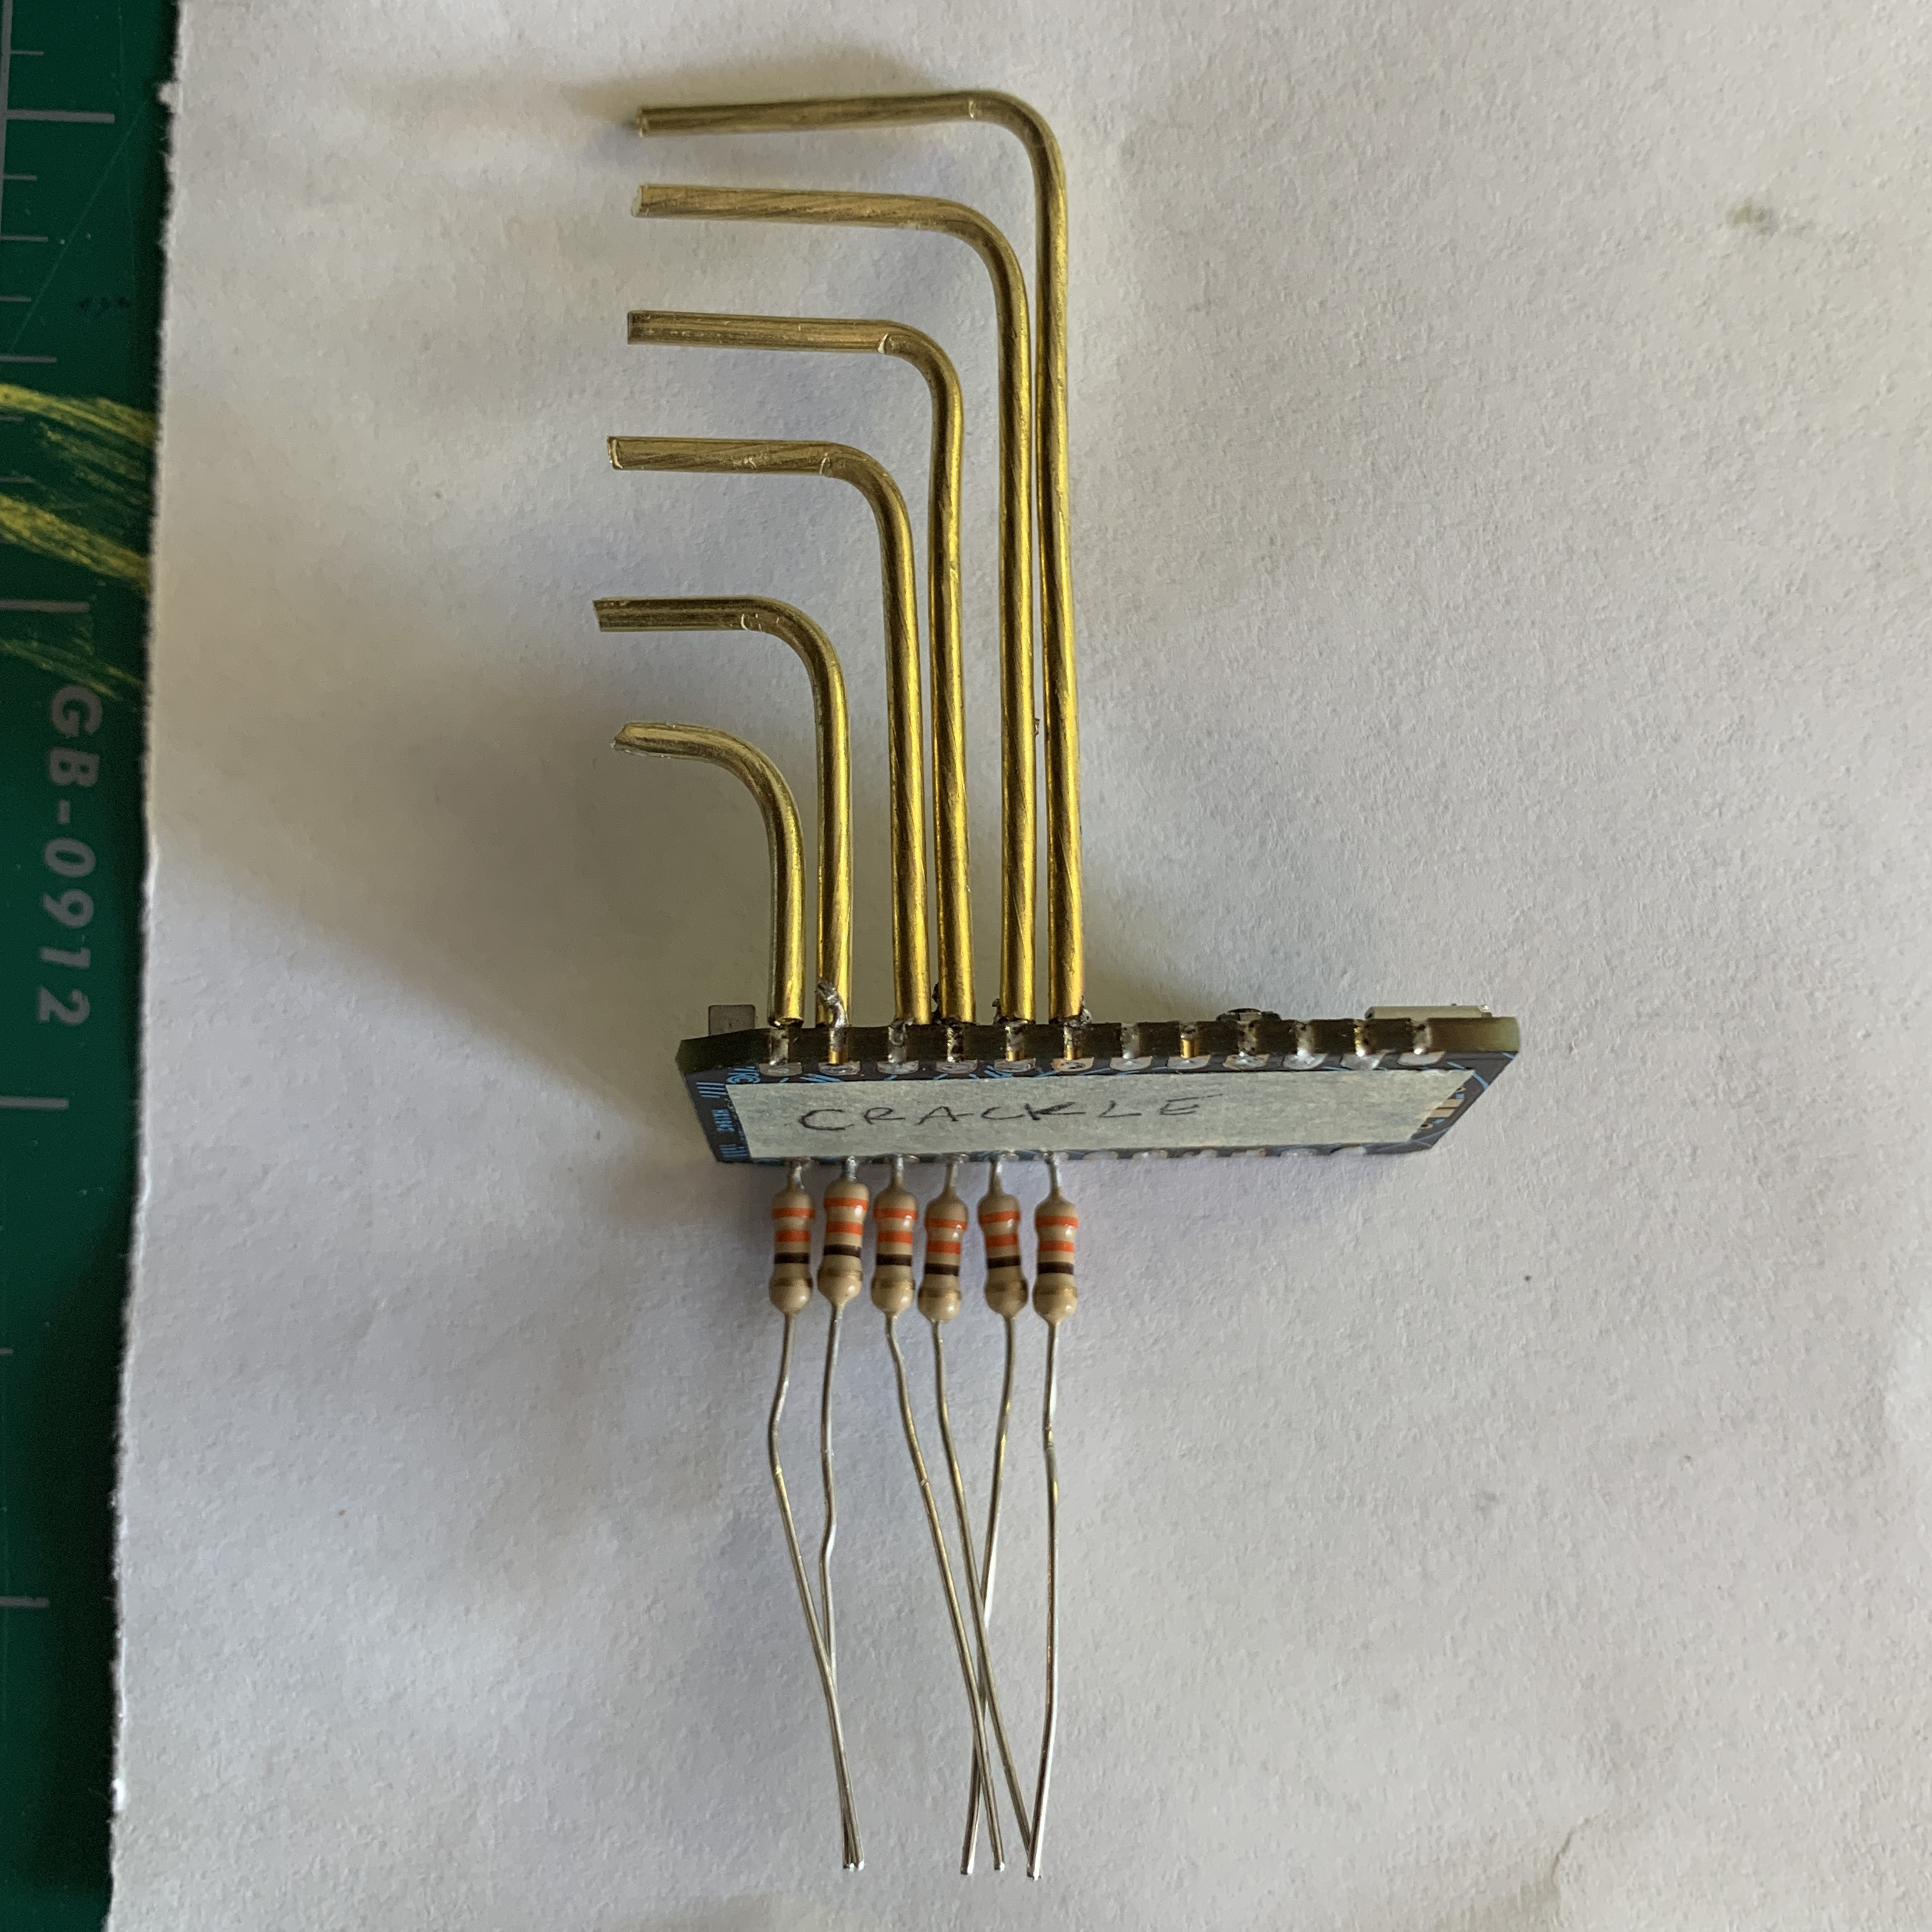
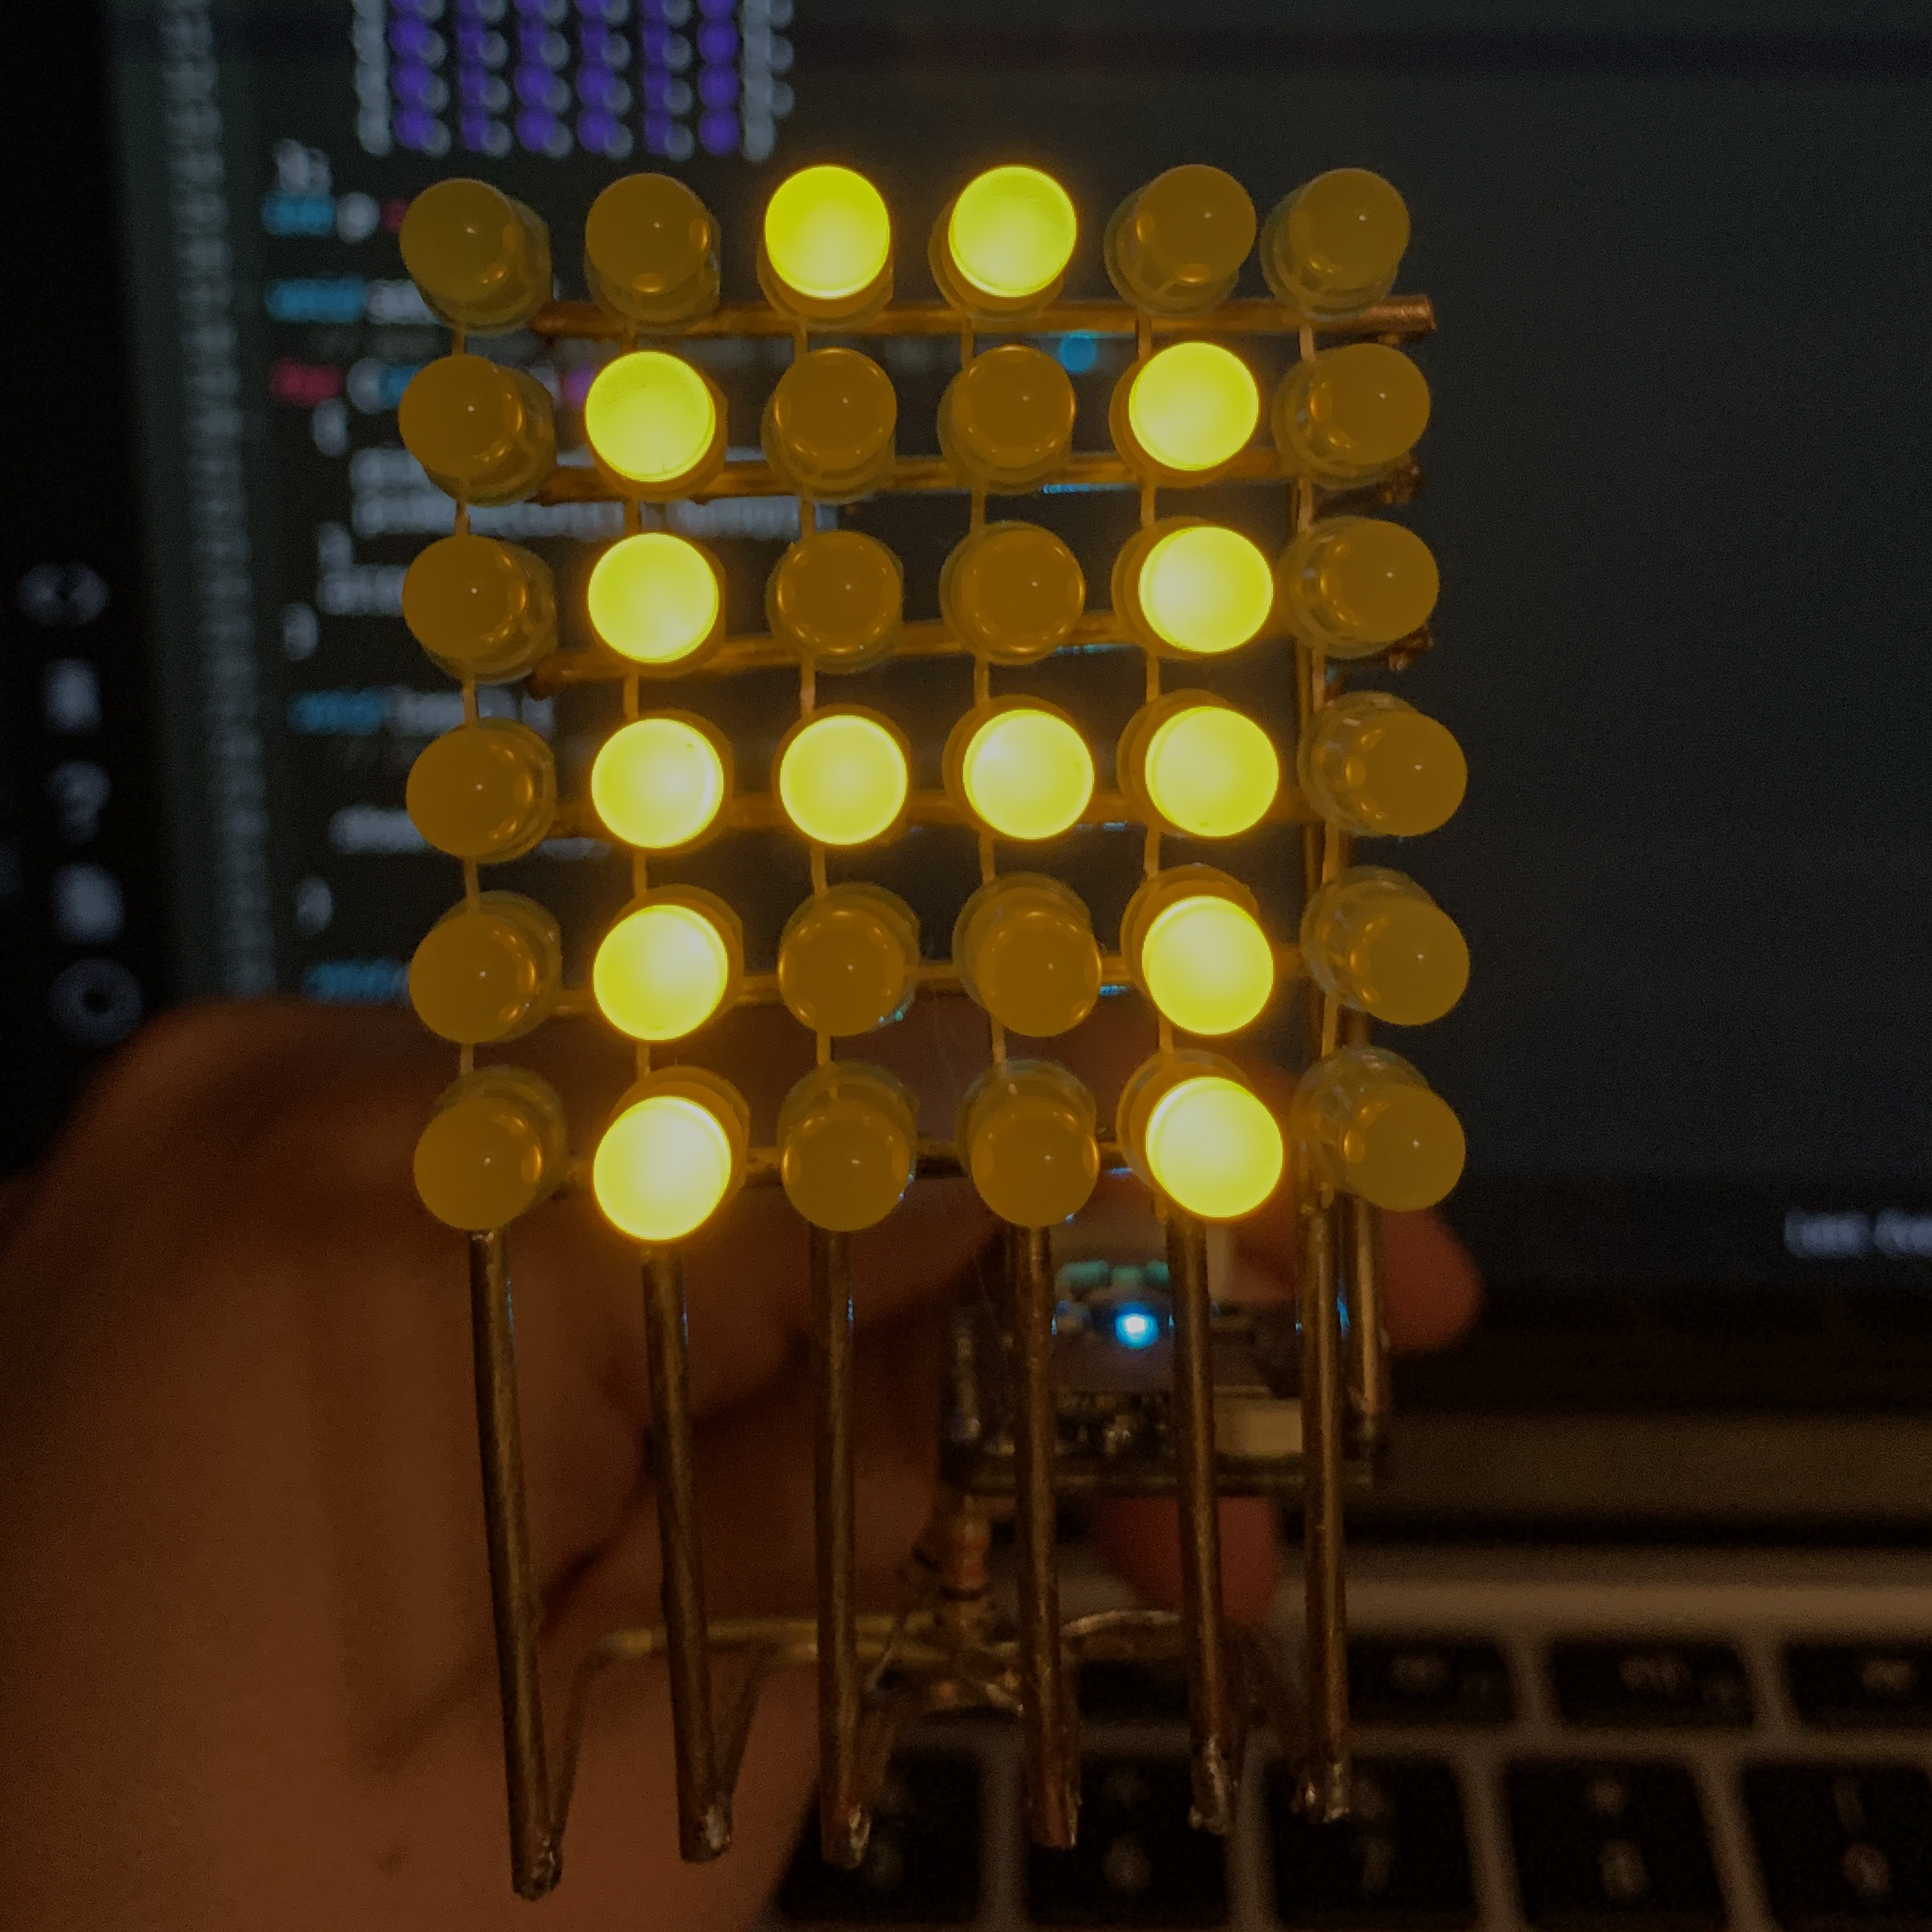
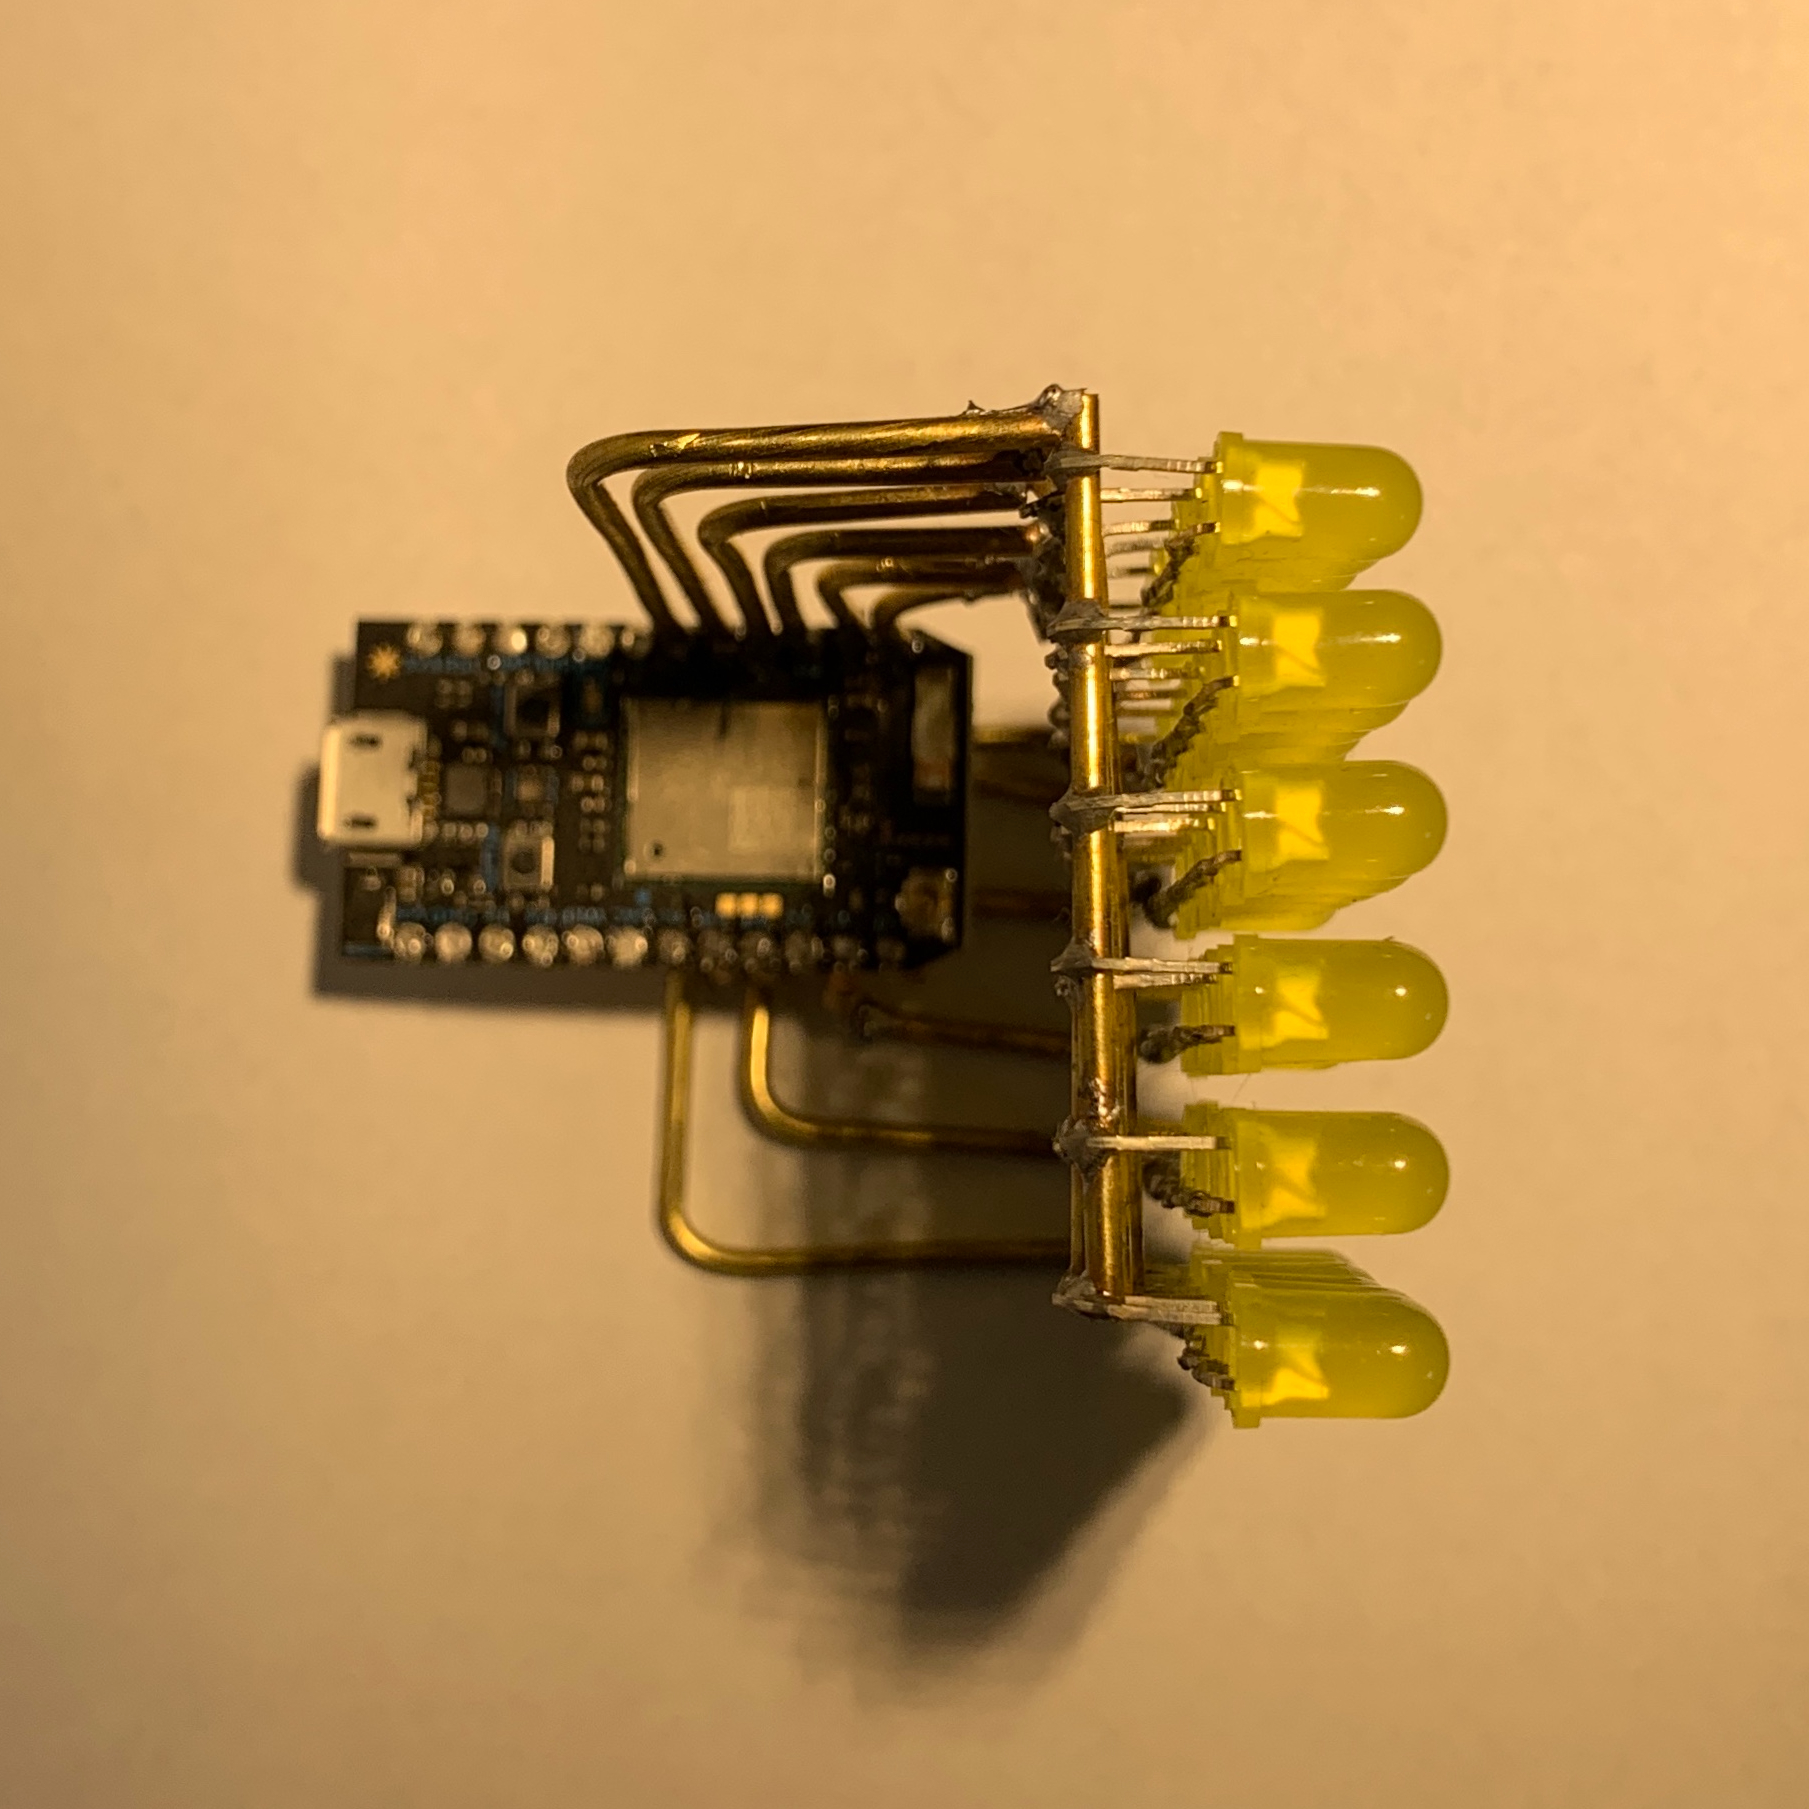
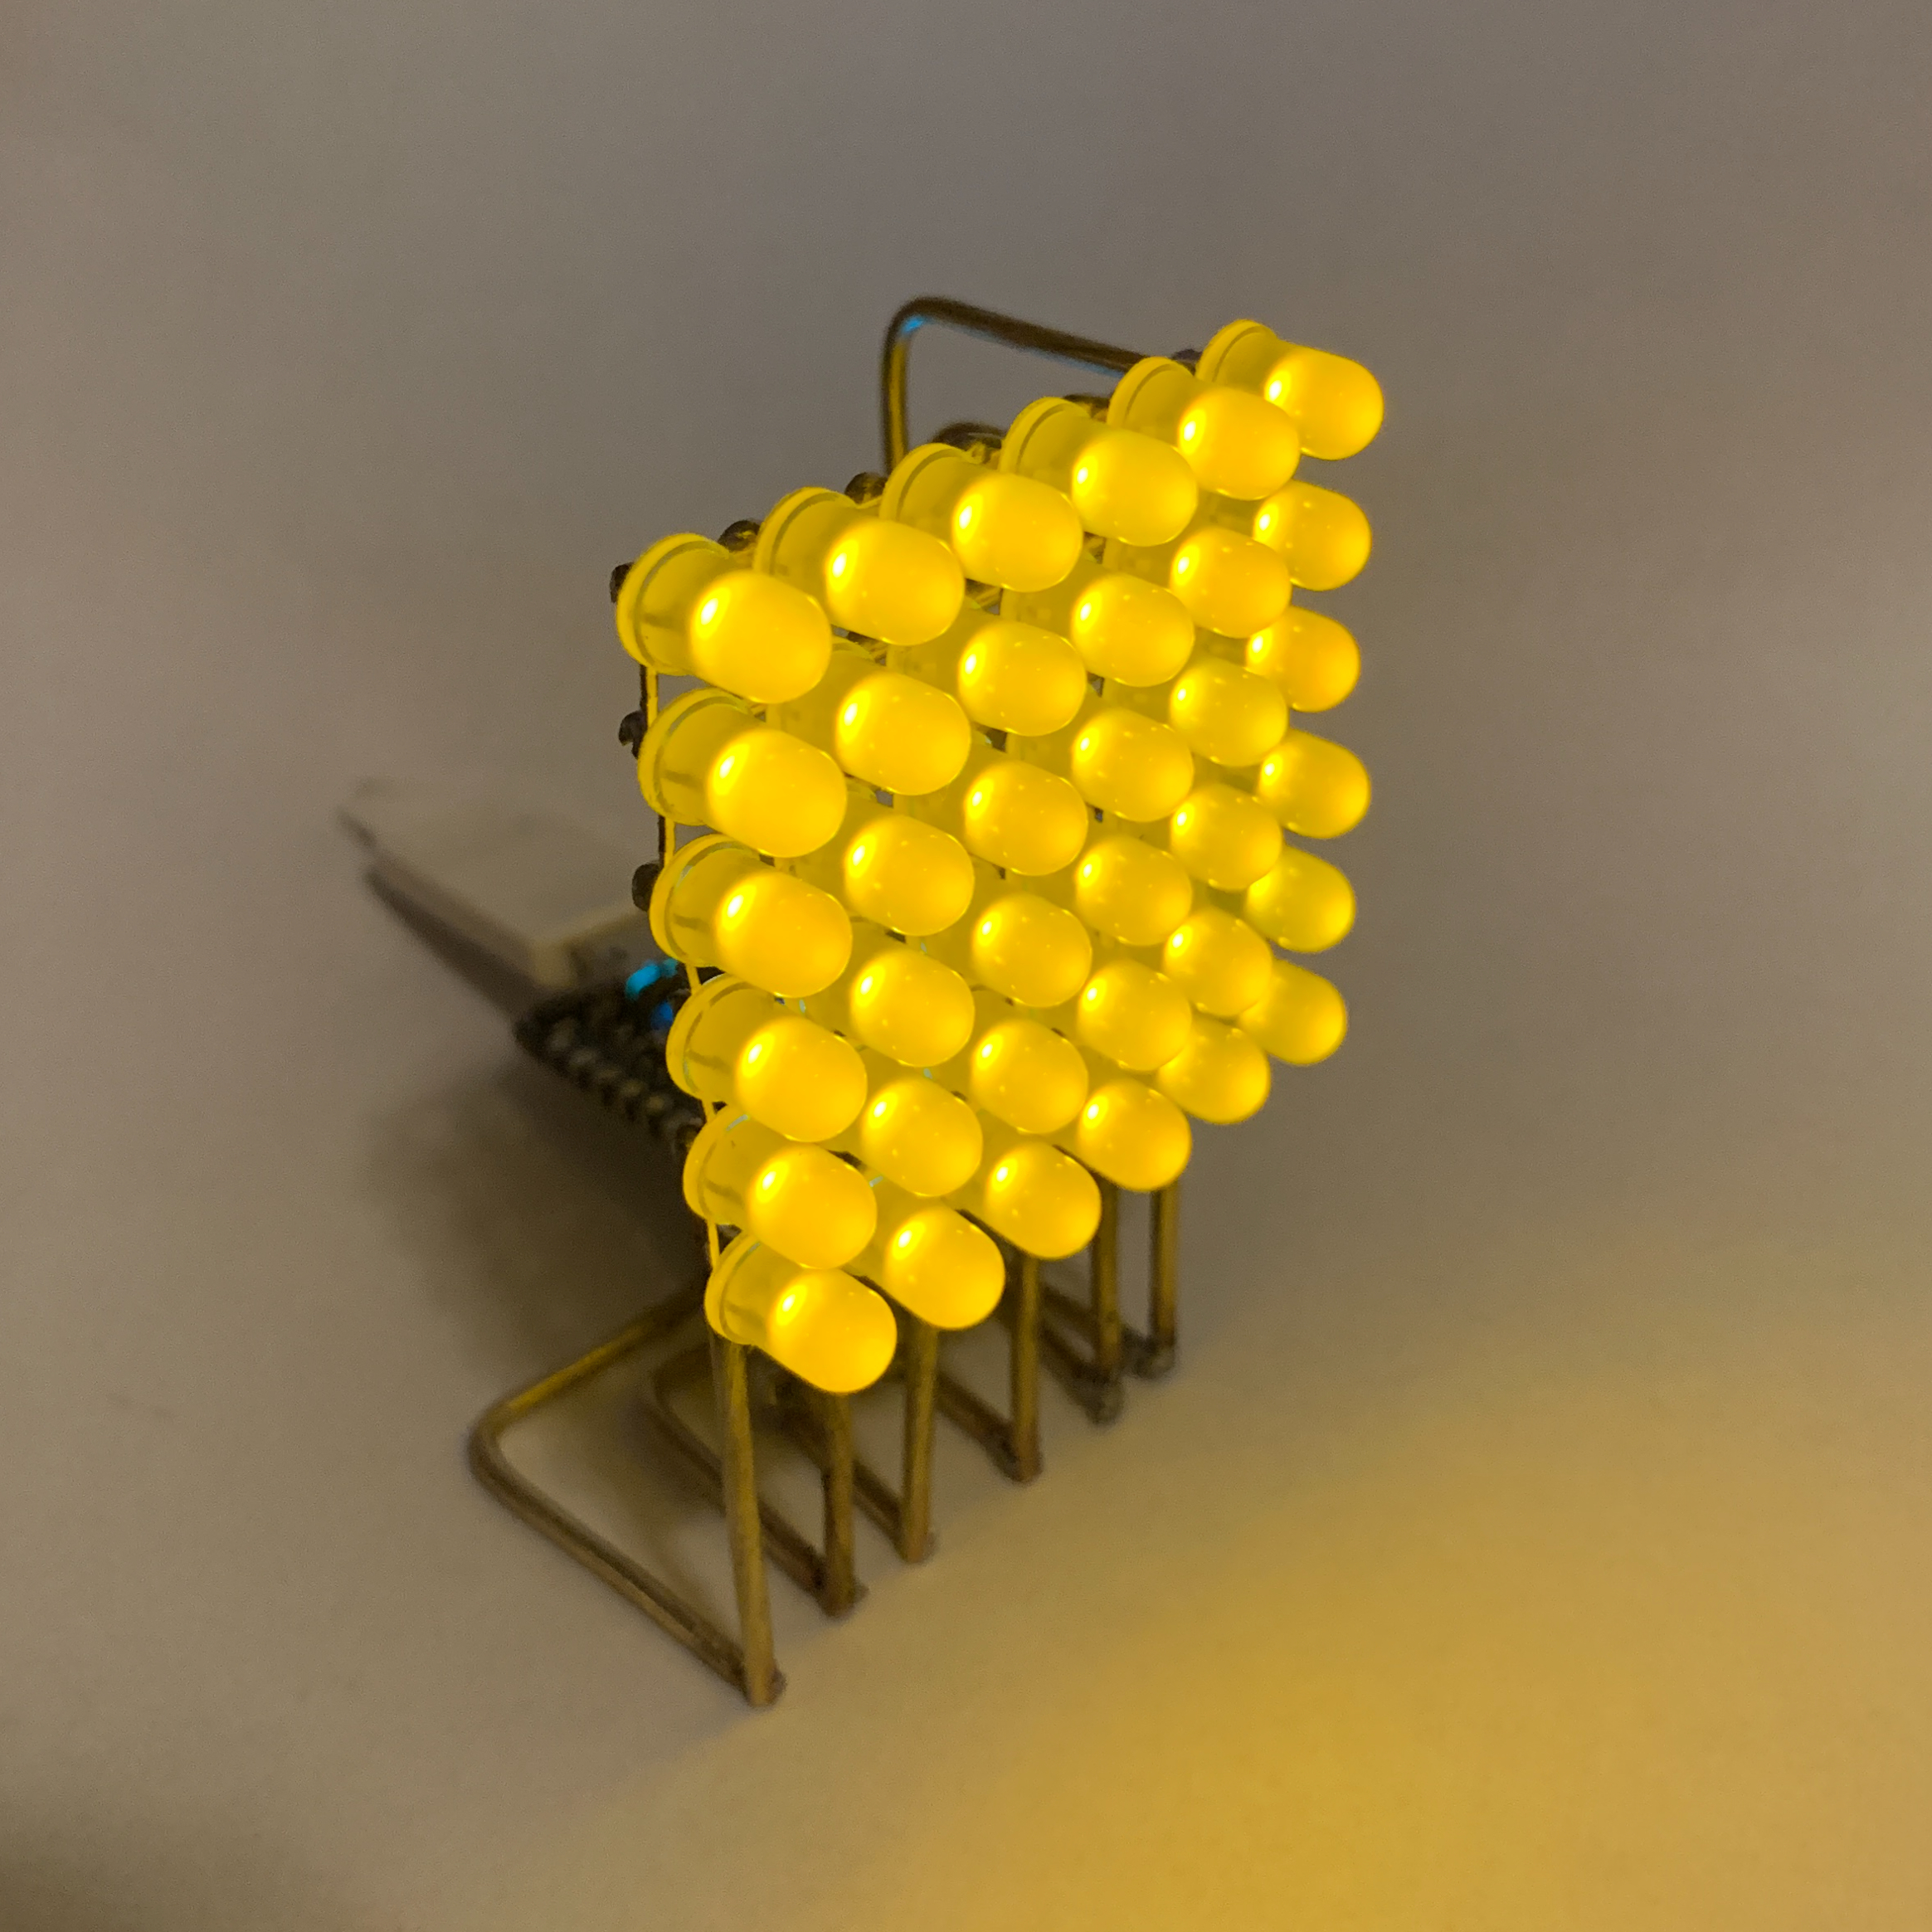
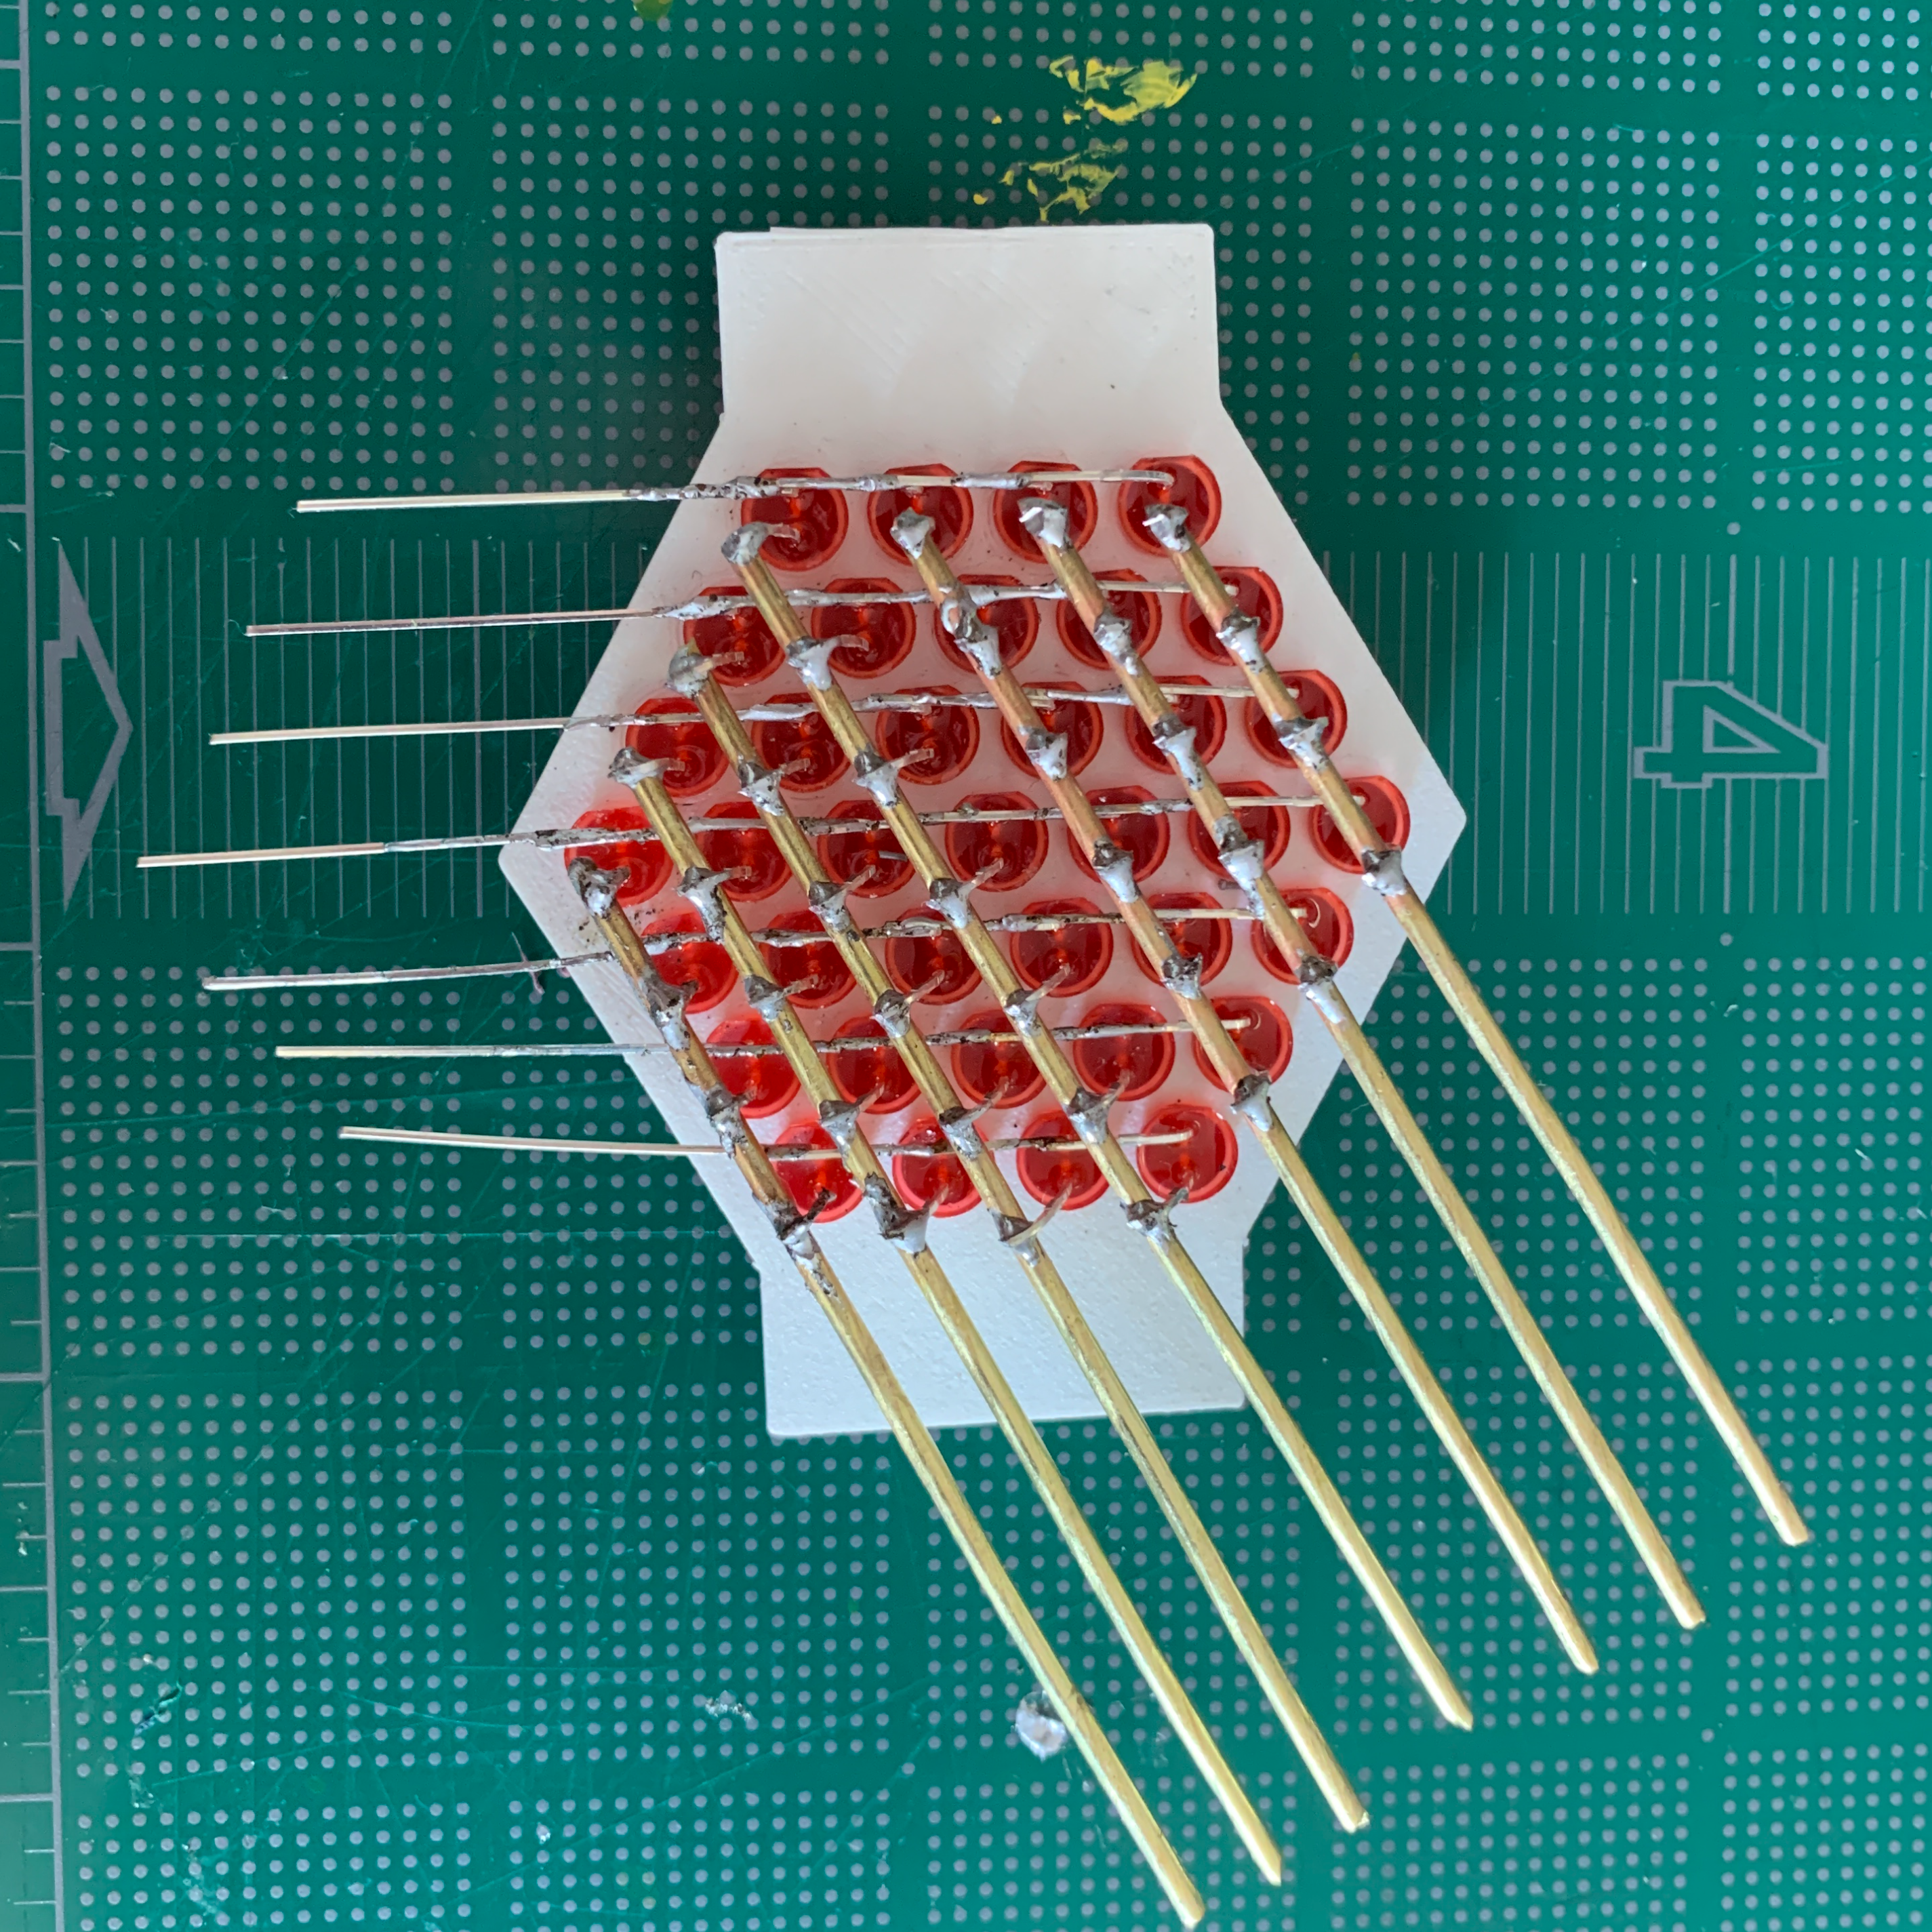
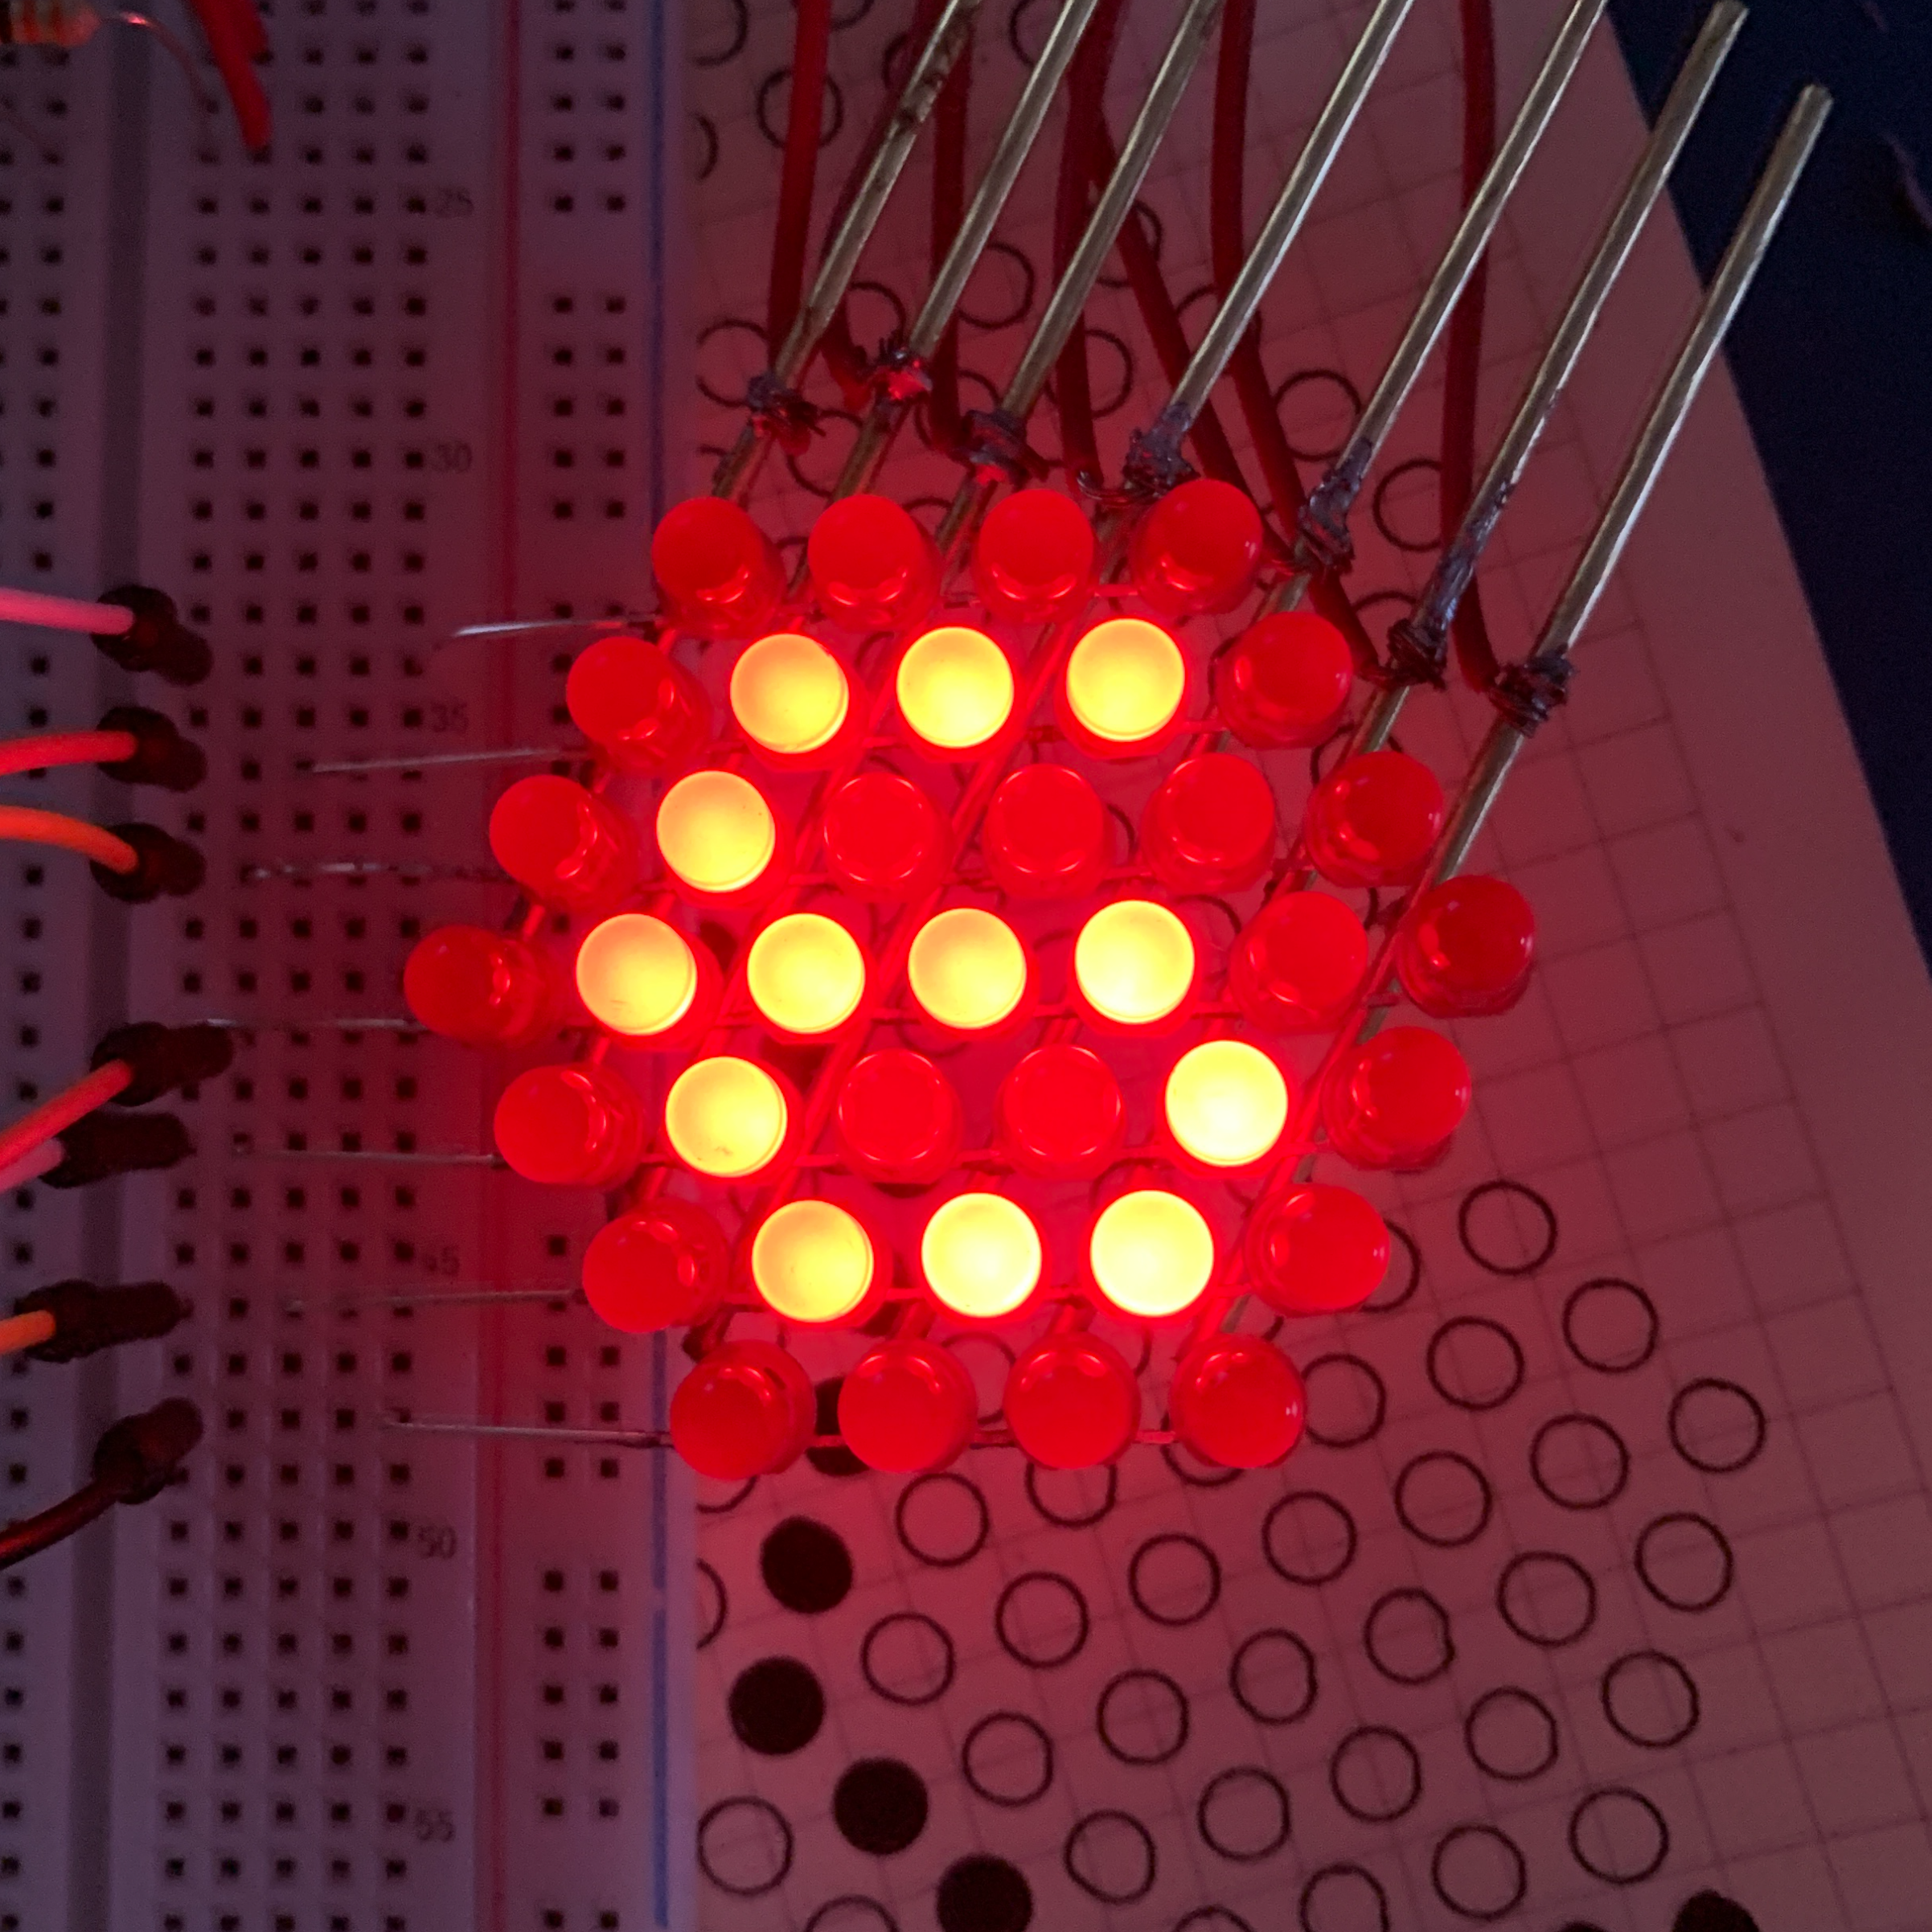
Inspired by Mohit Bhoite, a hardware engineer for Particle I follow on Instagram, I wanted to make LED matrices and incorporate them into a circuit sculpture of some sort. I 3D printed Mohit's soldering jigs, and soldered together my own LED matrices. I used brass rod to create the structure and to connect the LEDs to a Particle Photon microcontroller. I used my 3D printer as a plotter (see more about that in the next section) to draw a template for the legs. The matrix works, but I had a hard time figuring out the best way to program the Photon to display words, whether by scrolling or blinking, etc. Part of the difficulty was my inexperience with coding at the time, especially with the Photon. One of these days I'll pick this project back up and try to make it more functional. I also started to make a hexagonal matrix, but it needs the brass strucuture that connects to the Photon to be designed and made, which I intend to resume on a rainy day.
|
|
|
|
3D printer turned plotter
space |
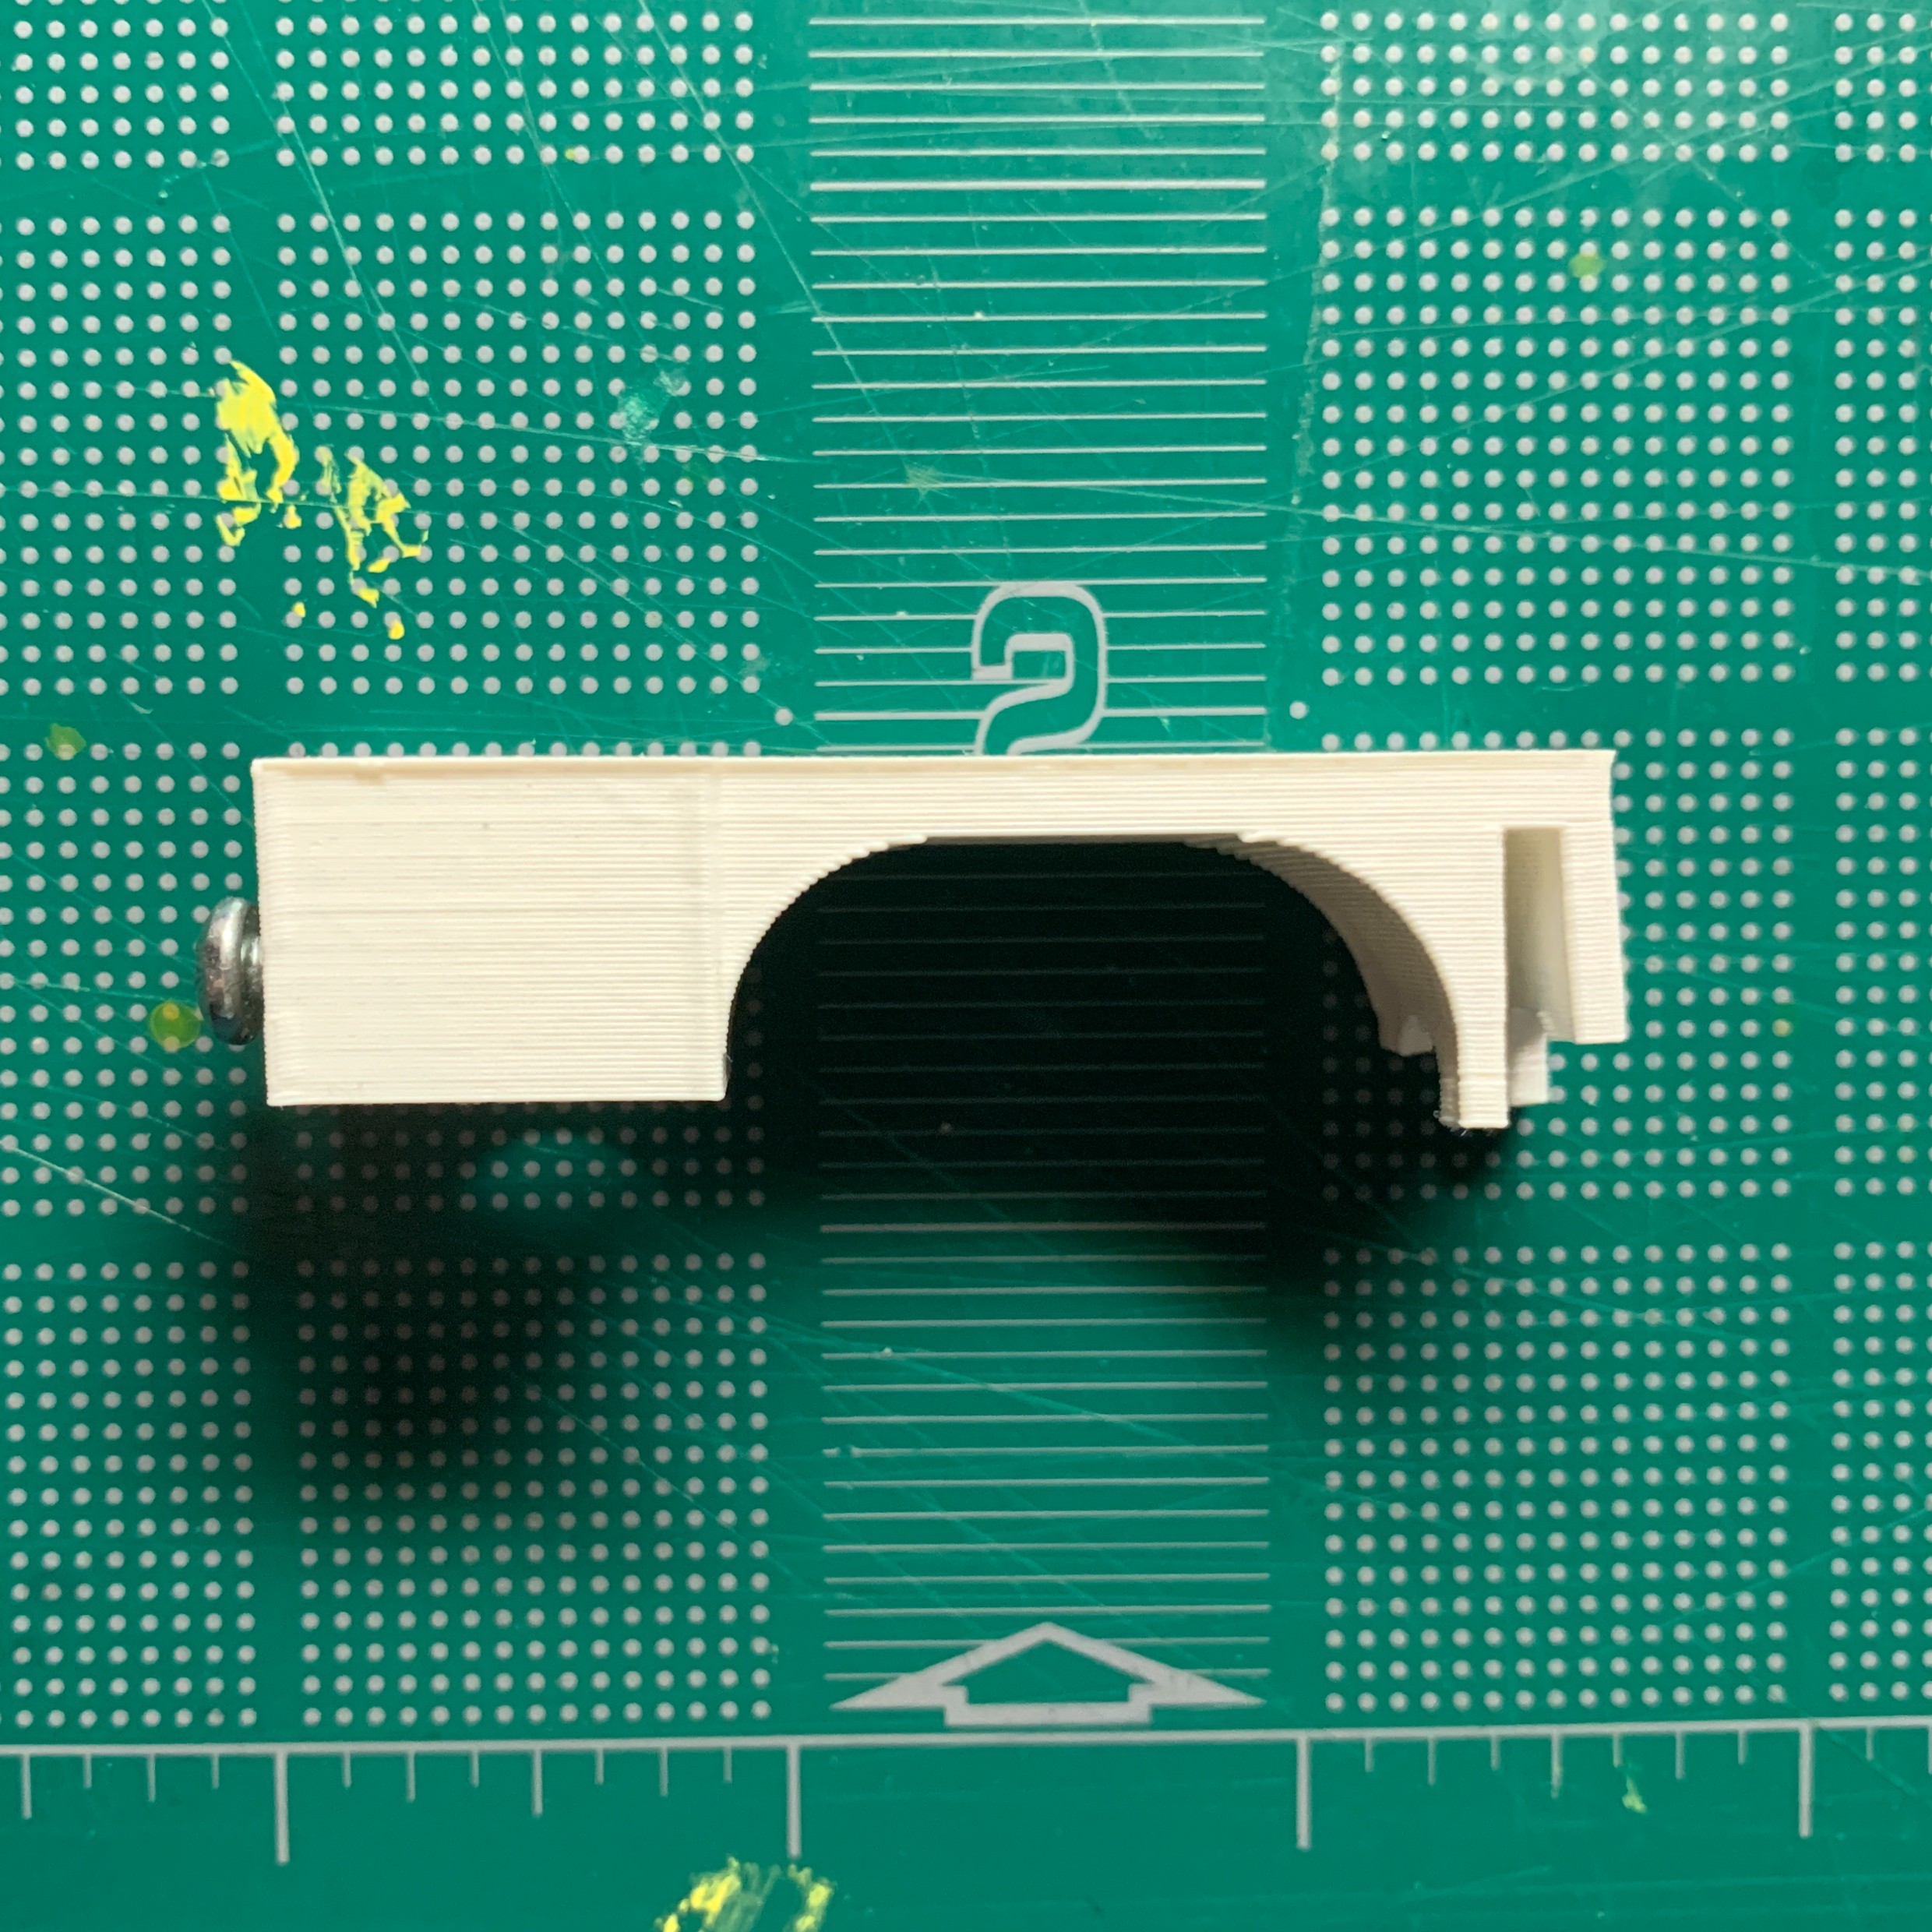
The design from Thingiverse. |
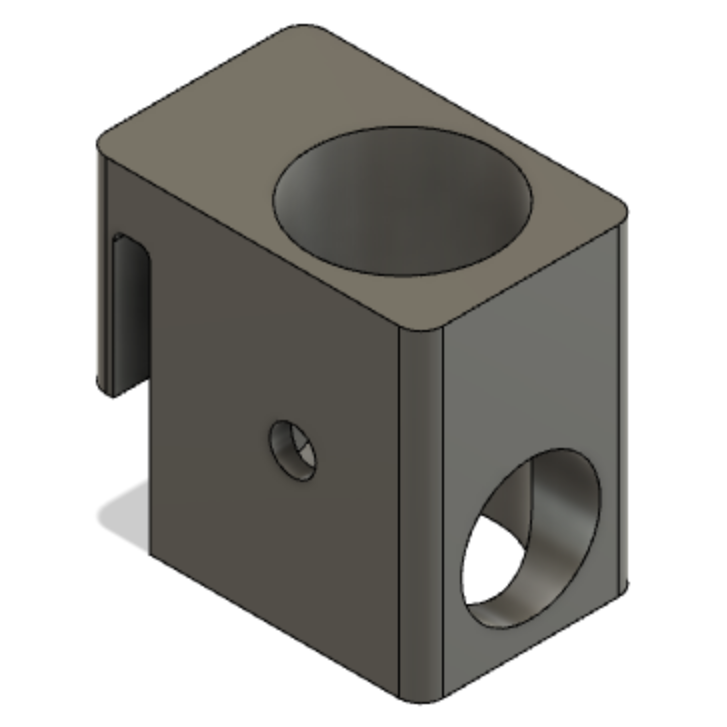
My final design. |

space |
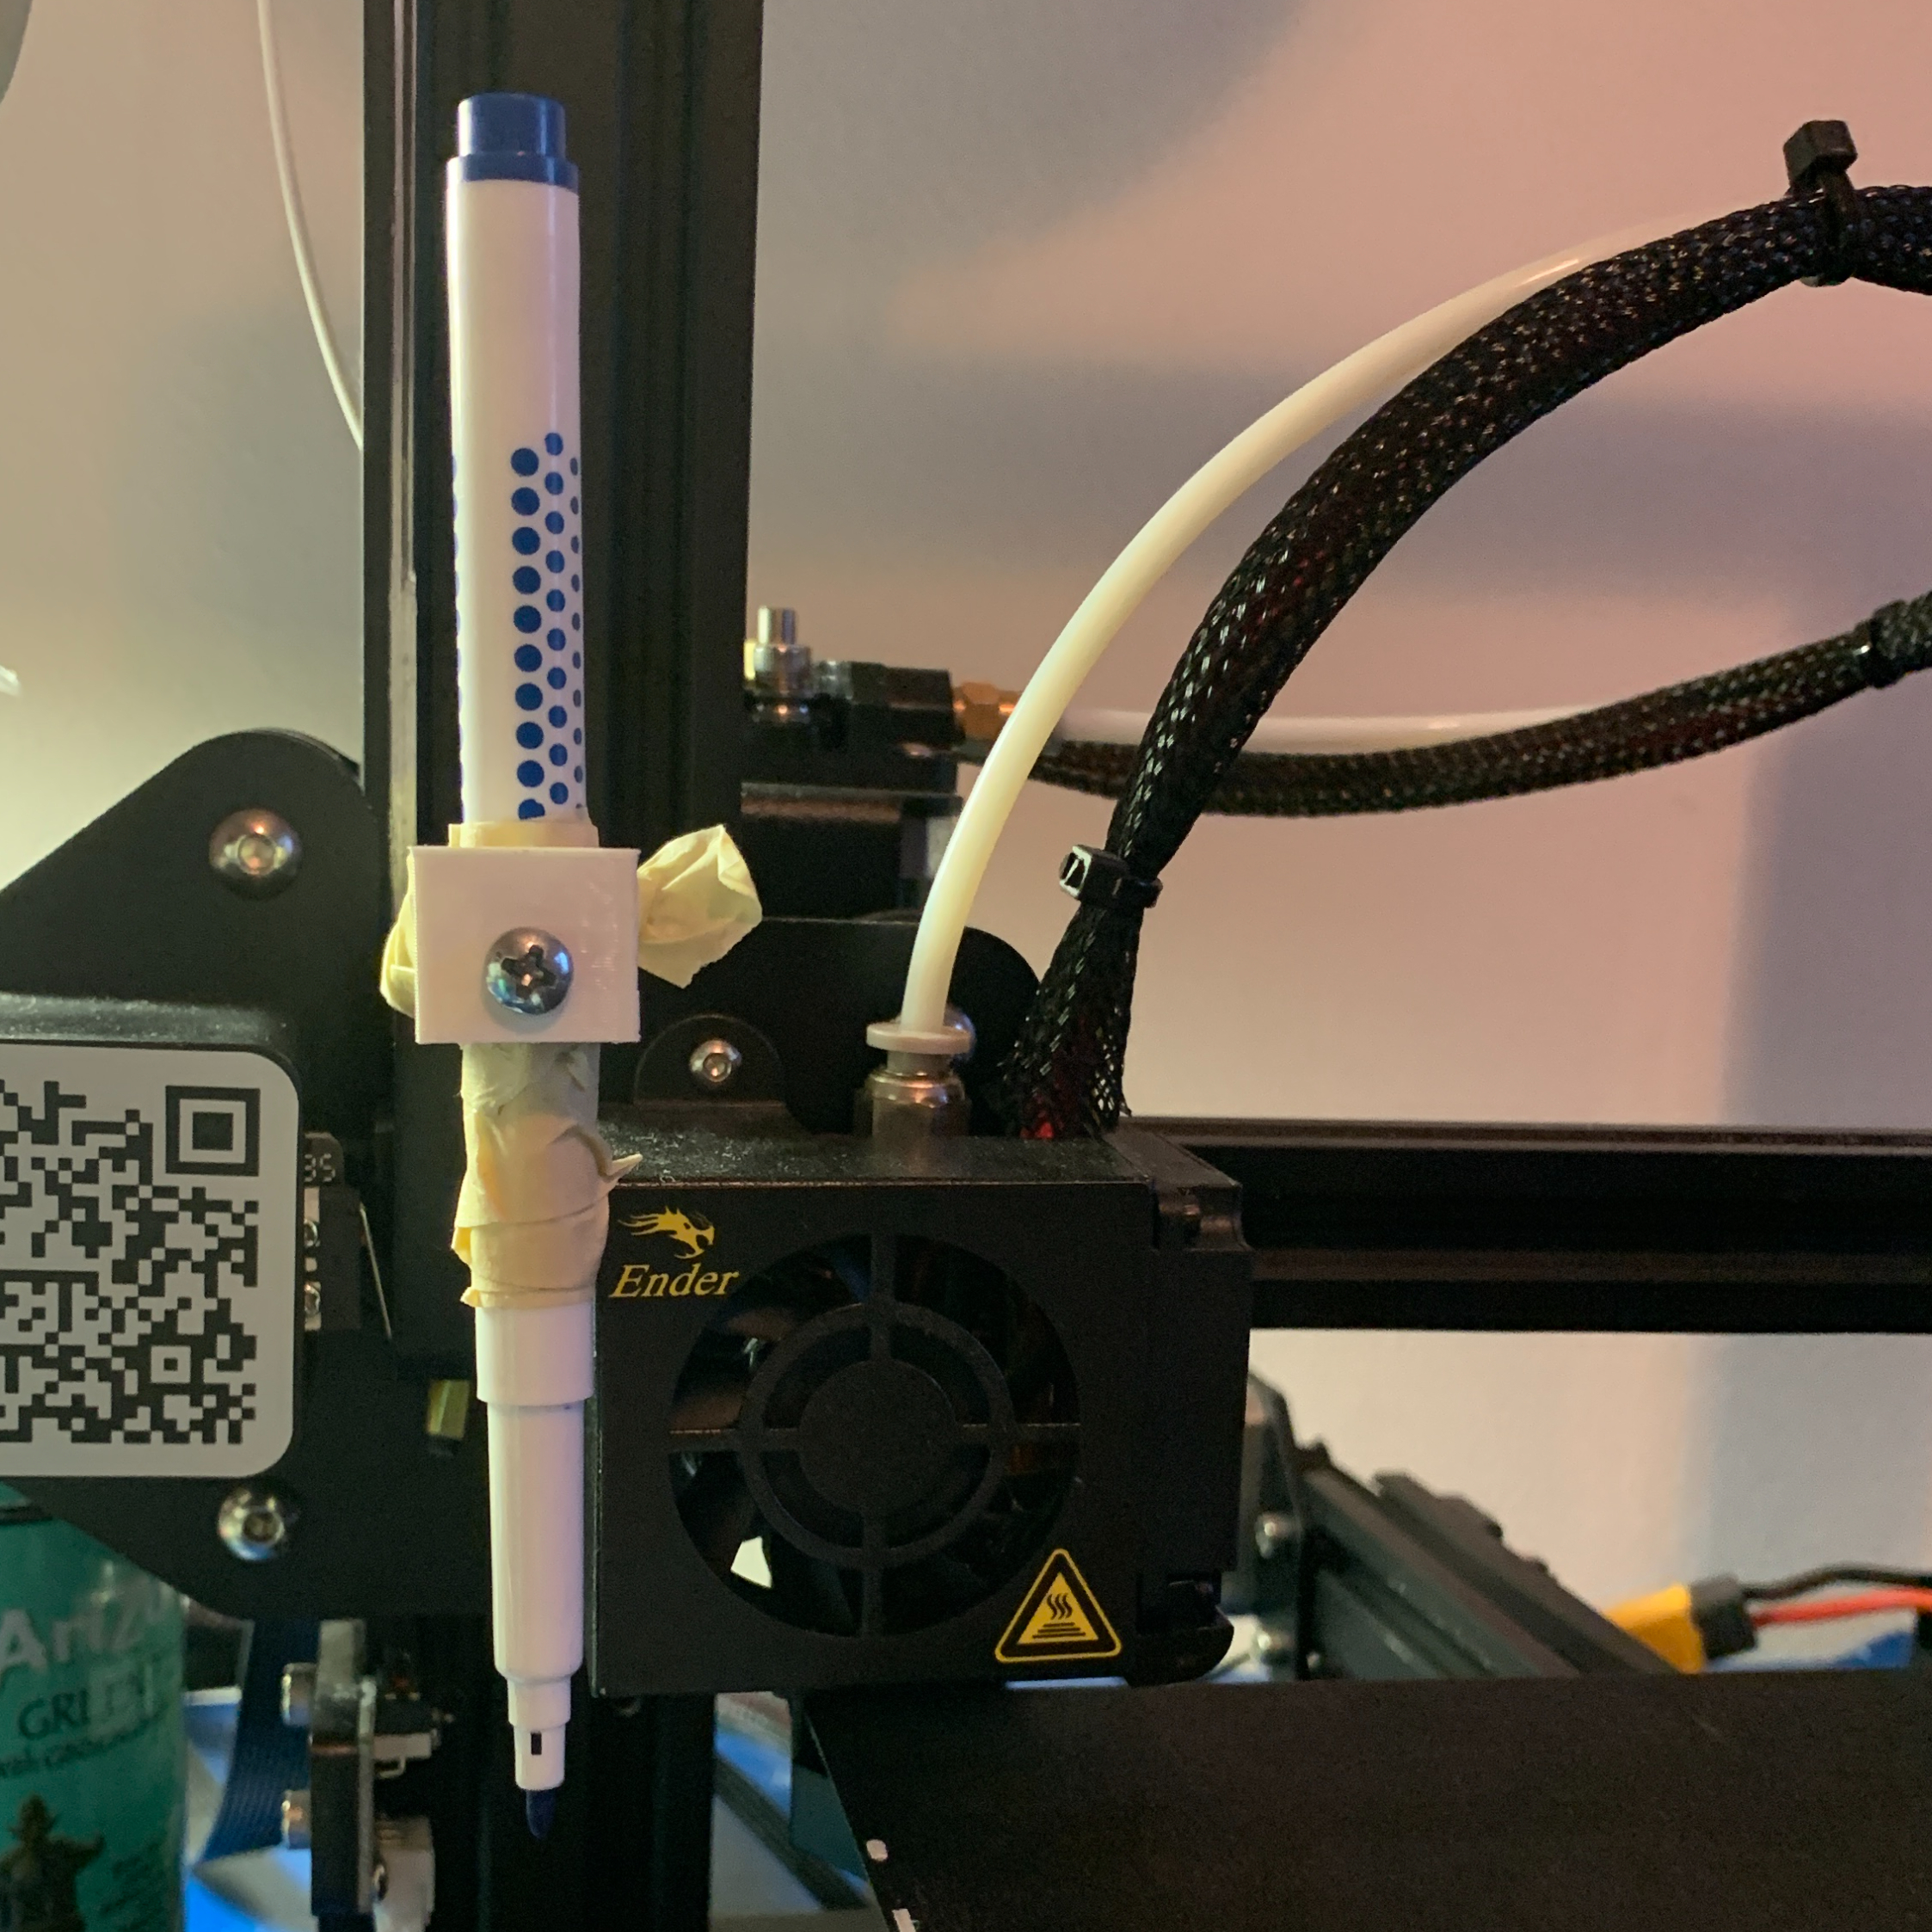
Prompted by a Tik-Tok sent by a friend, one weekend I explored the idea of using my Ender 3 3D printer as a 2D plotter. At first I tried to used a design I found on Thingiverse, but I found the part to be too finicky to work with. I designed and printed a new version that's more compact and stable due to the much shorter moment arm around the mounting point. I used Inkscape to design the plotting files and to generate the gcode, with the help of this article. I was working on the LED matrix around the same time, so I used the newly found plotter function to print out a template for the matrix sculpture's legs.
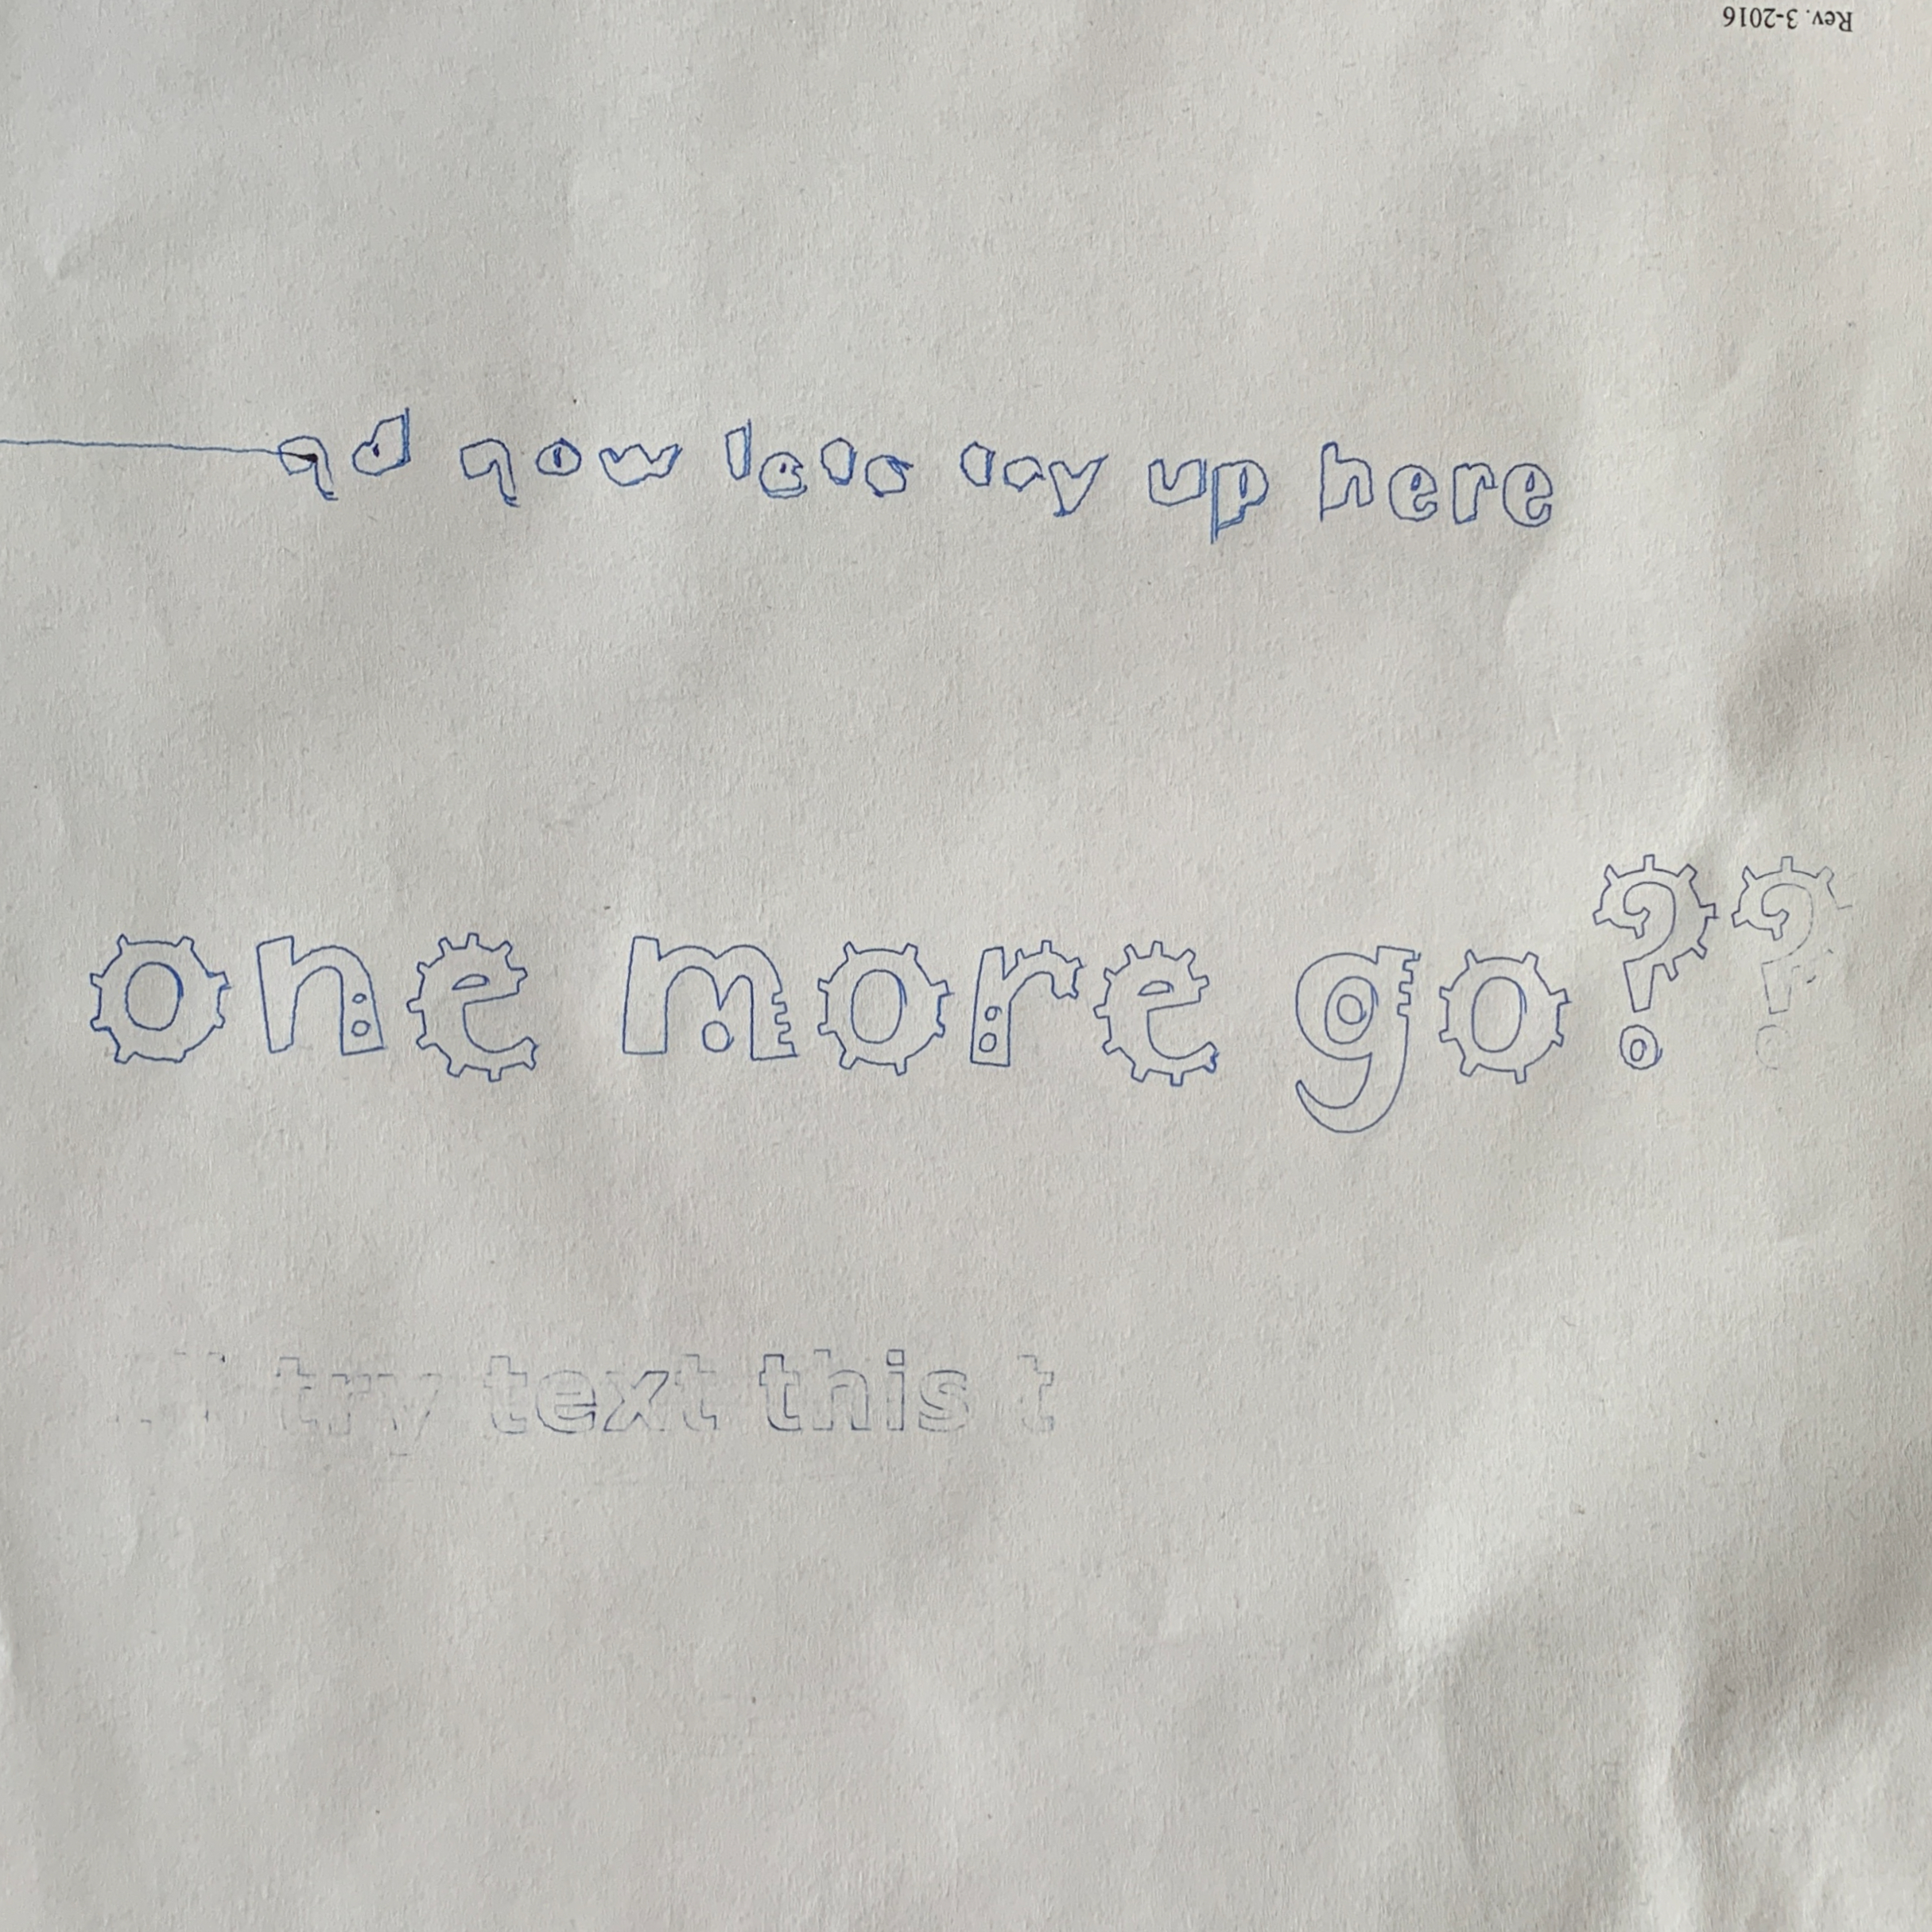
Fine tuning the printing height. |
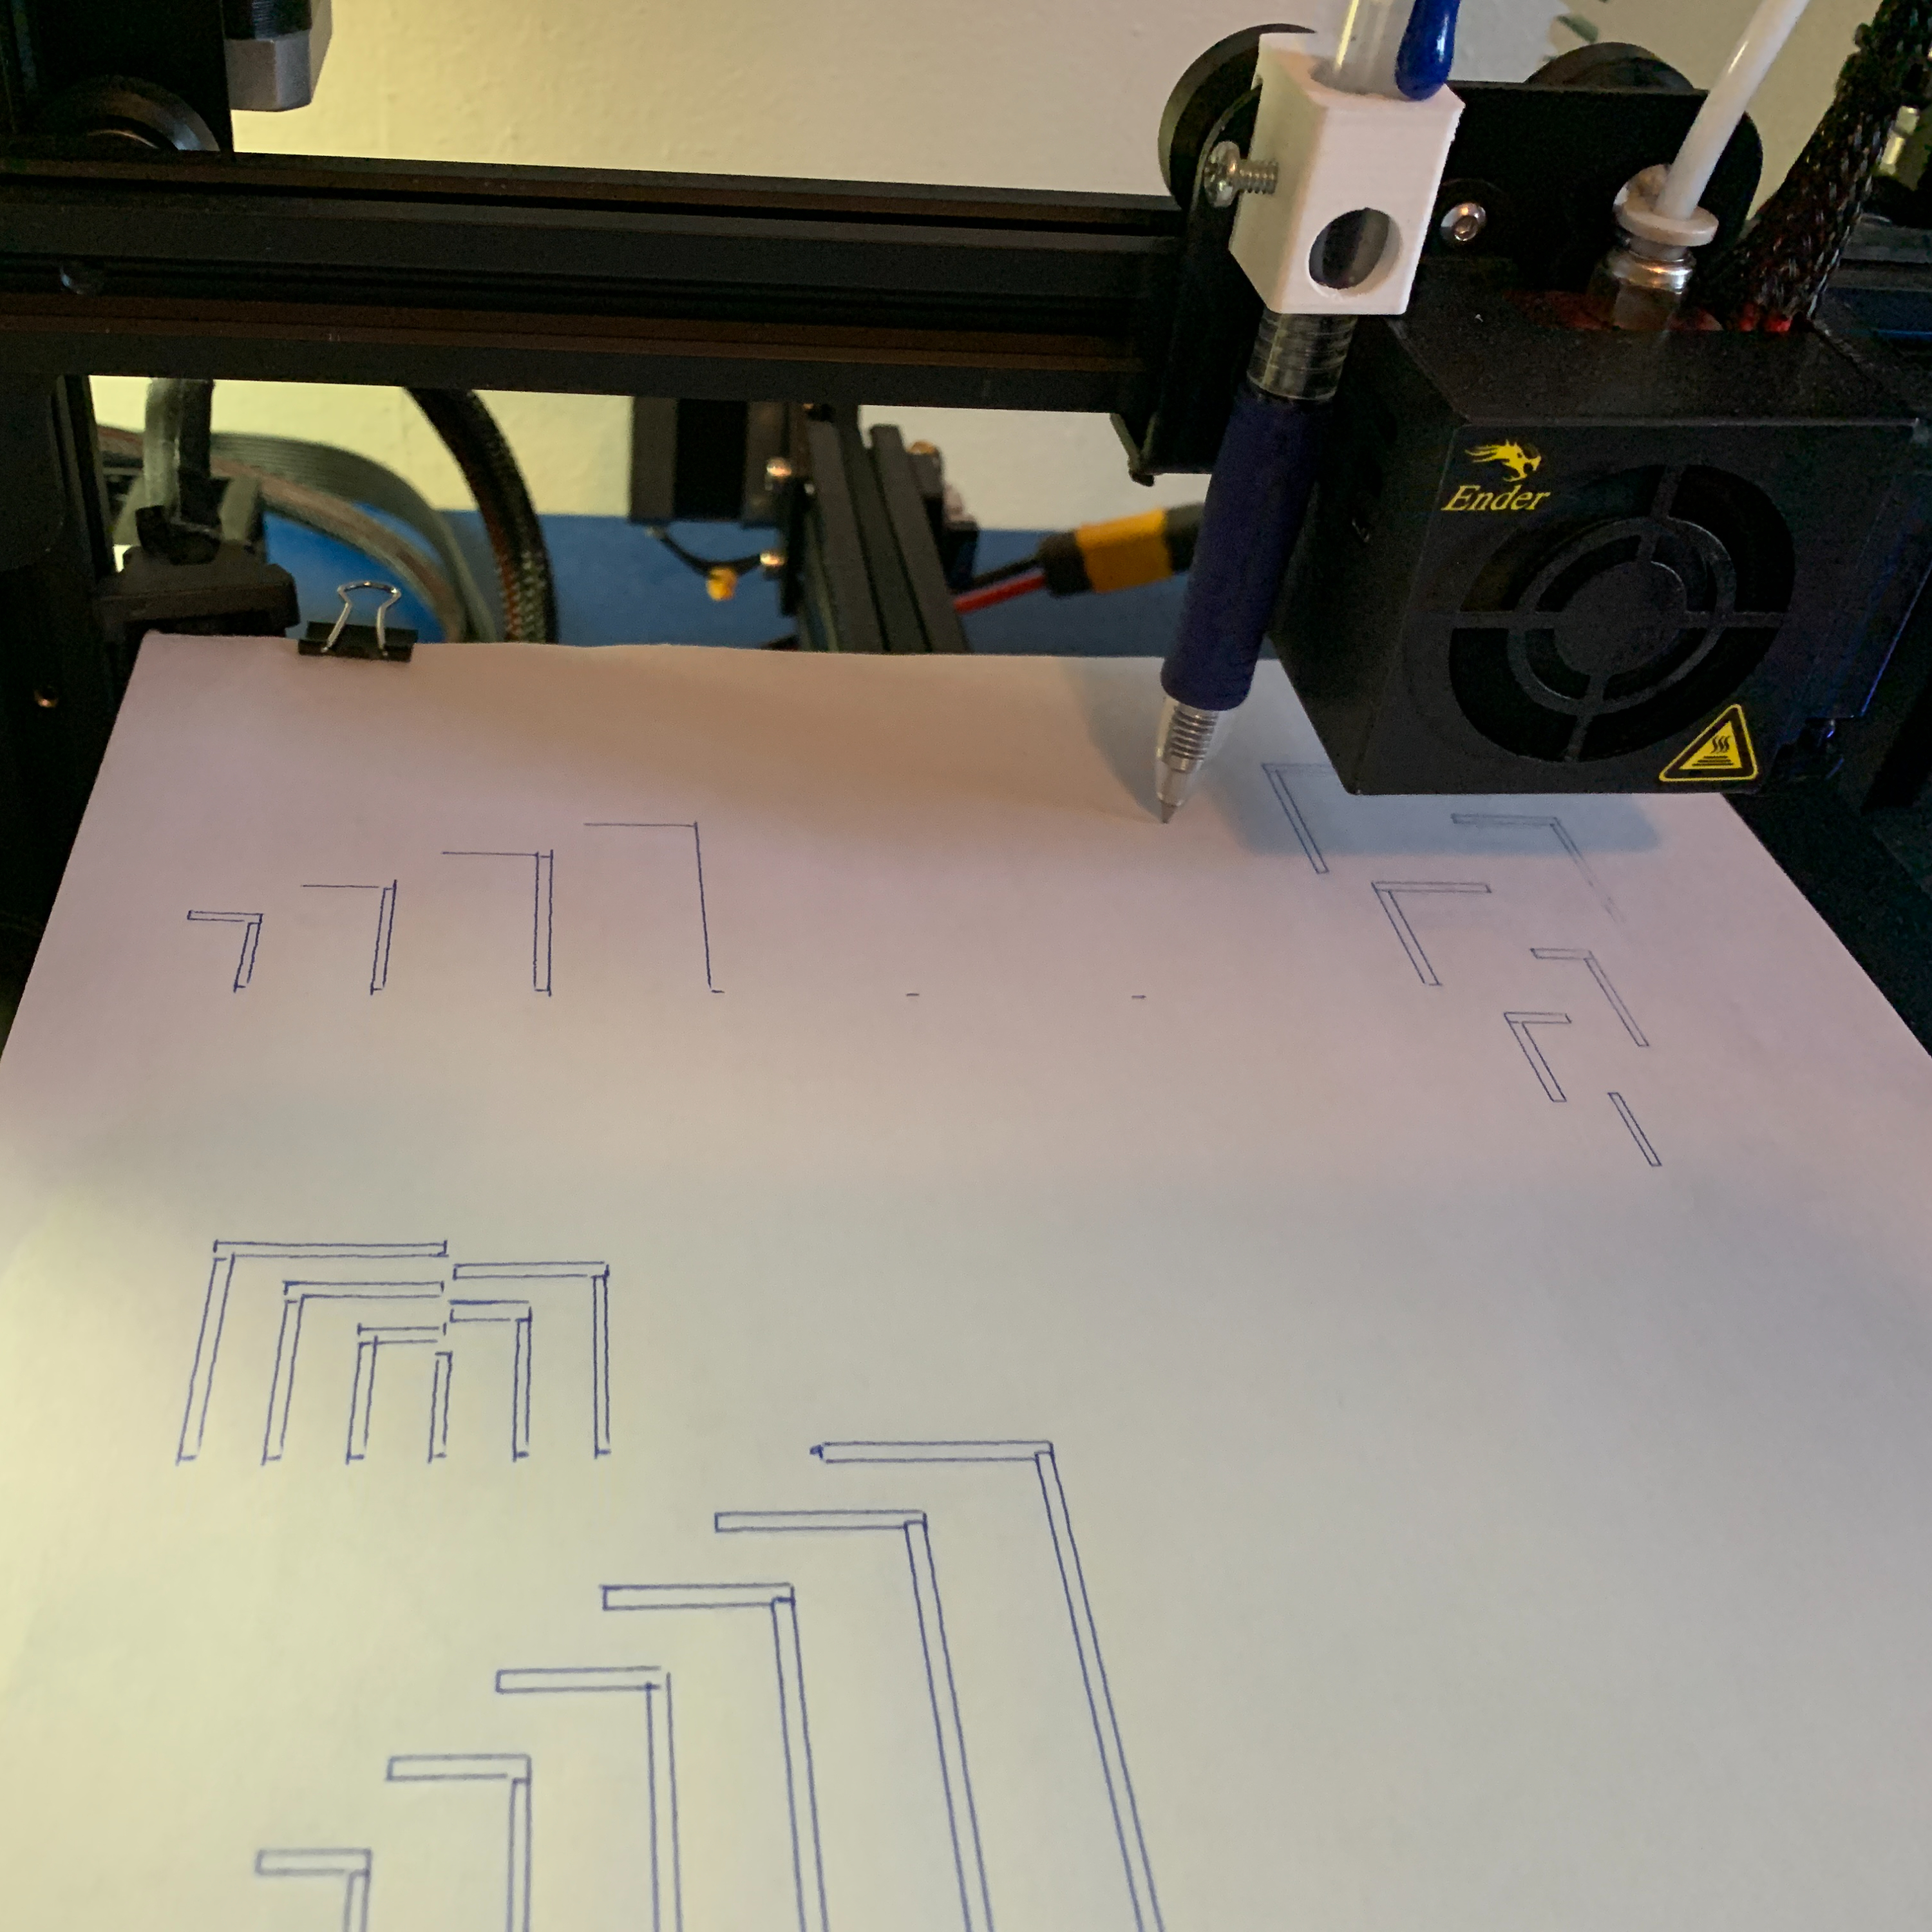
The LED matrix sculpture leg template. |
stamps
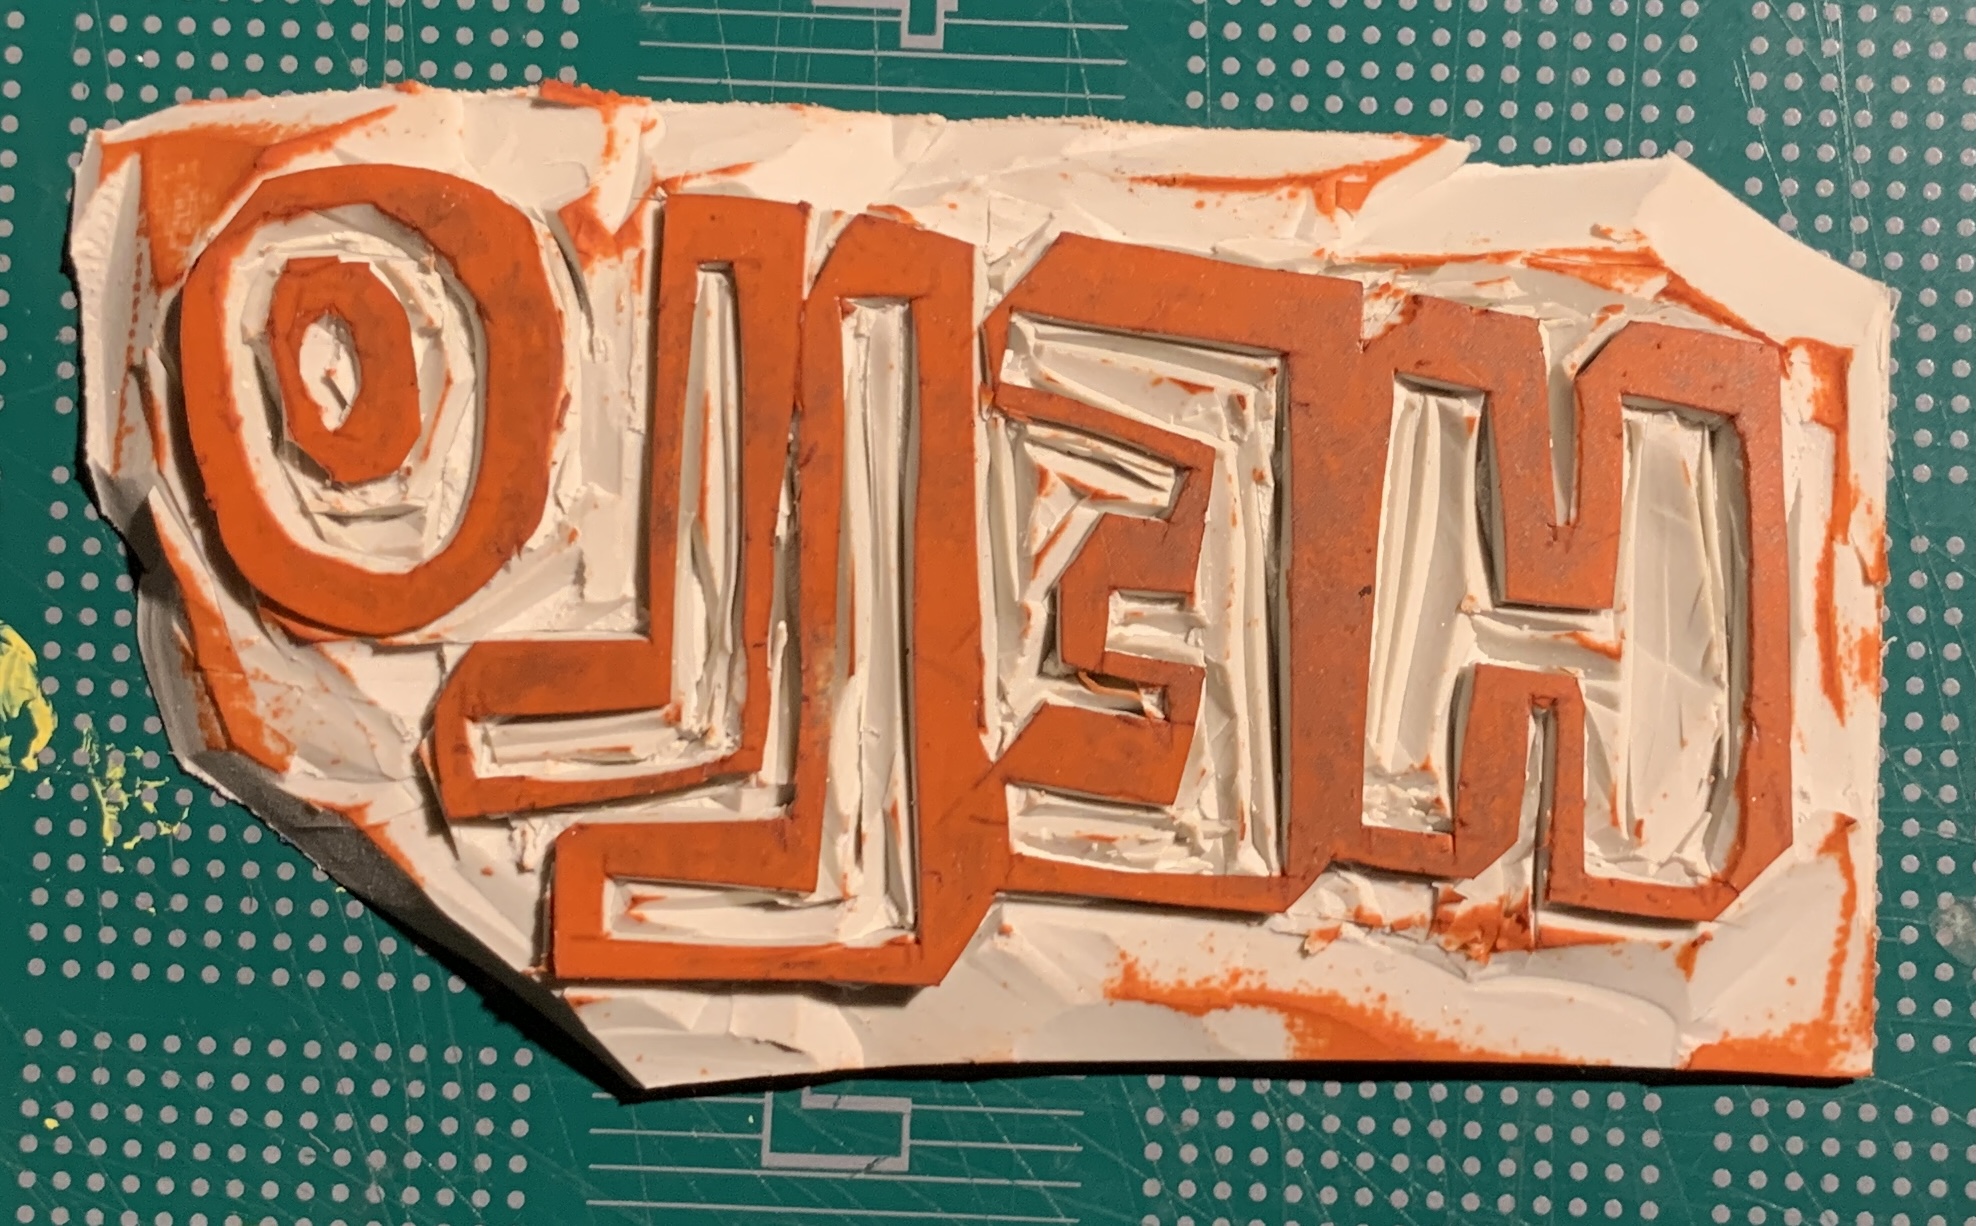
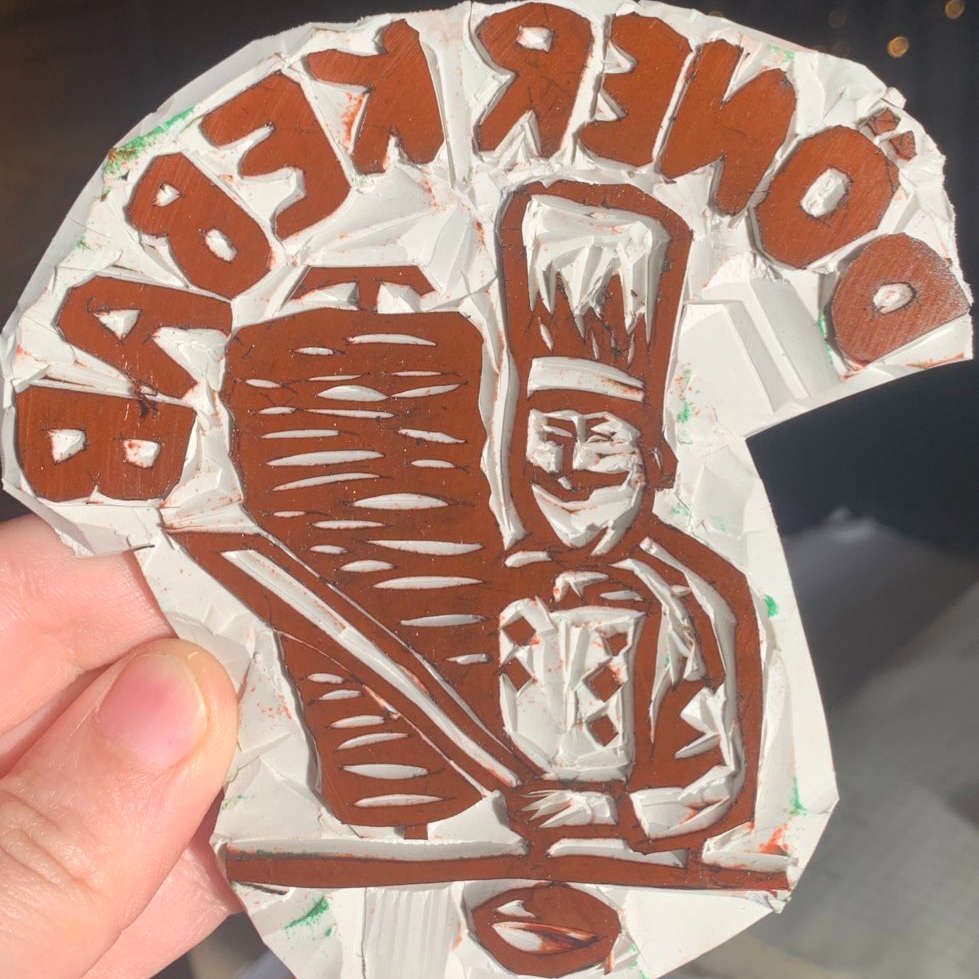
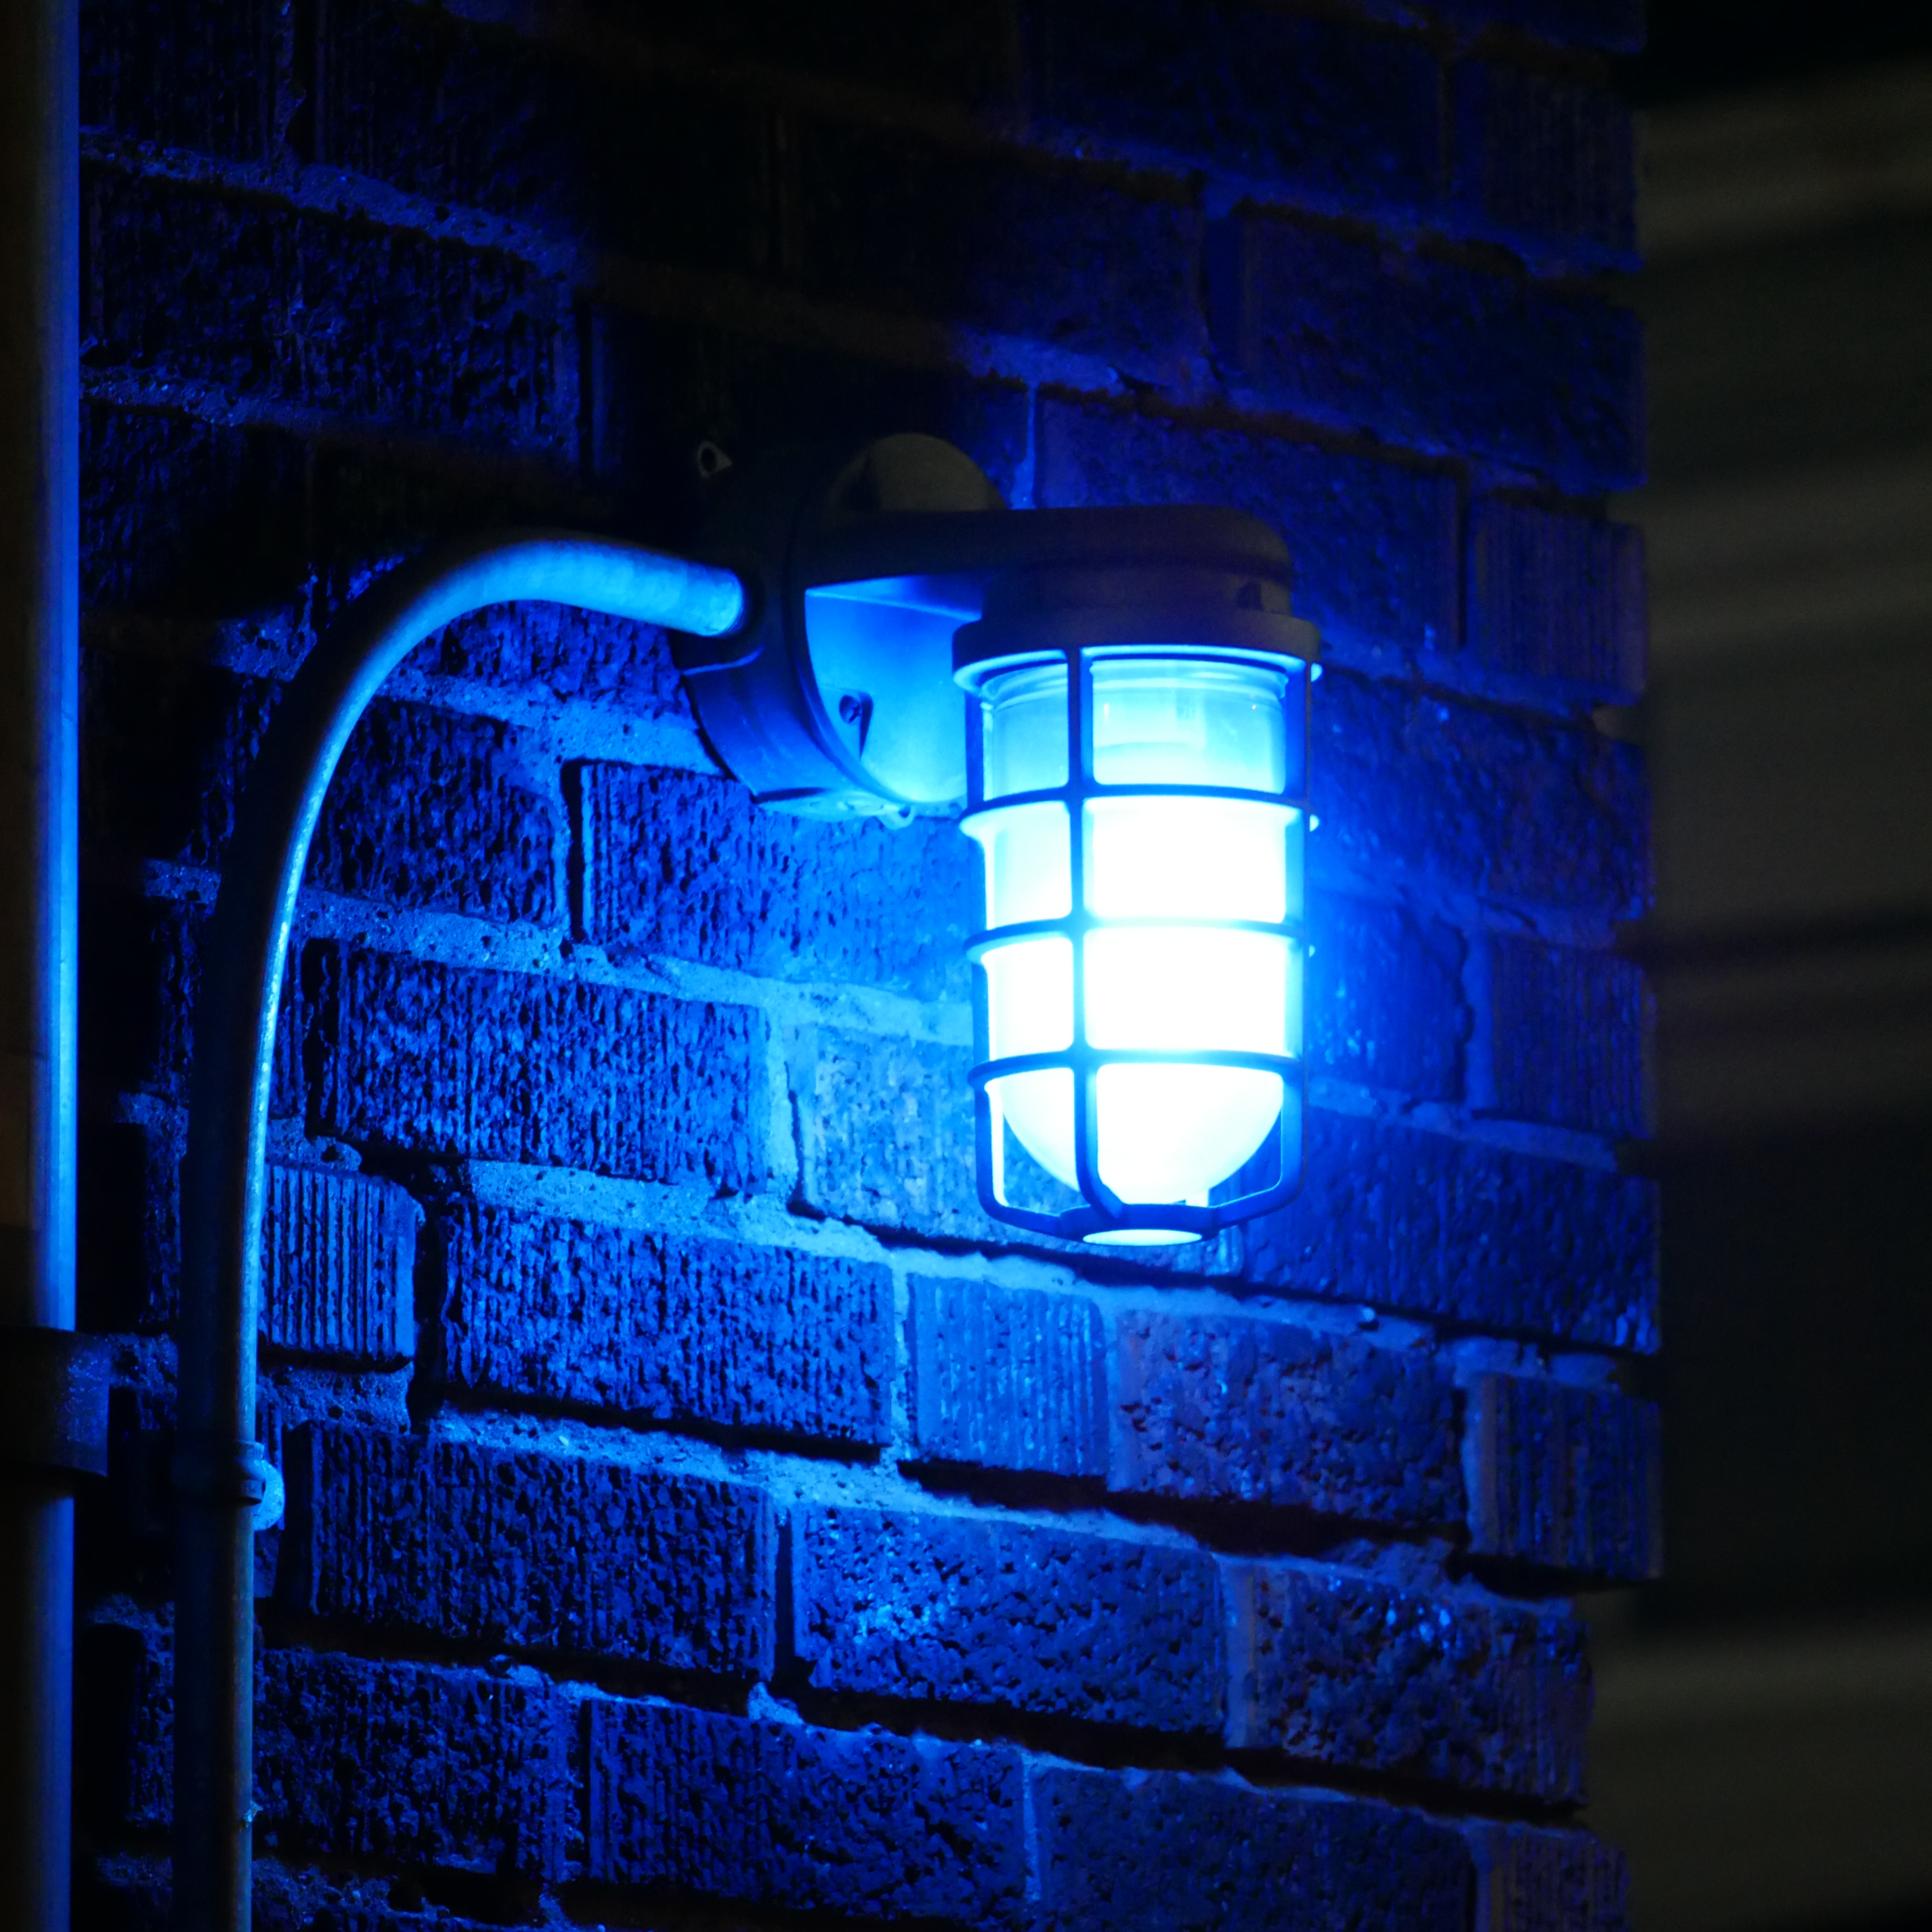
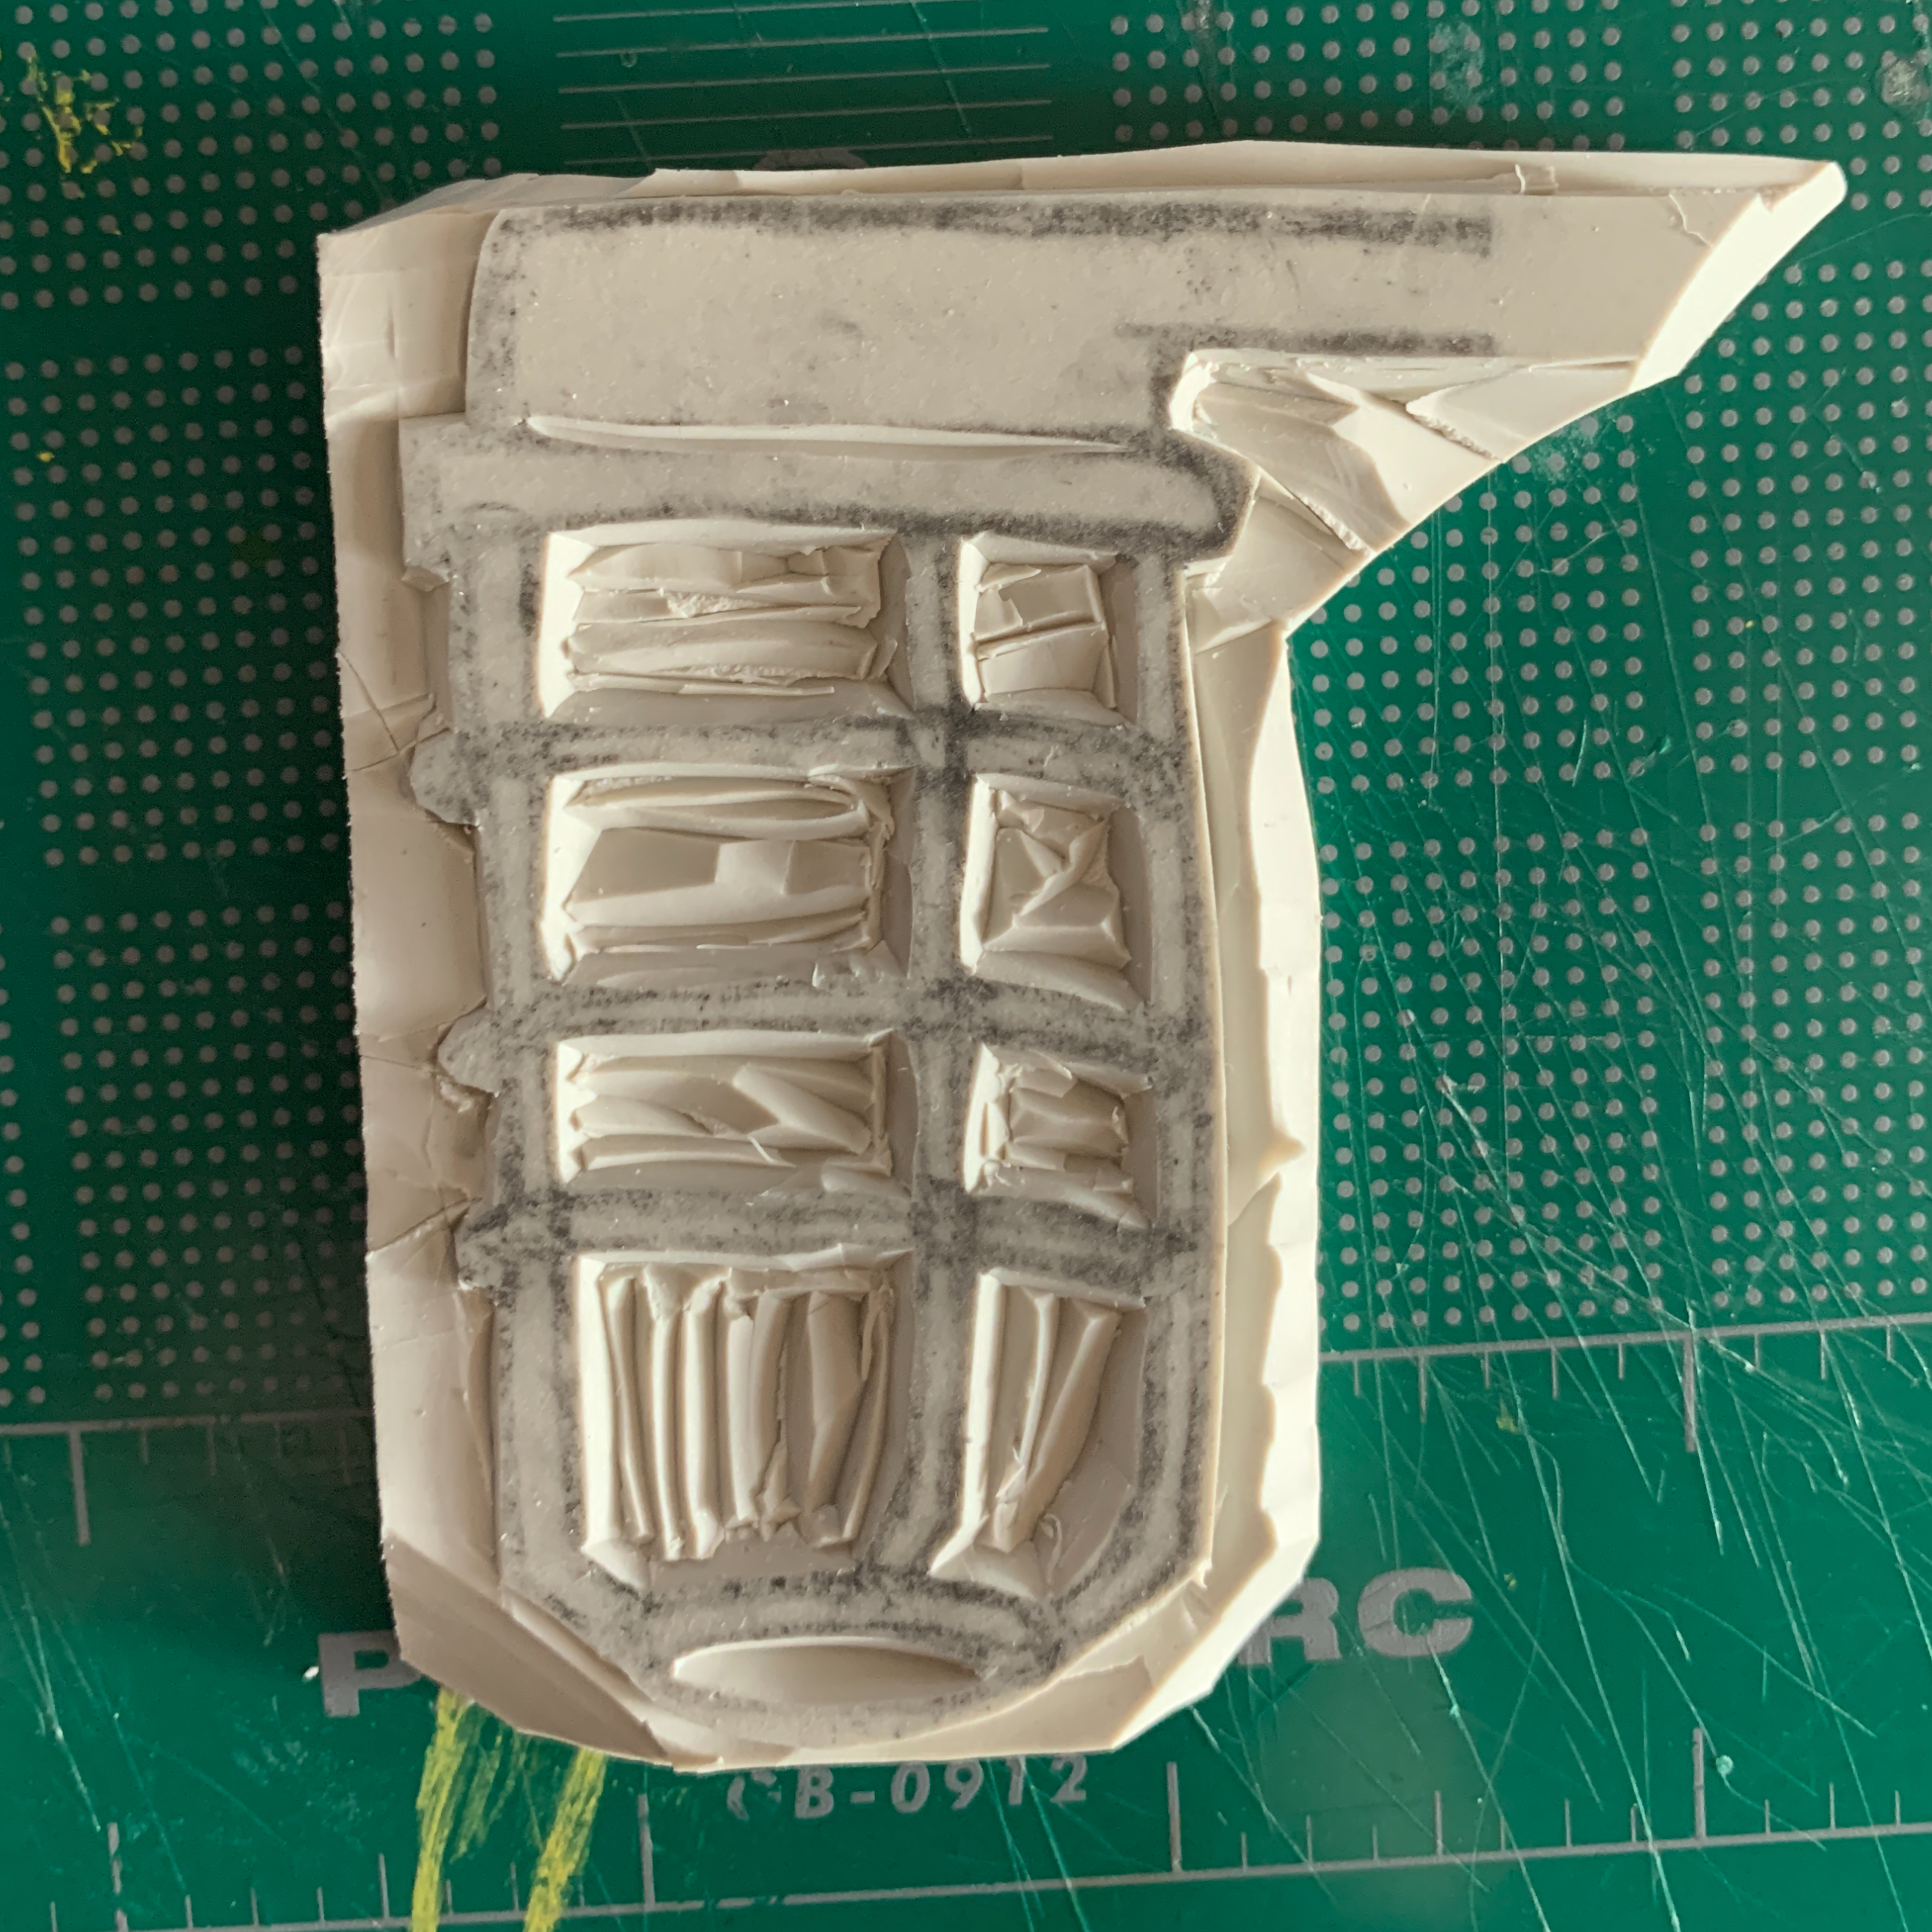
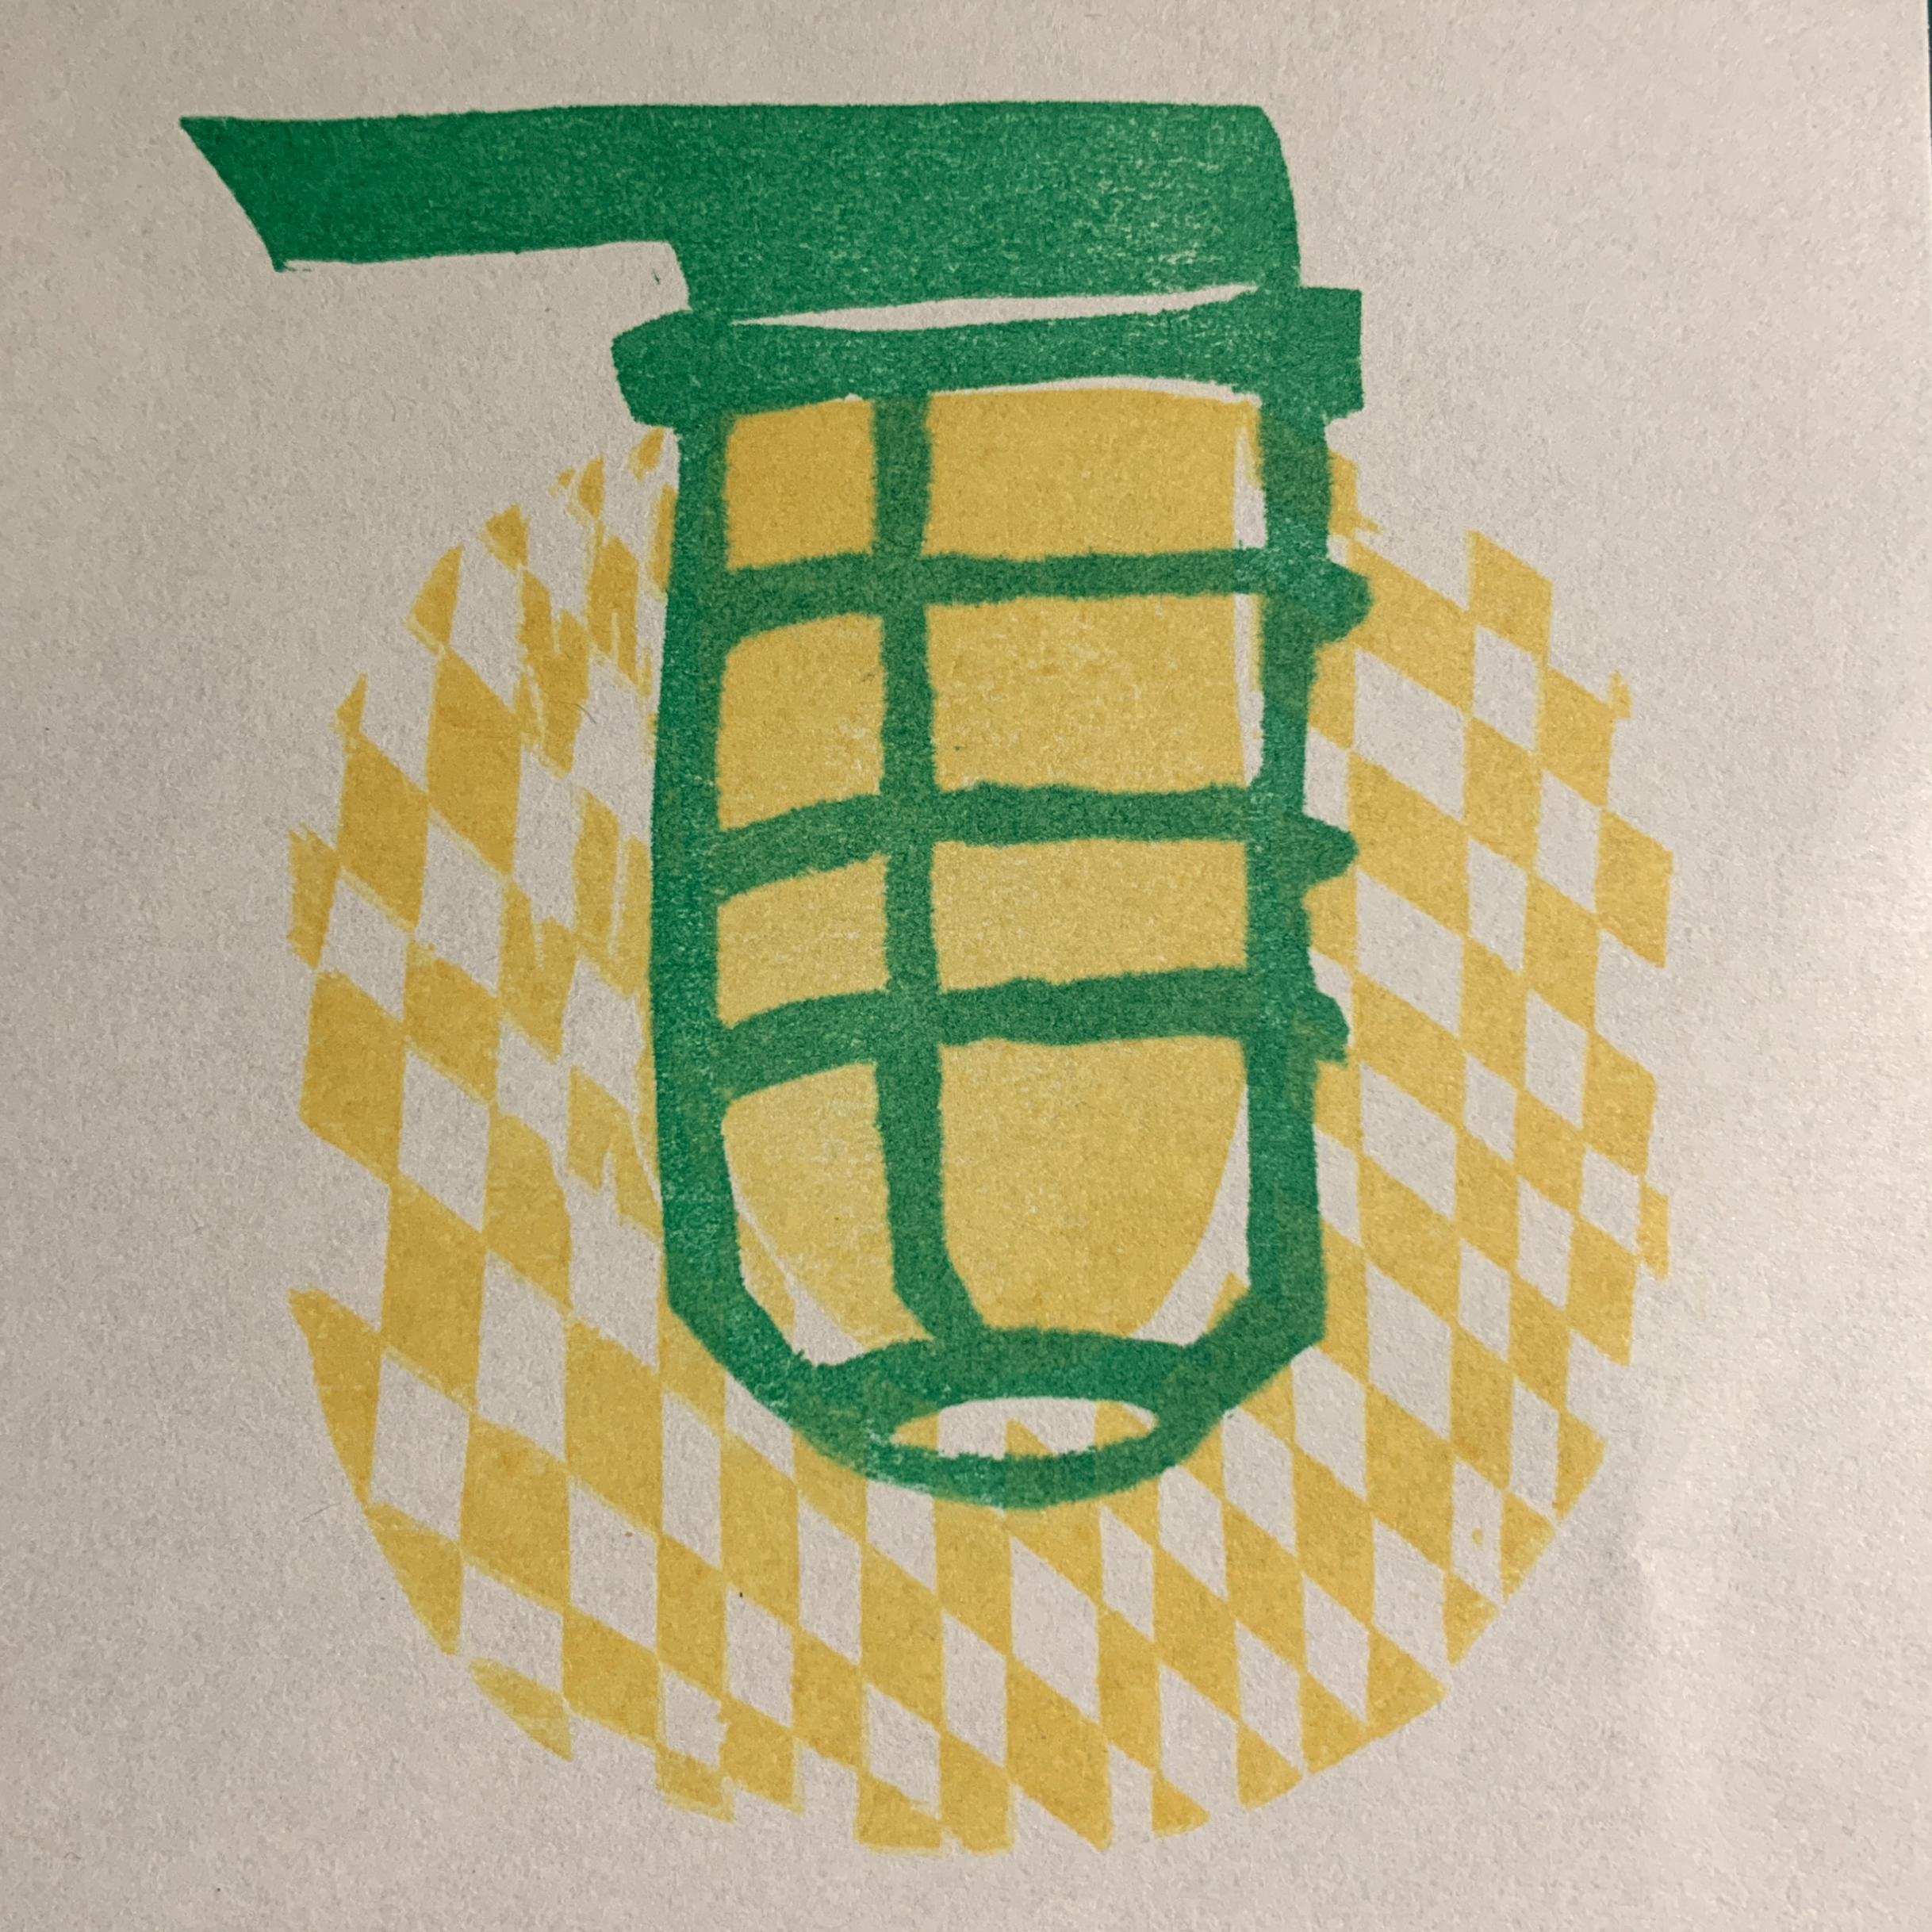
During my second semester of co-op, with no homework to worry about in the evenings and on the weekends, I picked up the hobby of hand cutting linoleum stamps. I've made a few stamps, most of them inspired by things I've seen/photographs I've taken.
|

|

|

|
|

|
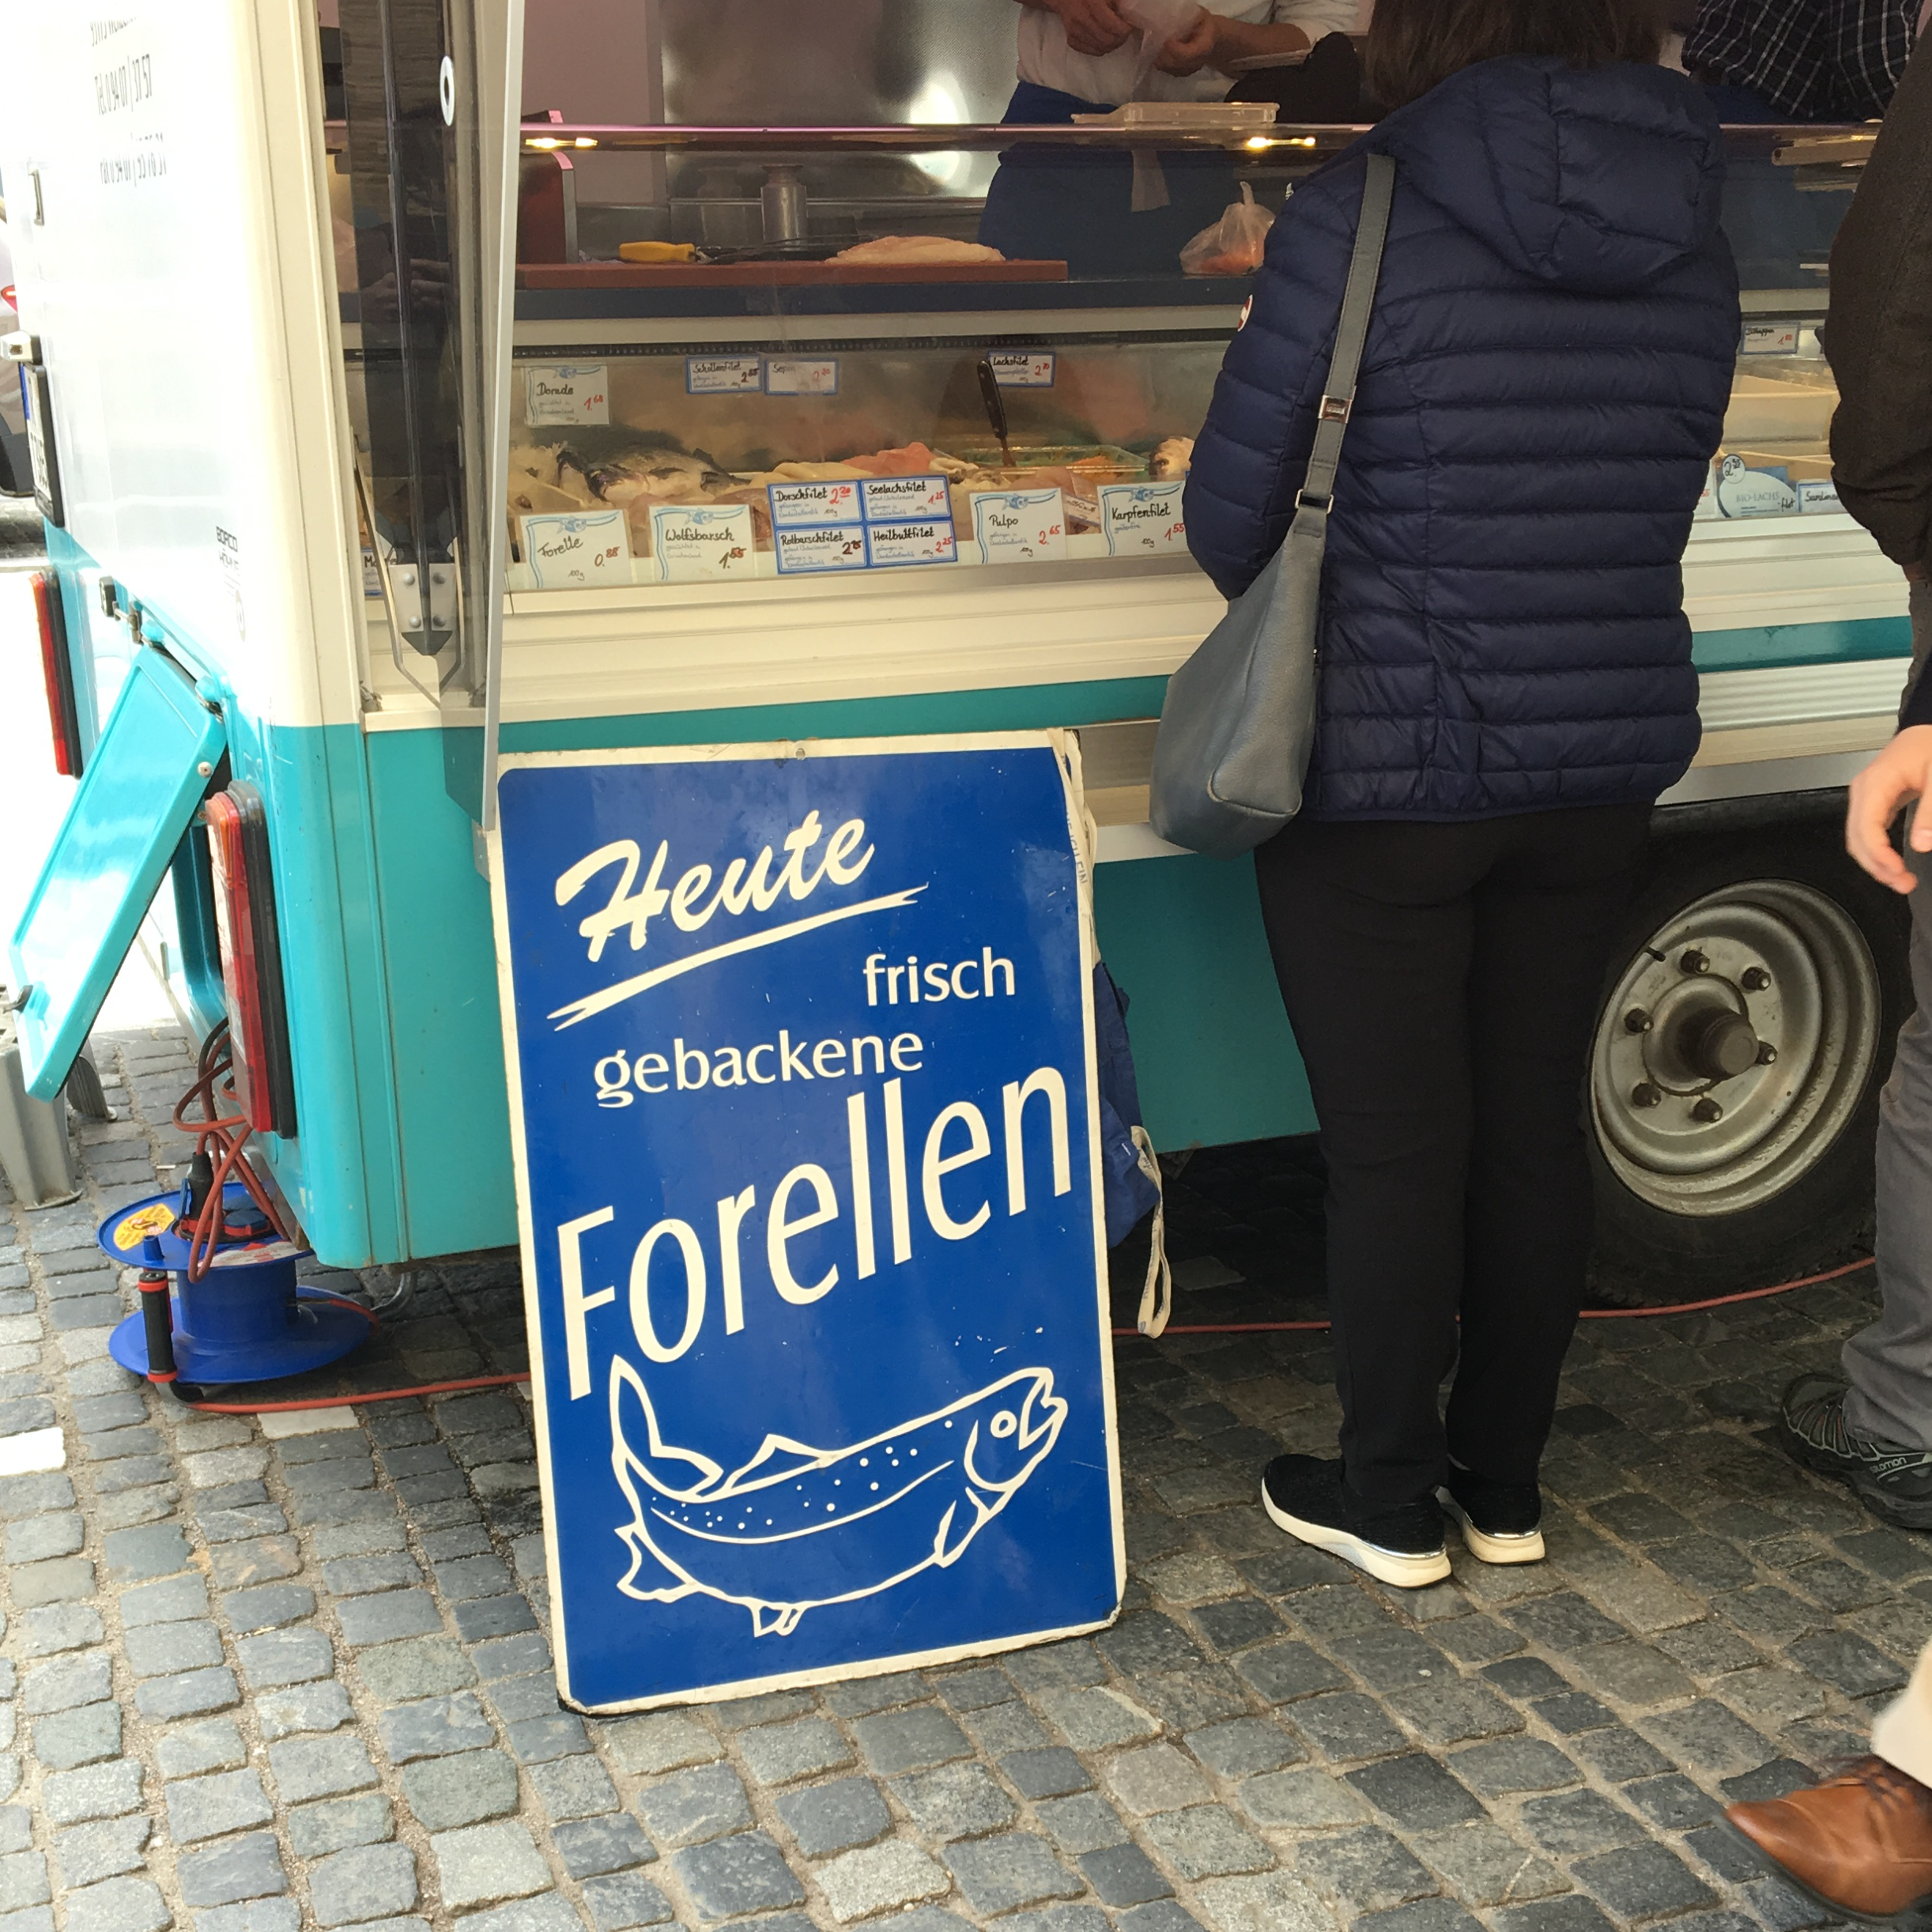
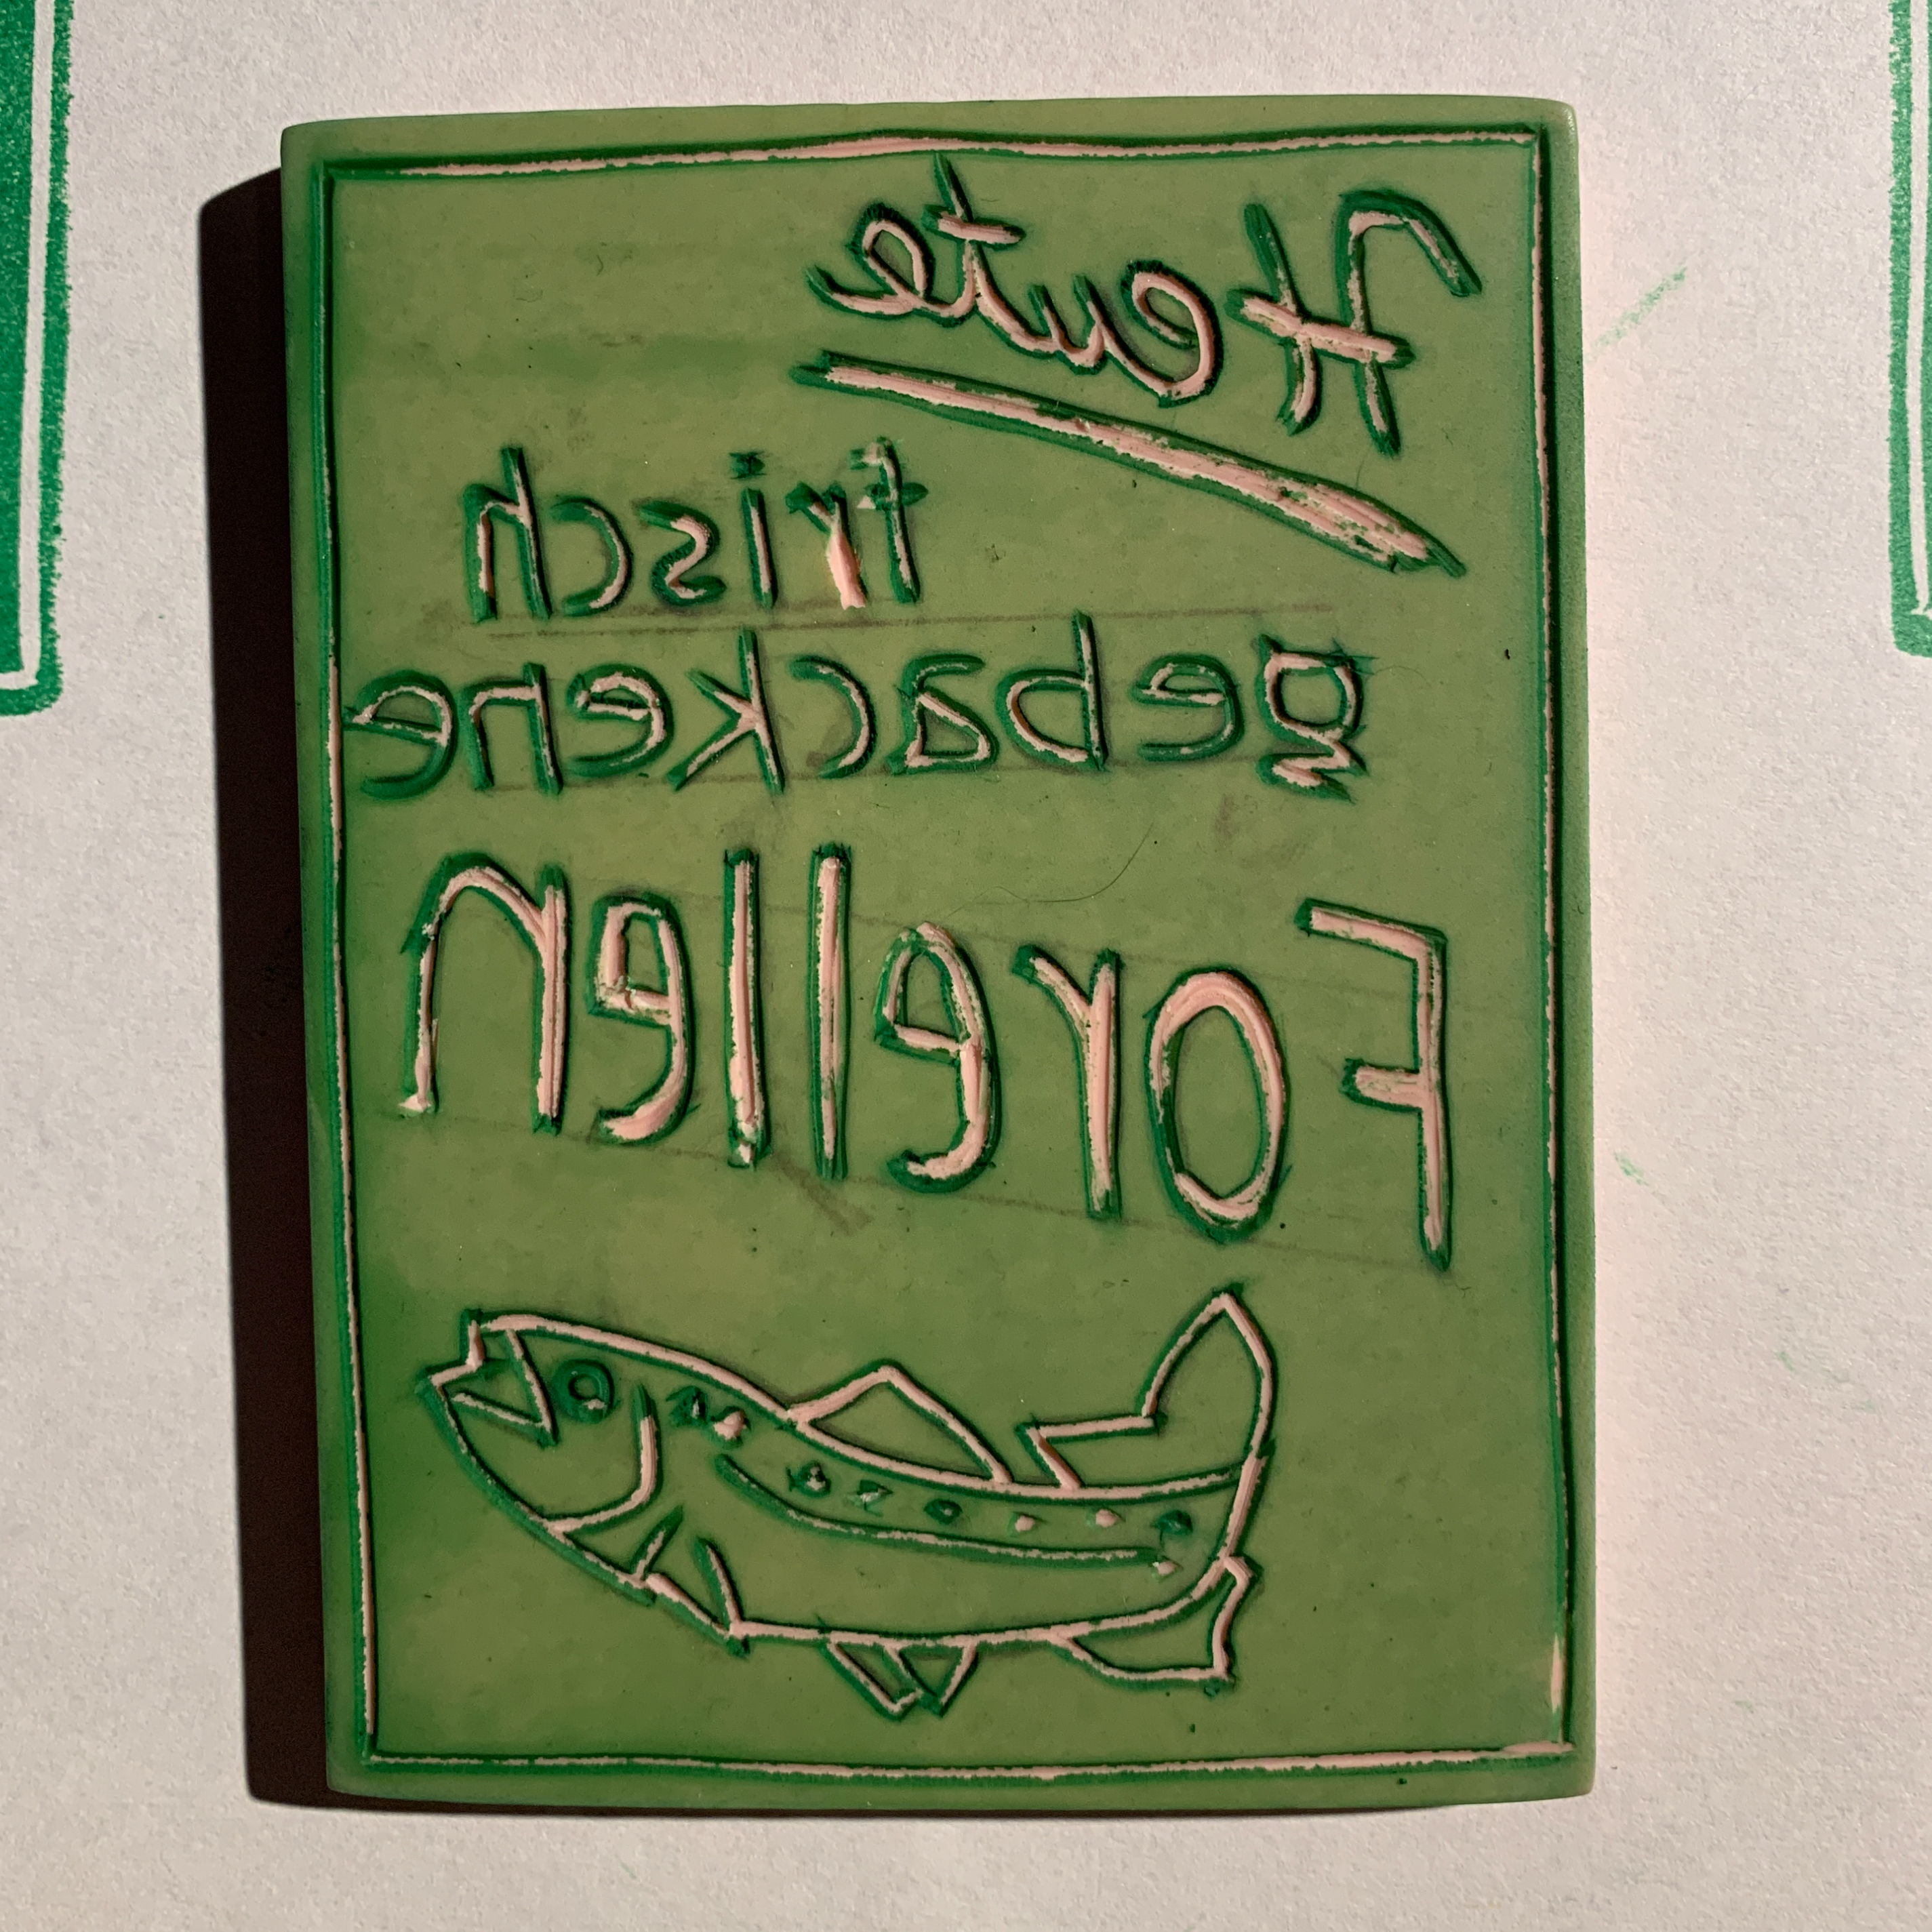
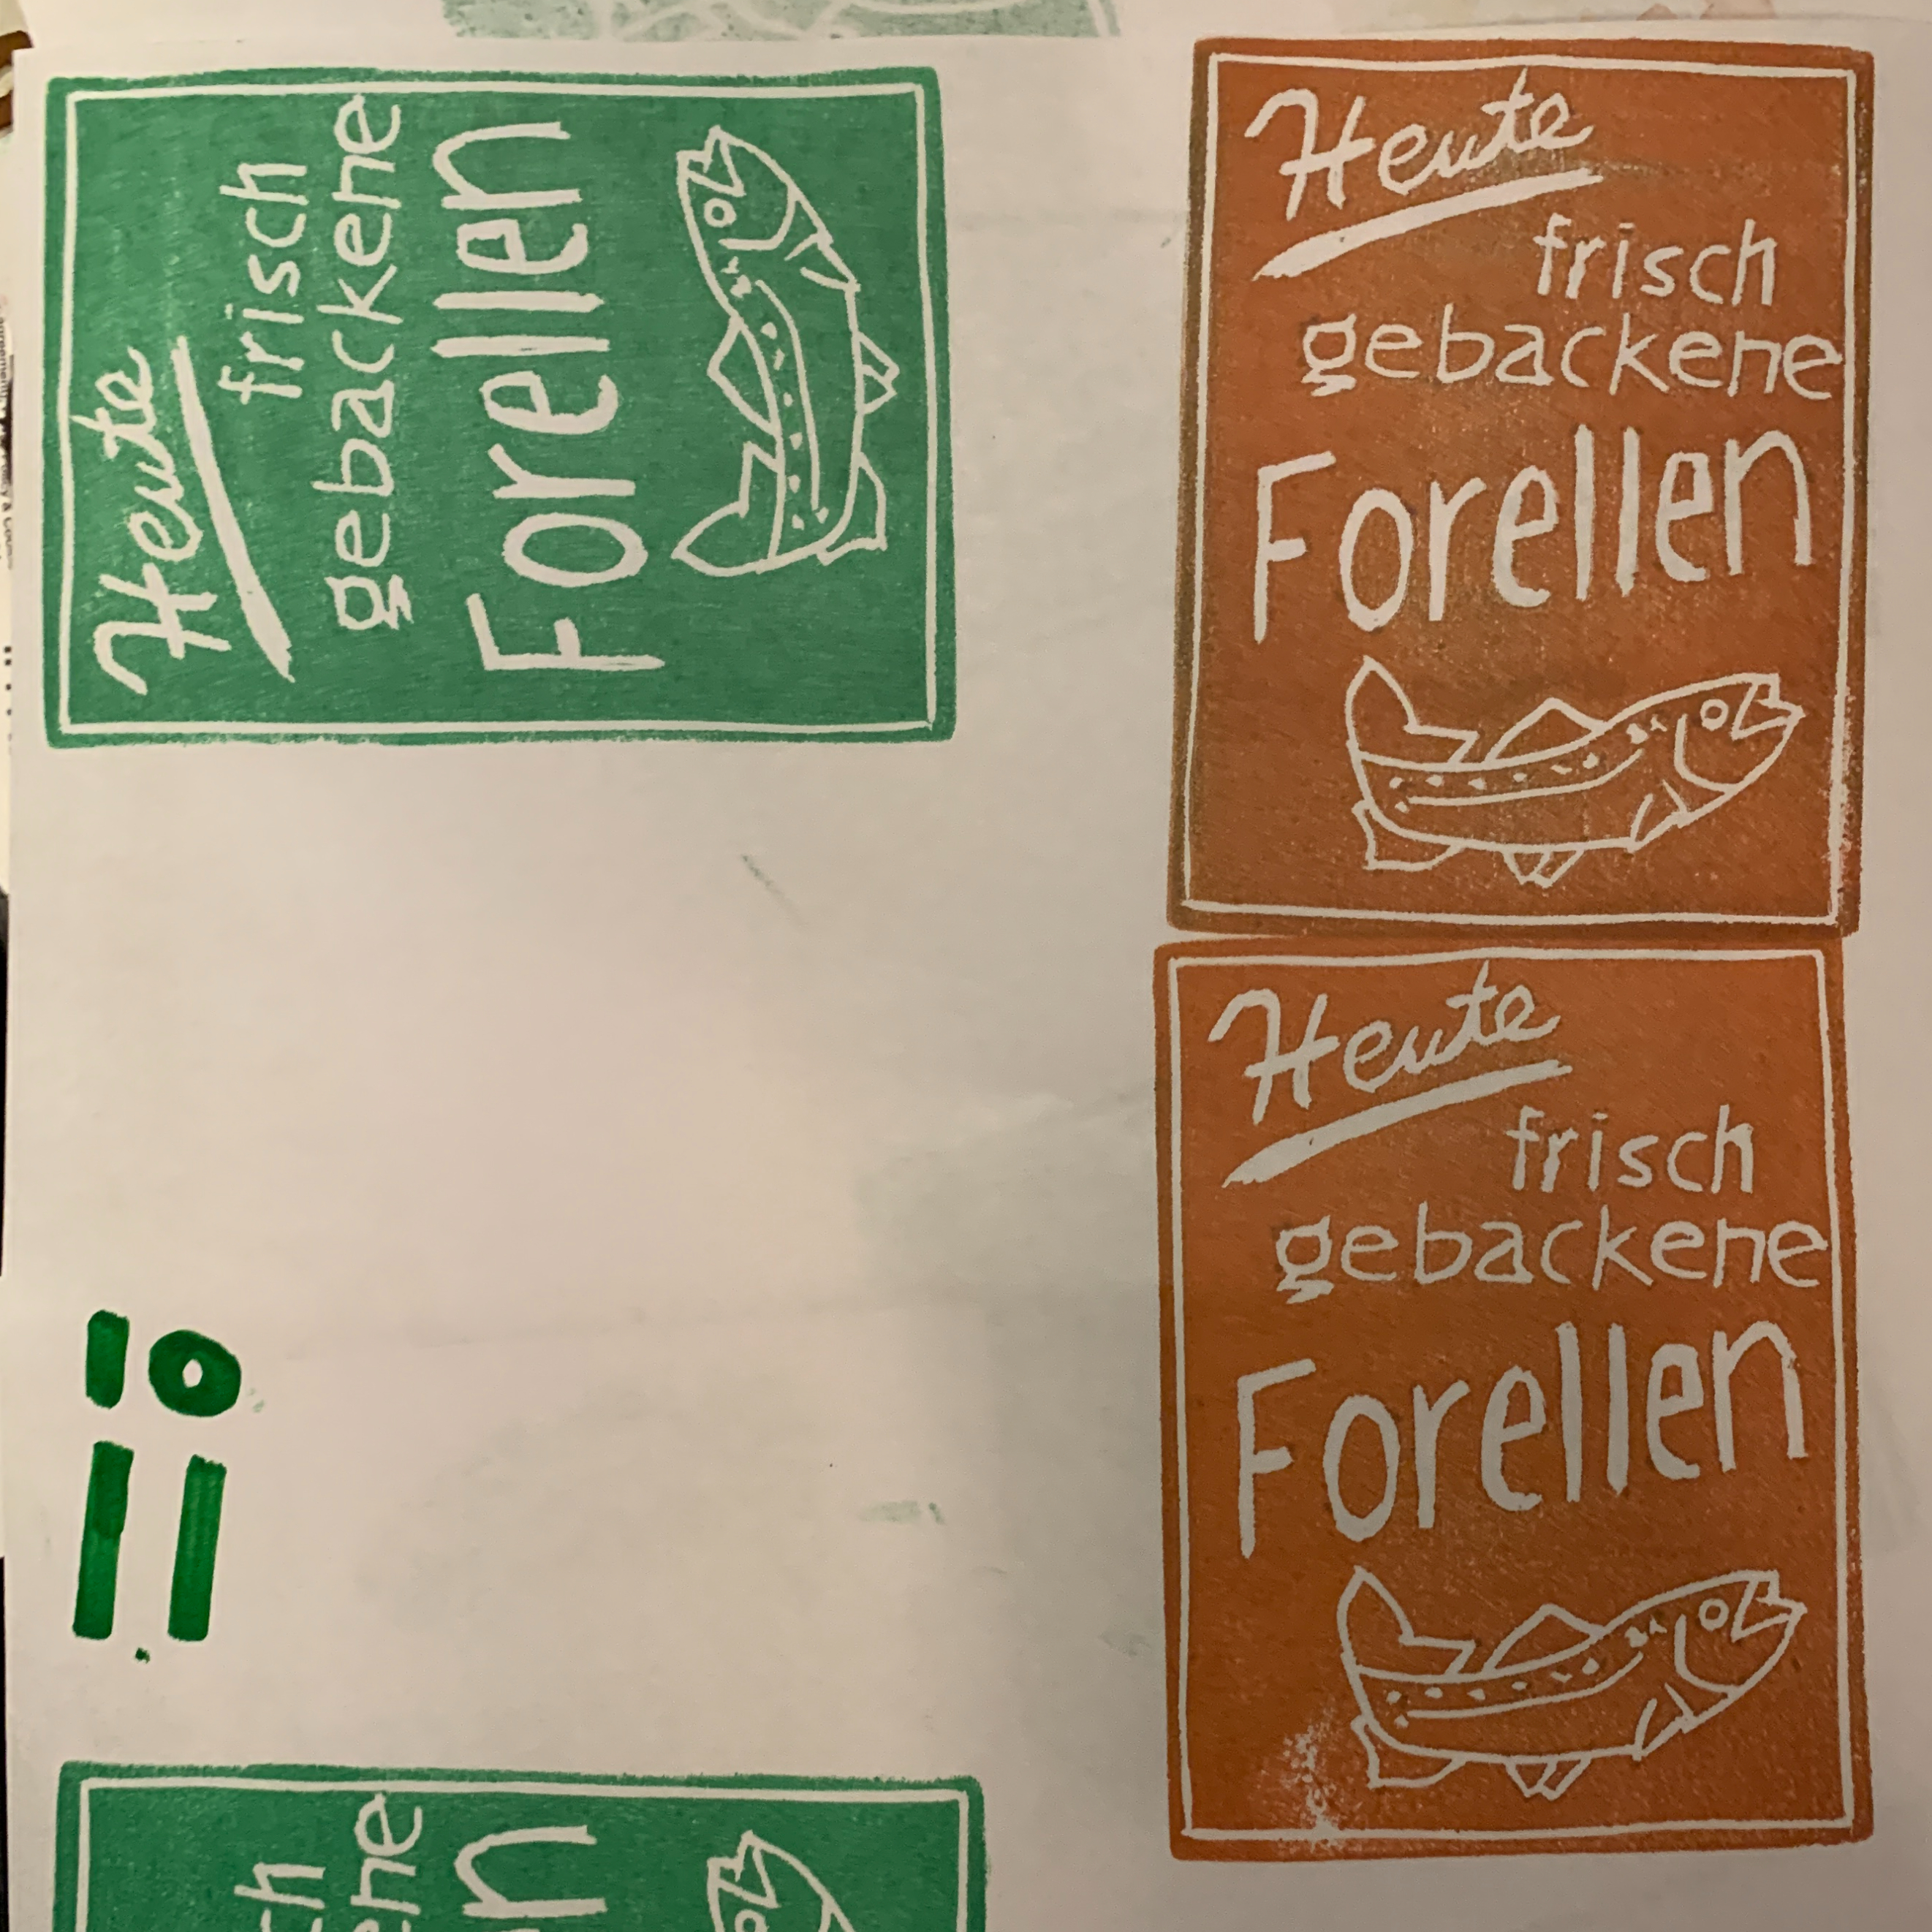
This stamp replicates a cool sign I saw in Regensburg:
|
|
|
|
|
|
napkin holder
|
|
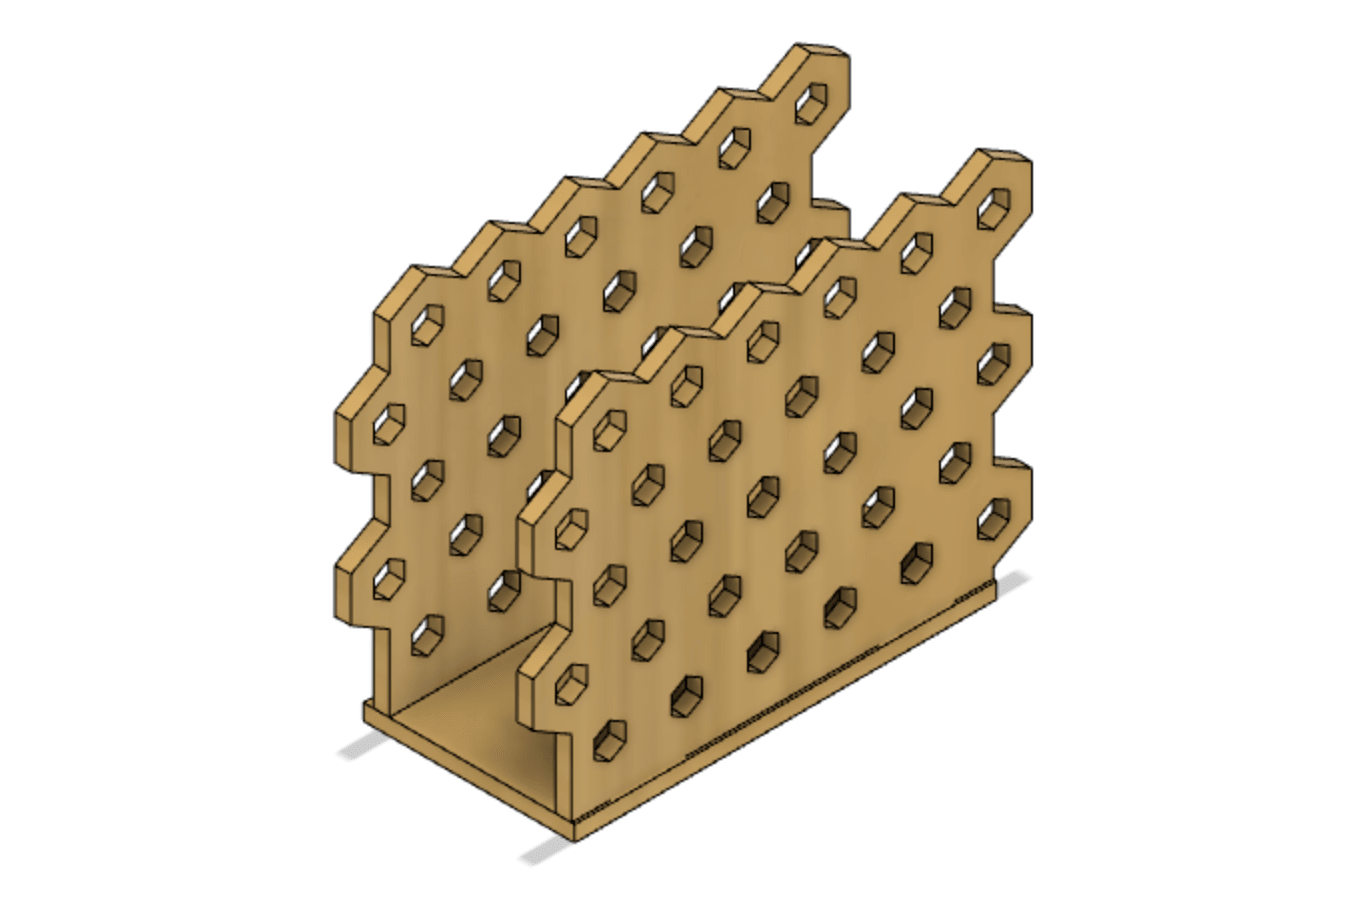
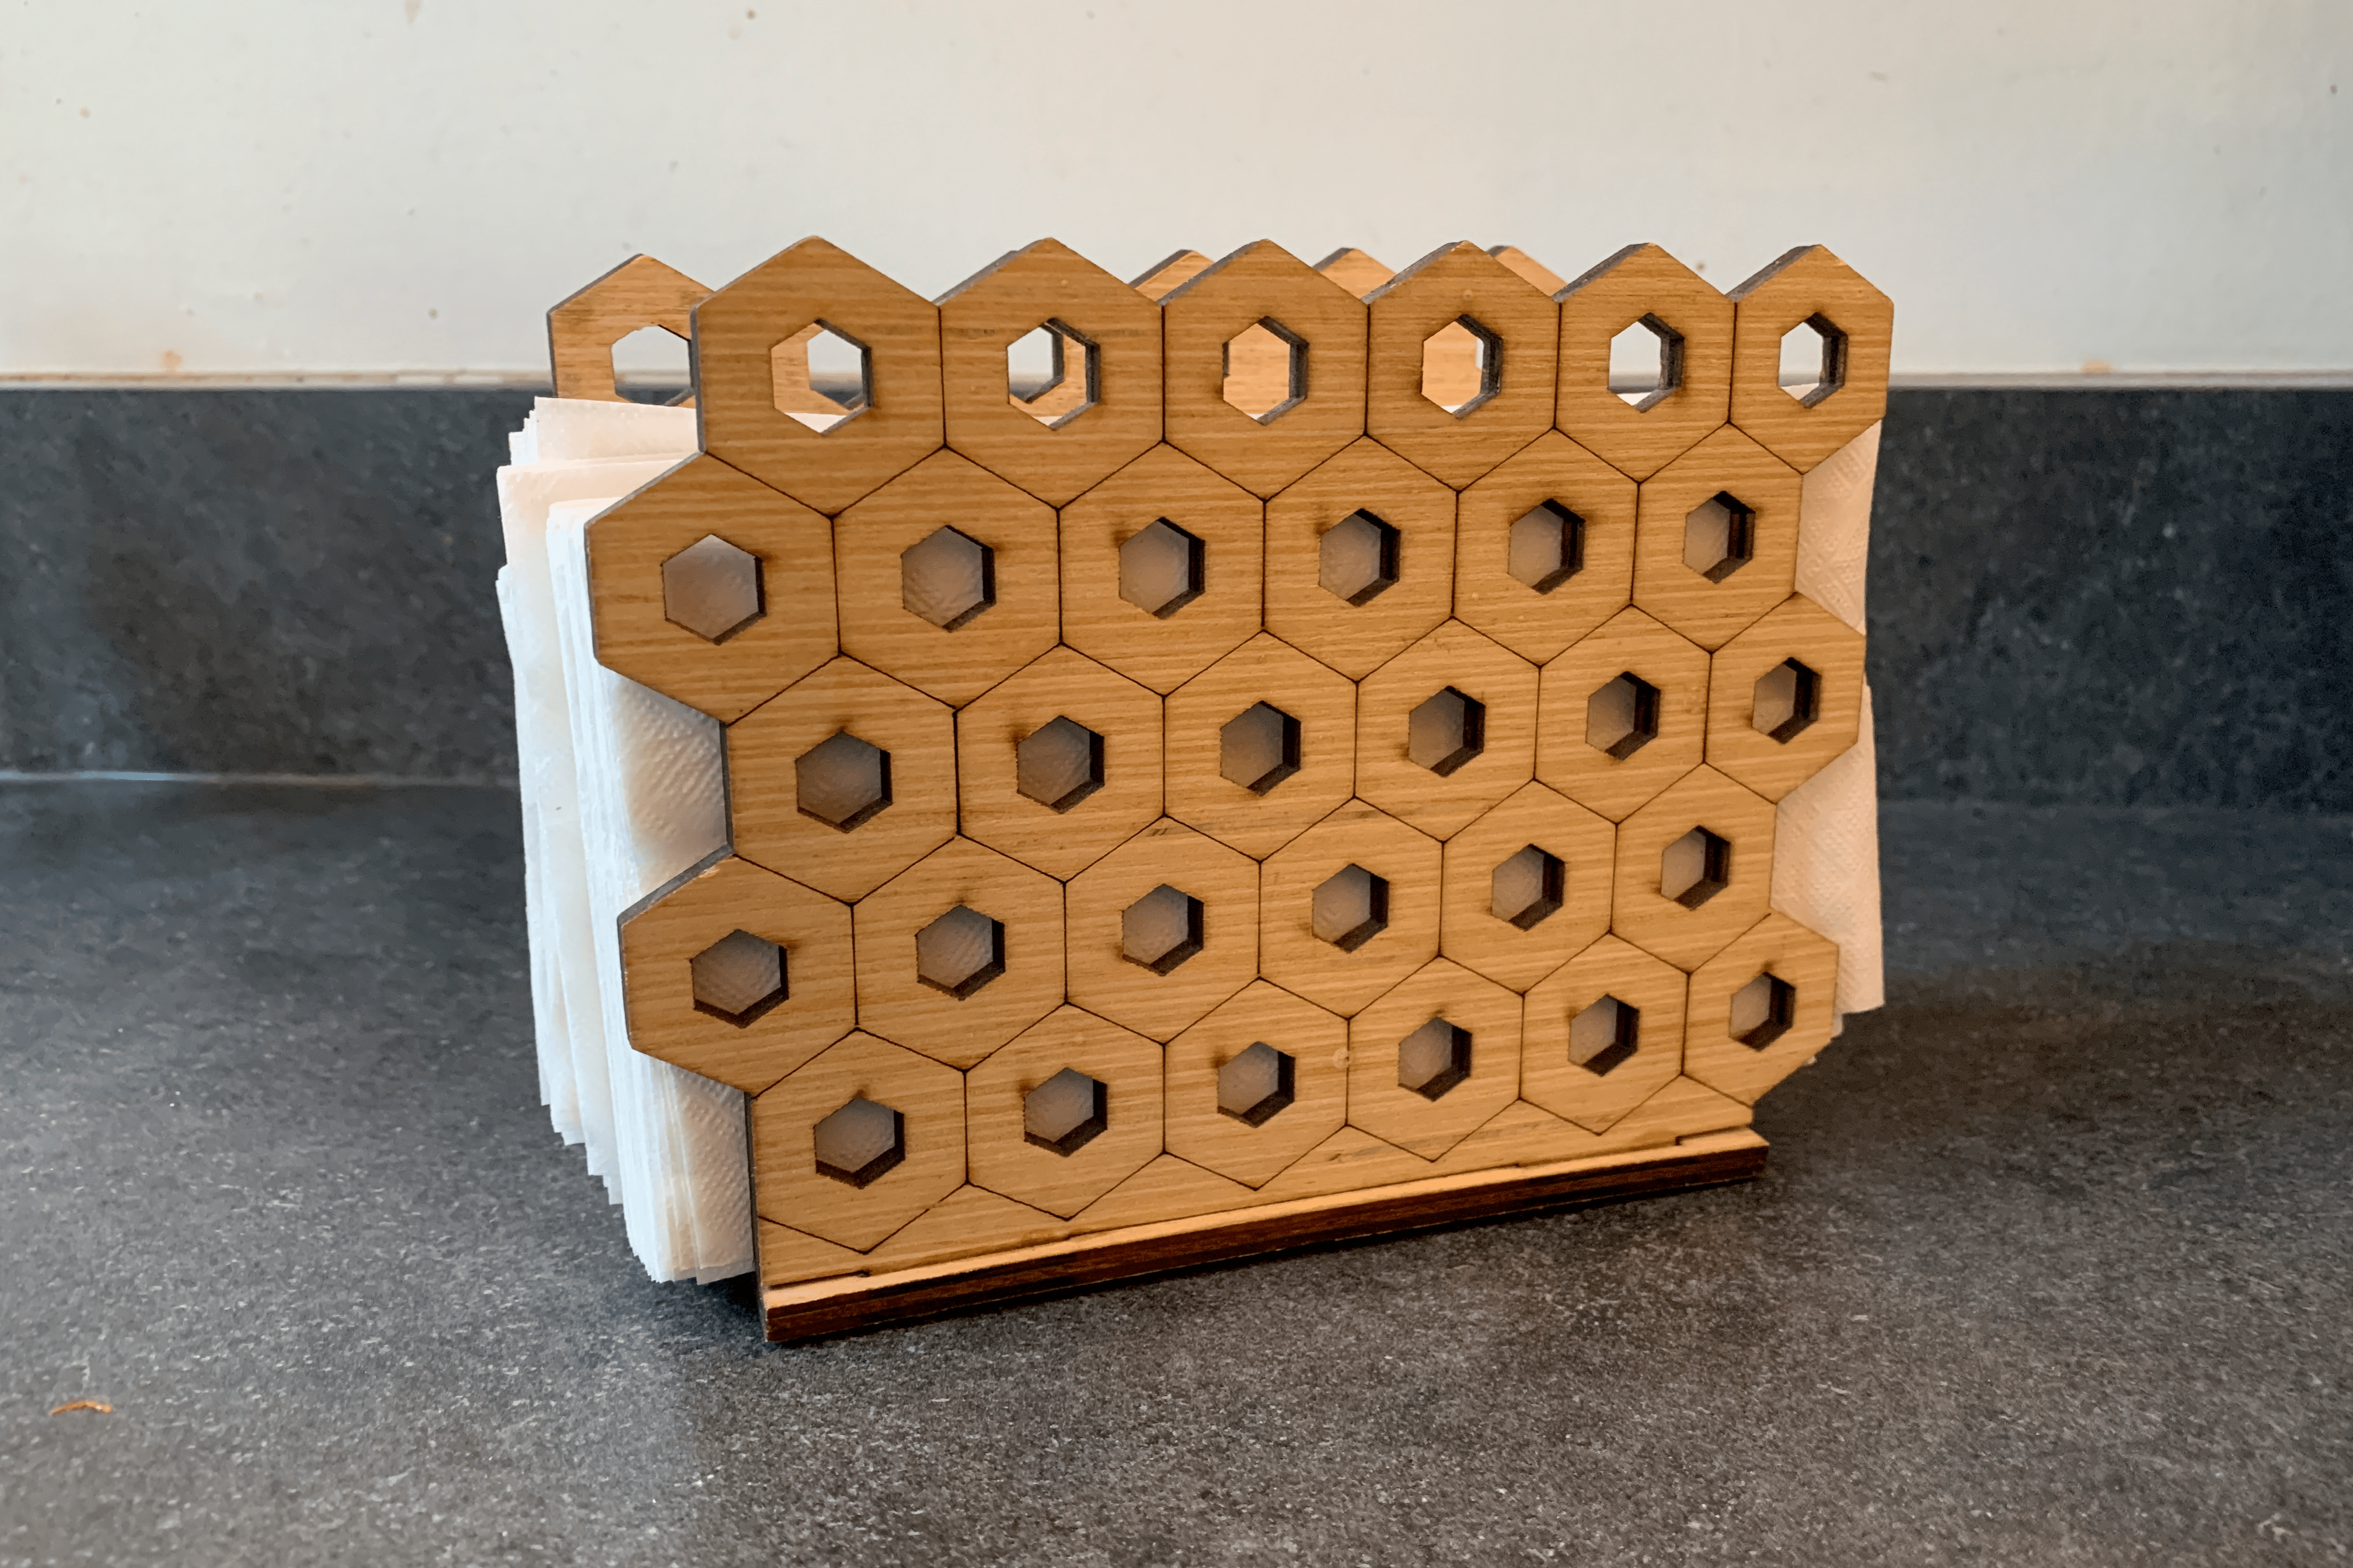
When I moved into my first off campus house, none of my roommates nor I had a napkin holder. Rather than buying one, I figured it would be a simple enough laser cutting project. I modeled the honeycomb-inspired design in Fusion 360 and laser cut the three panels out of plywood. I reinforced the joints with wood glue, and we've been using it at our dining table ever since!
helping hands
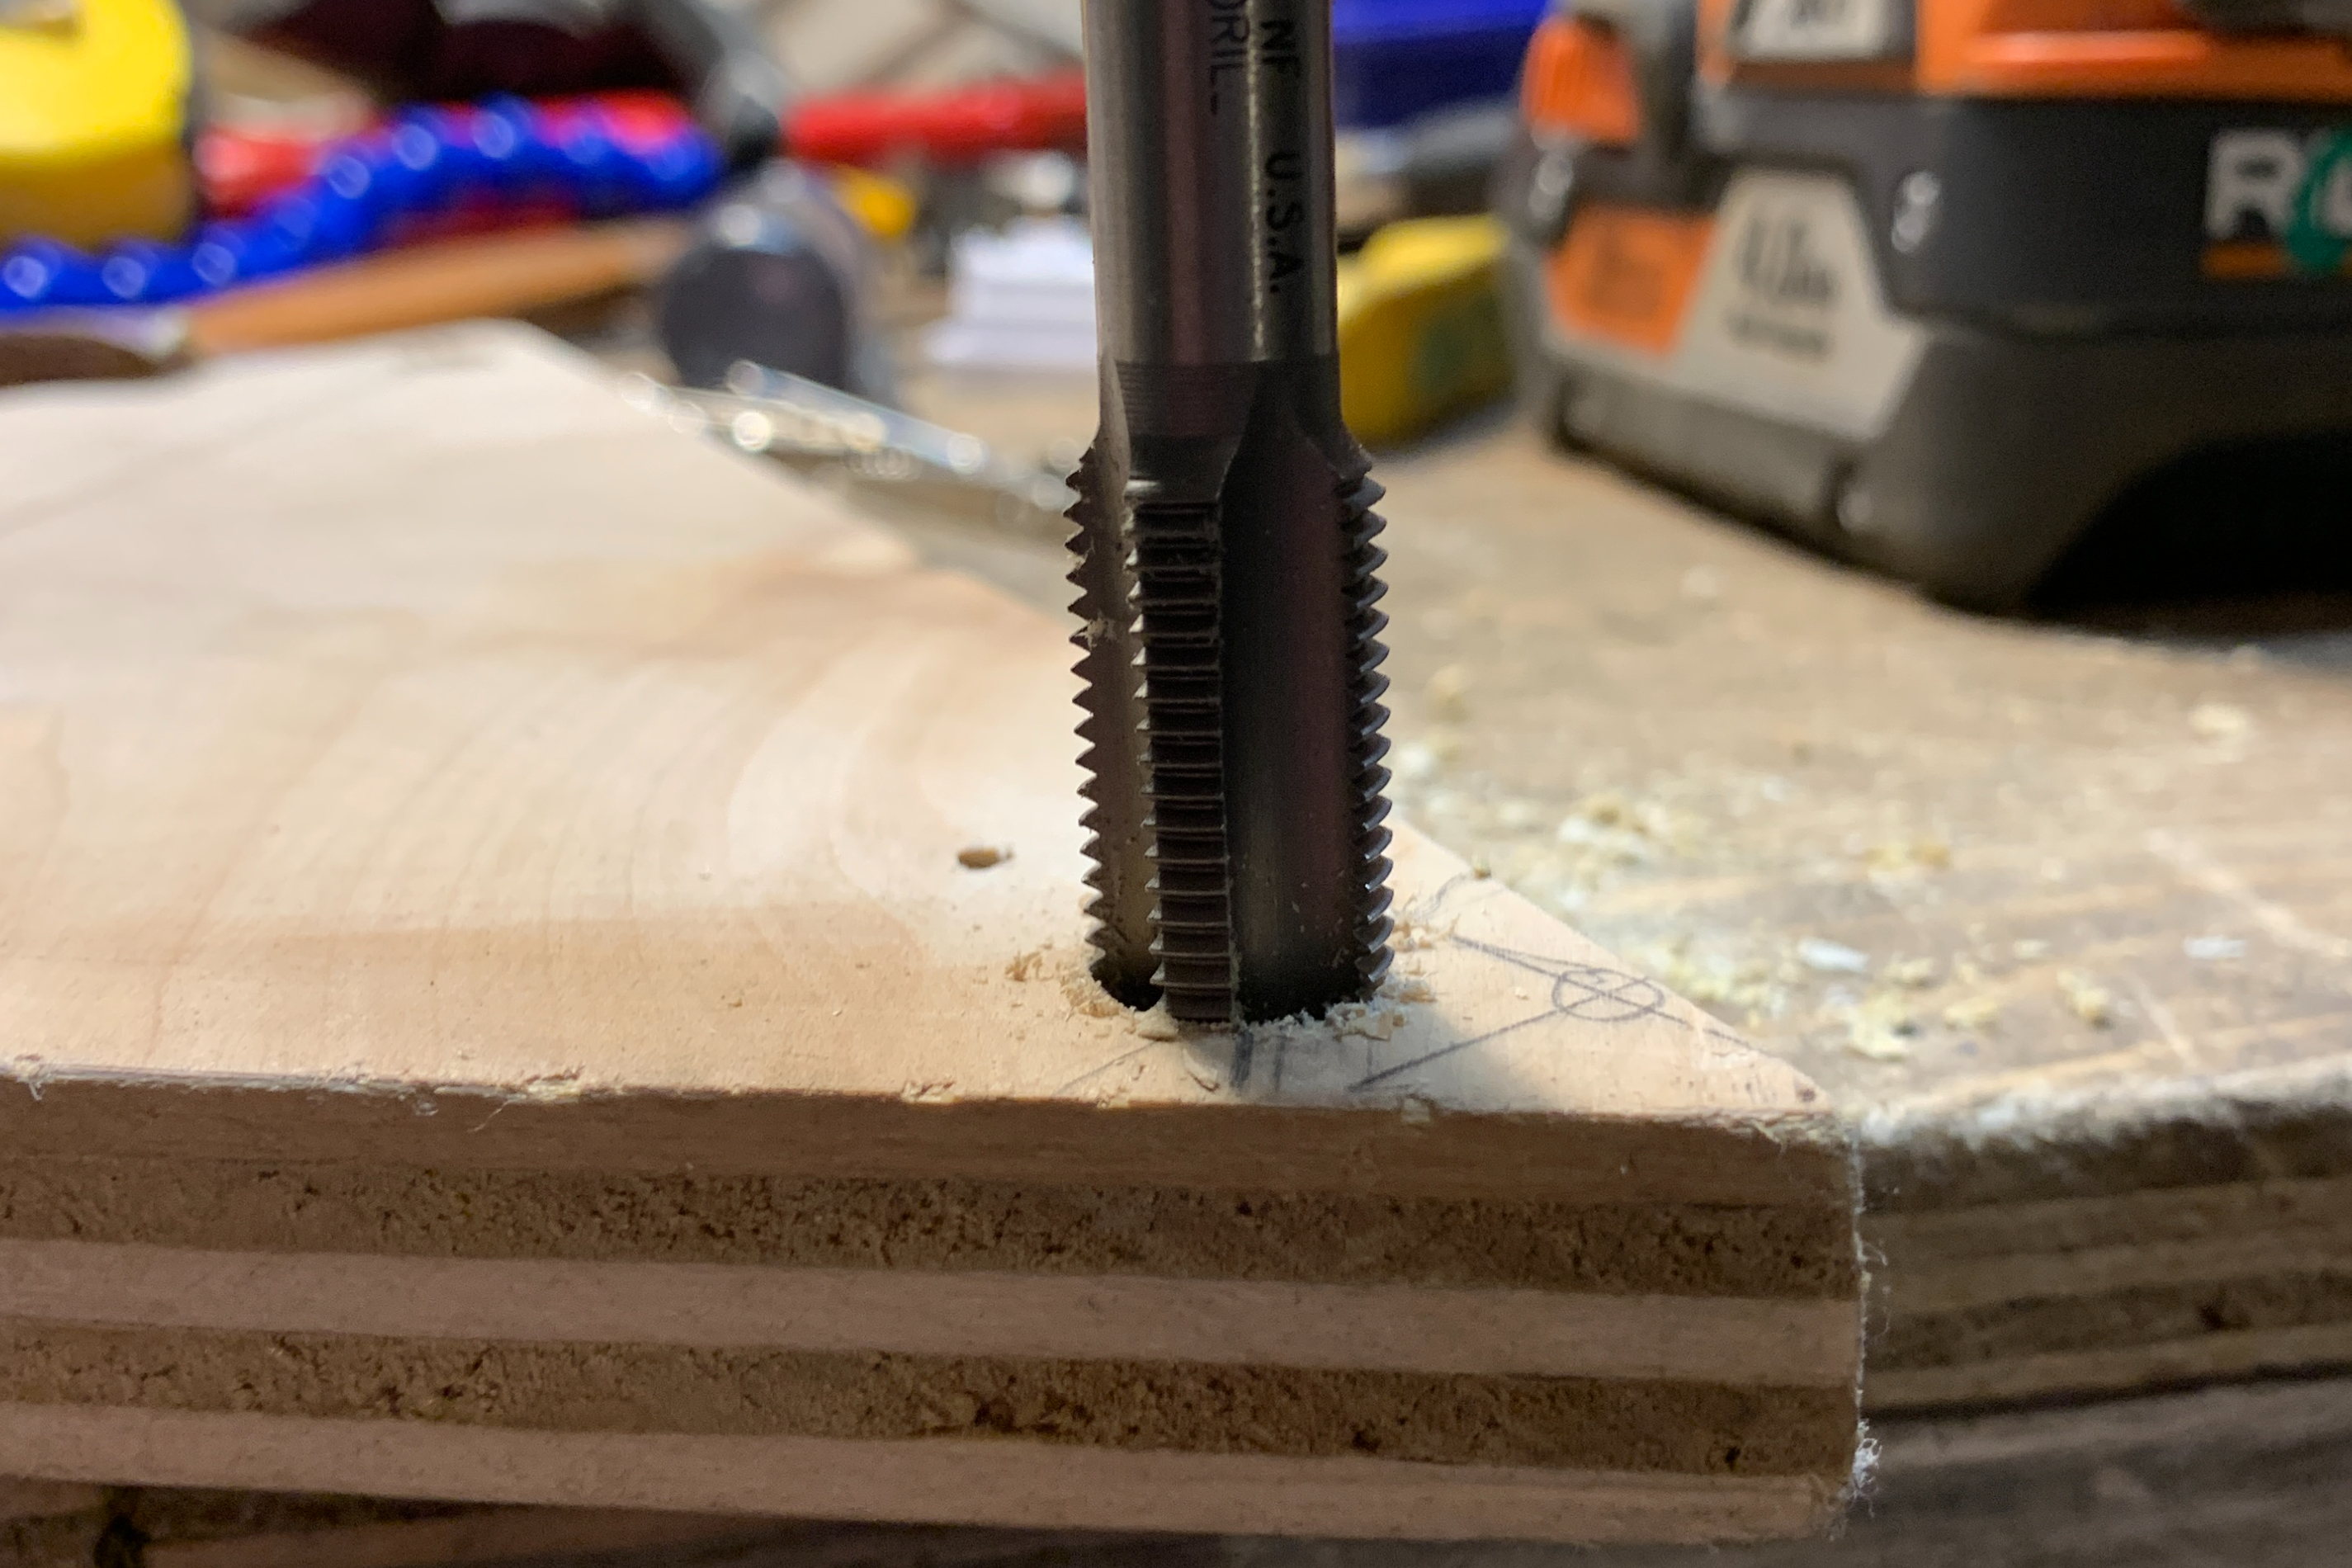
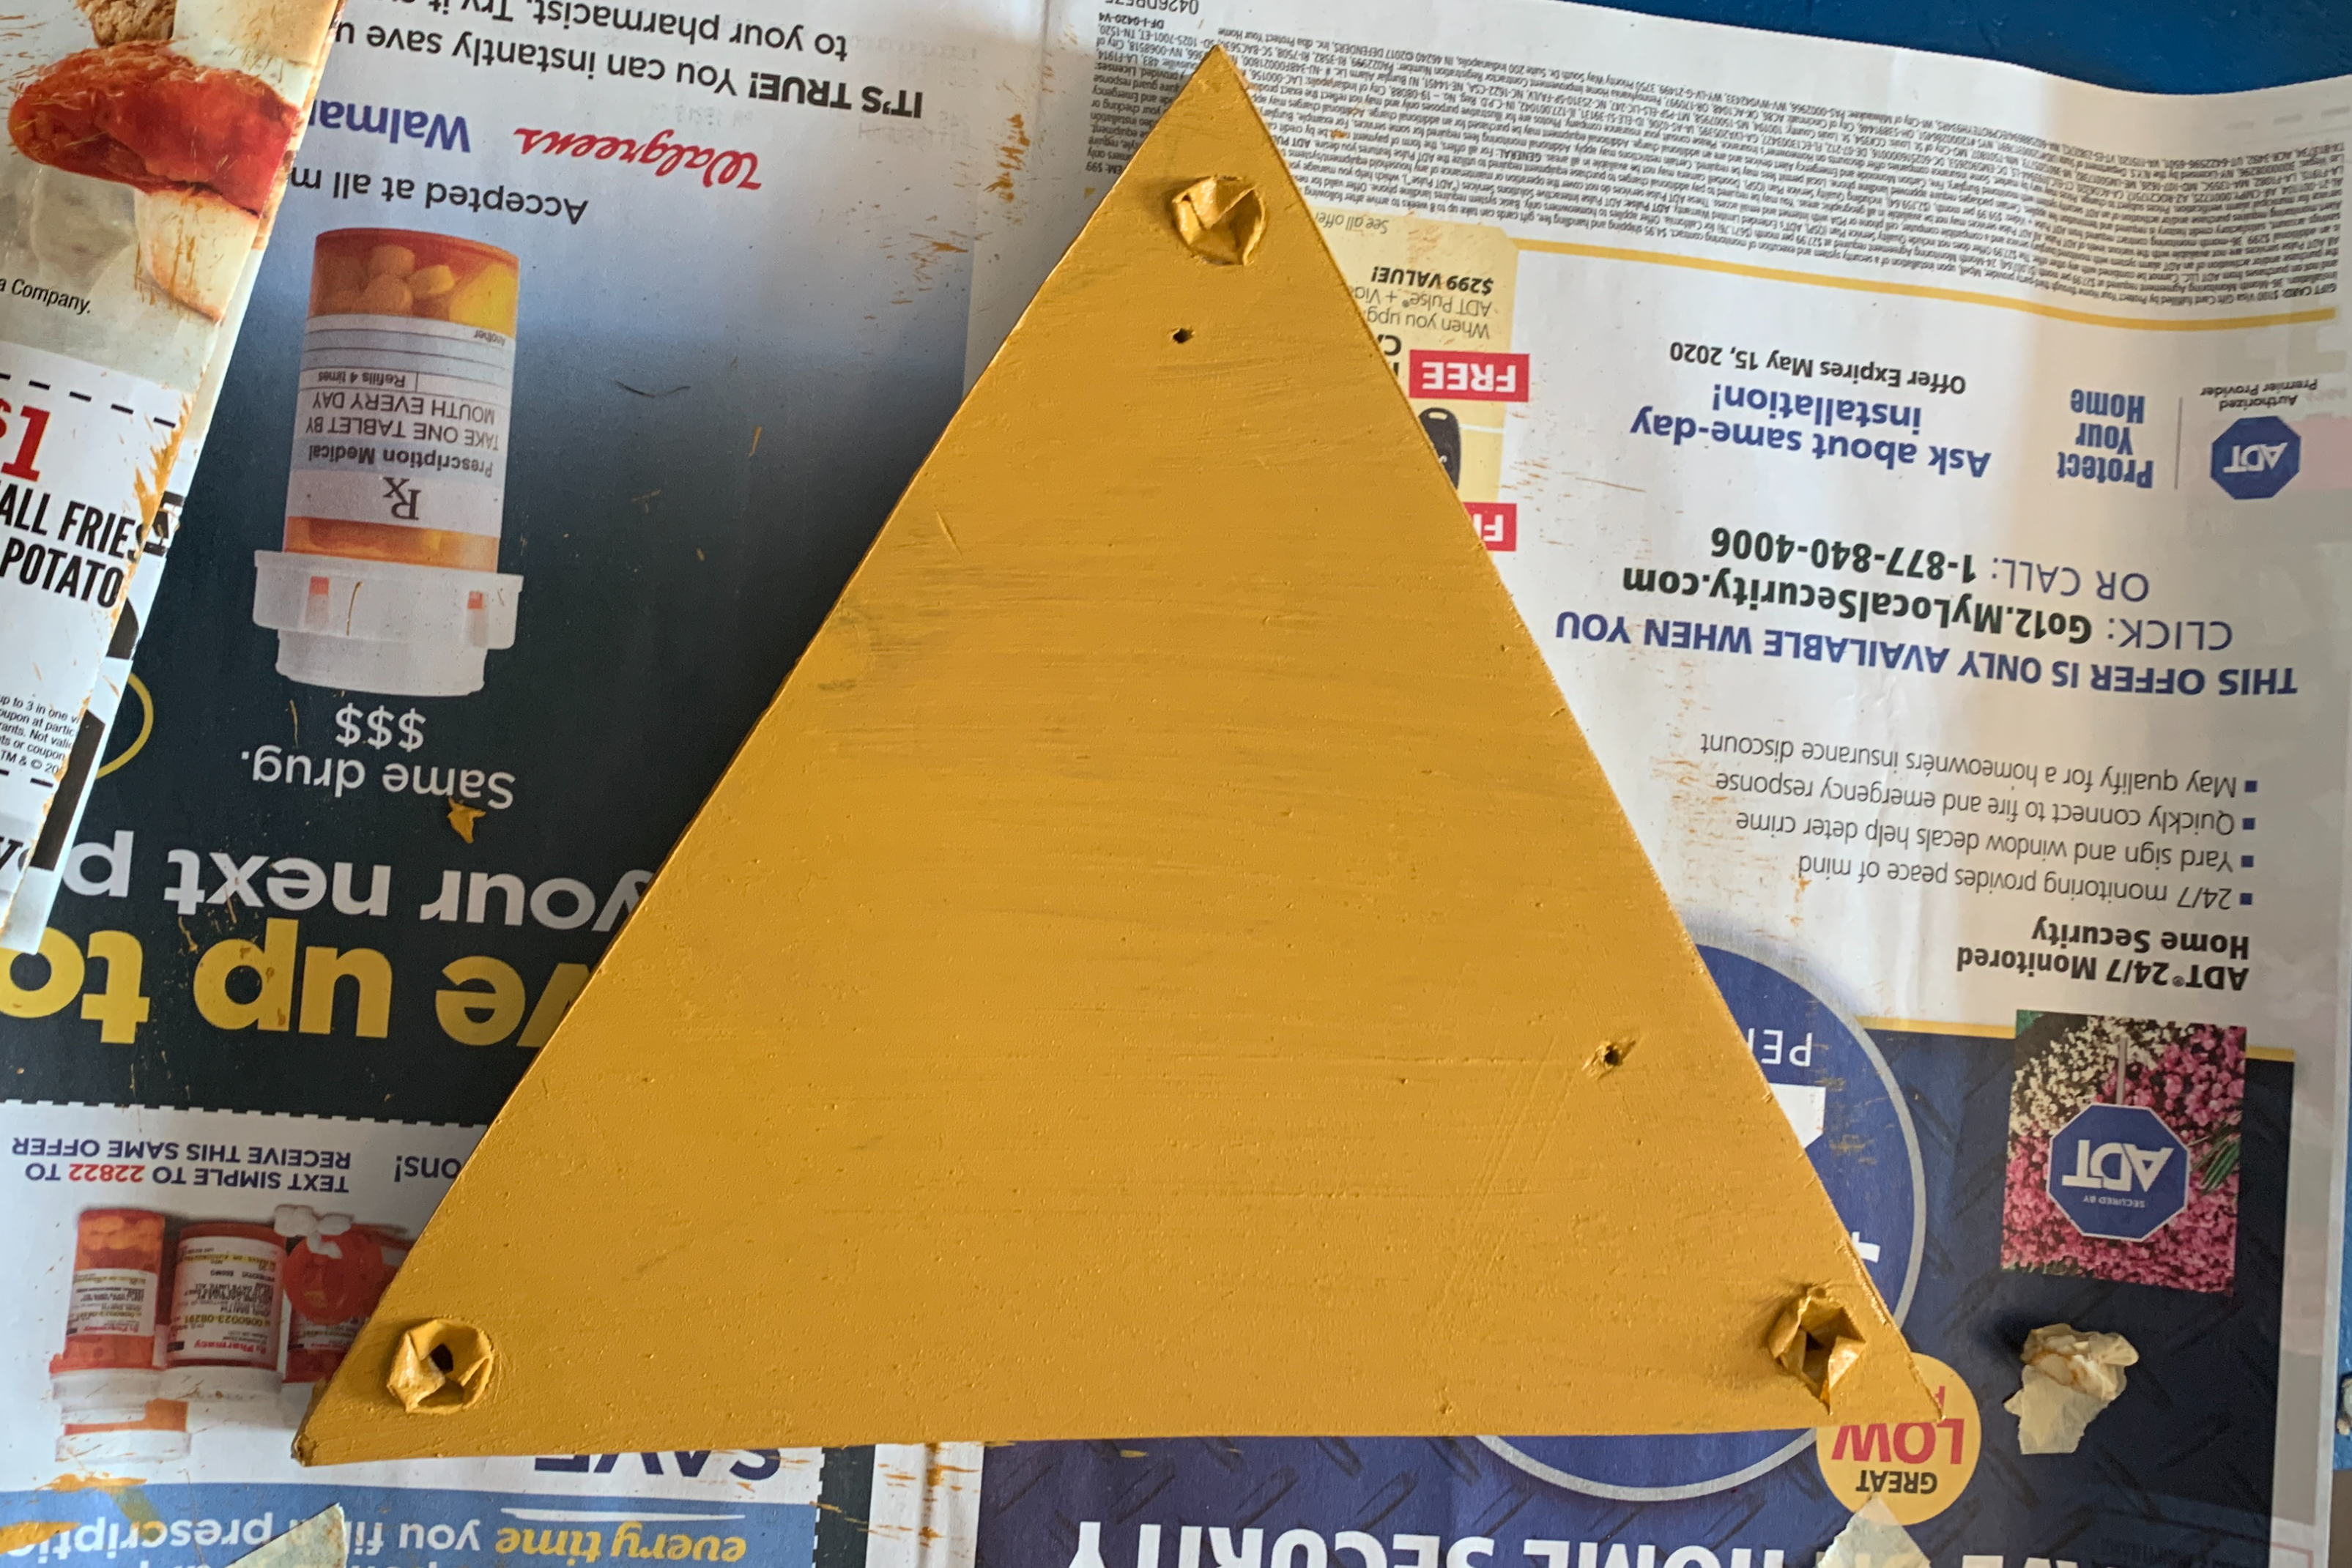
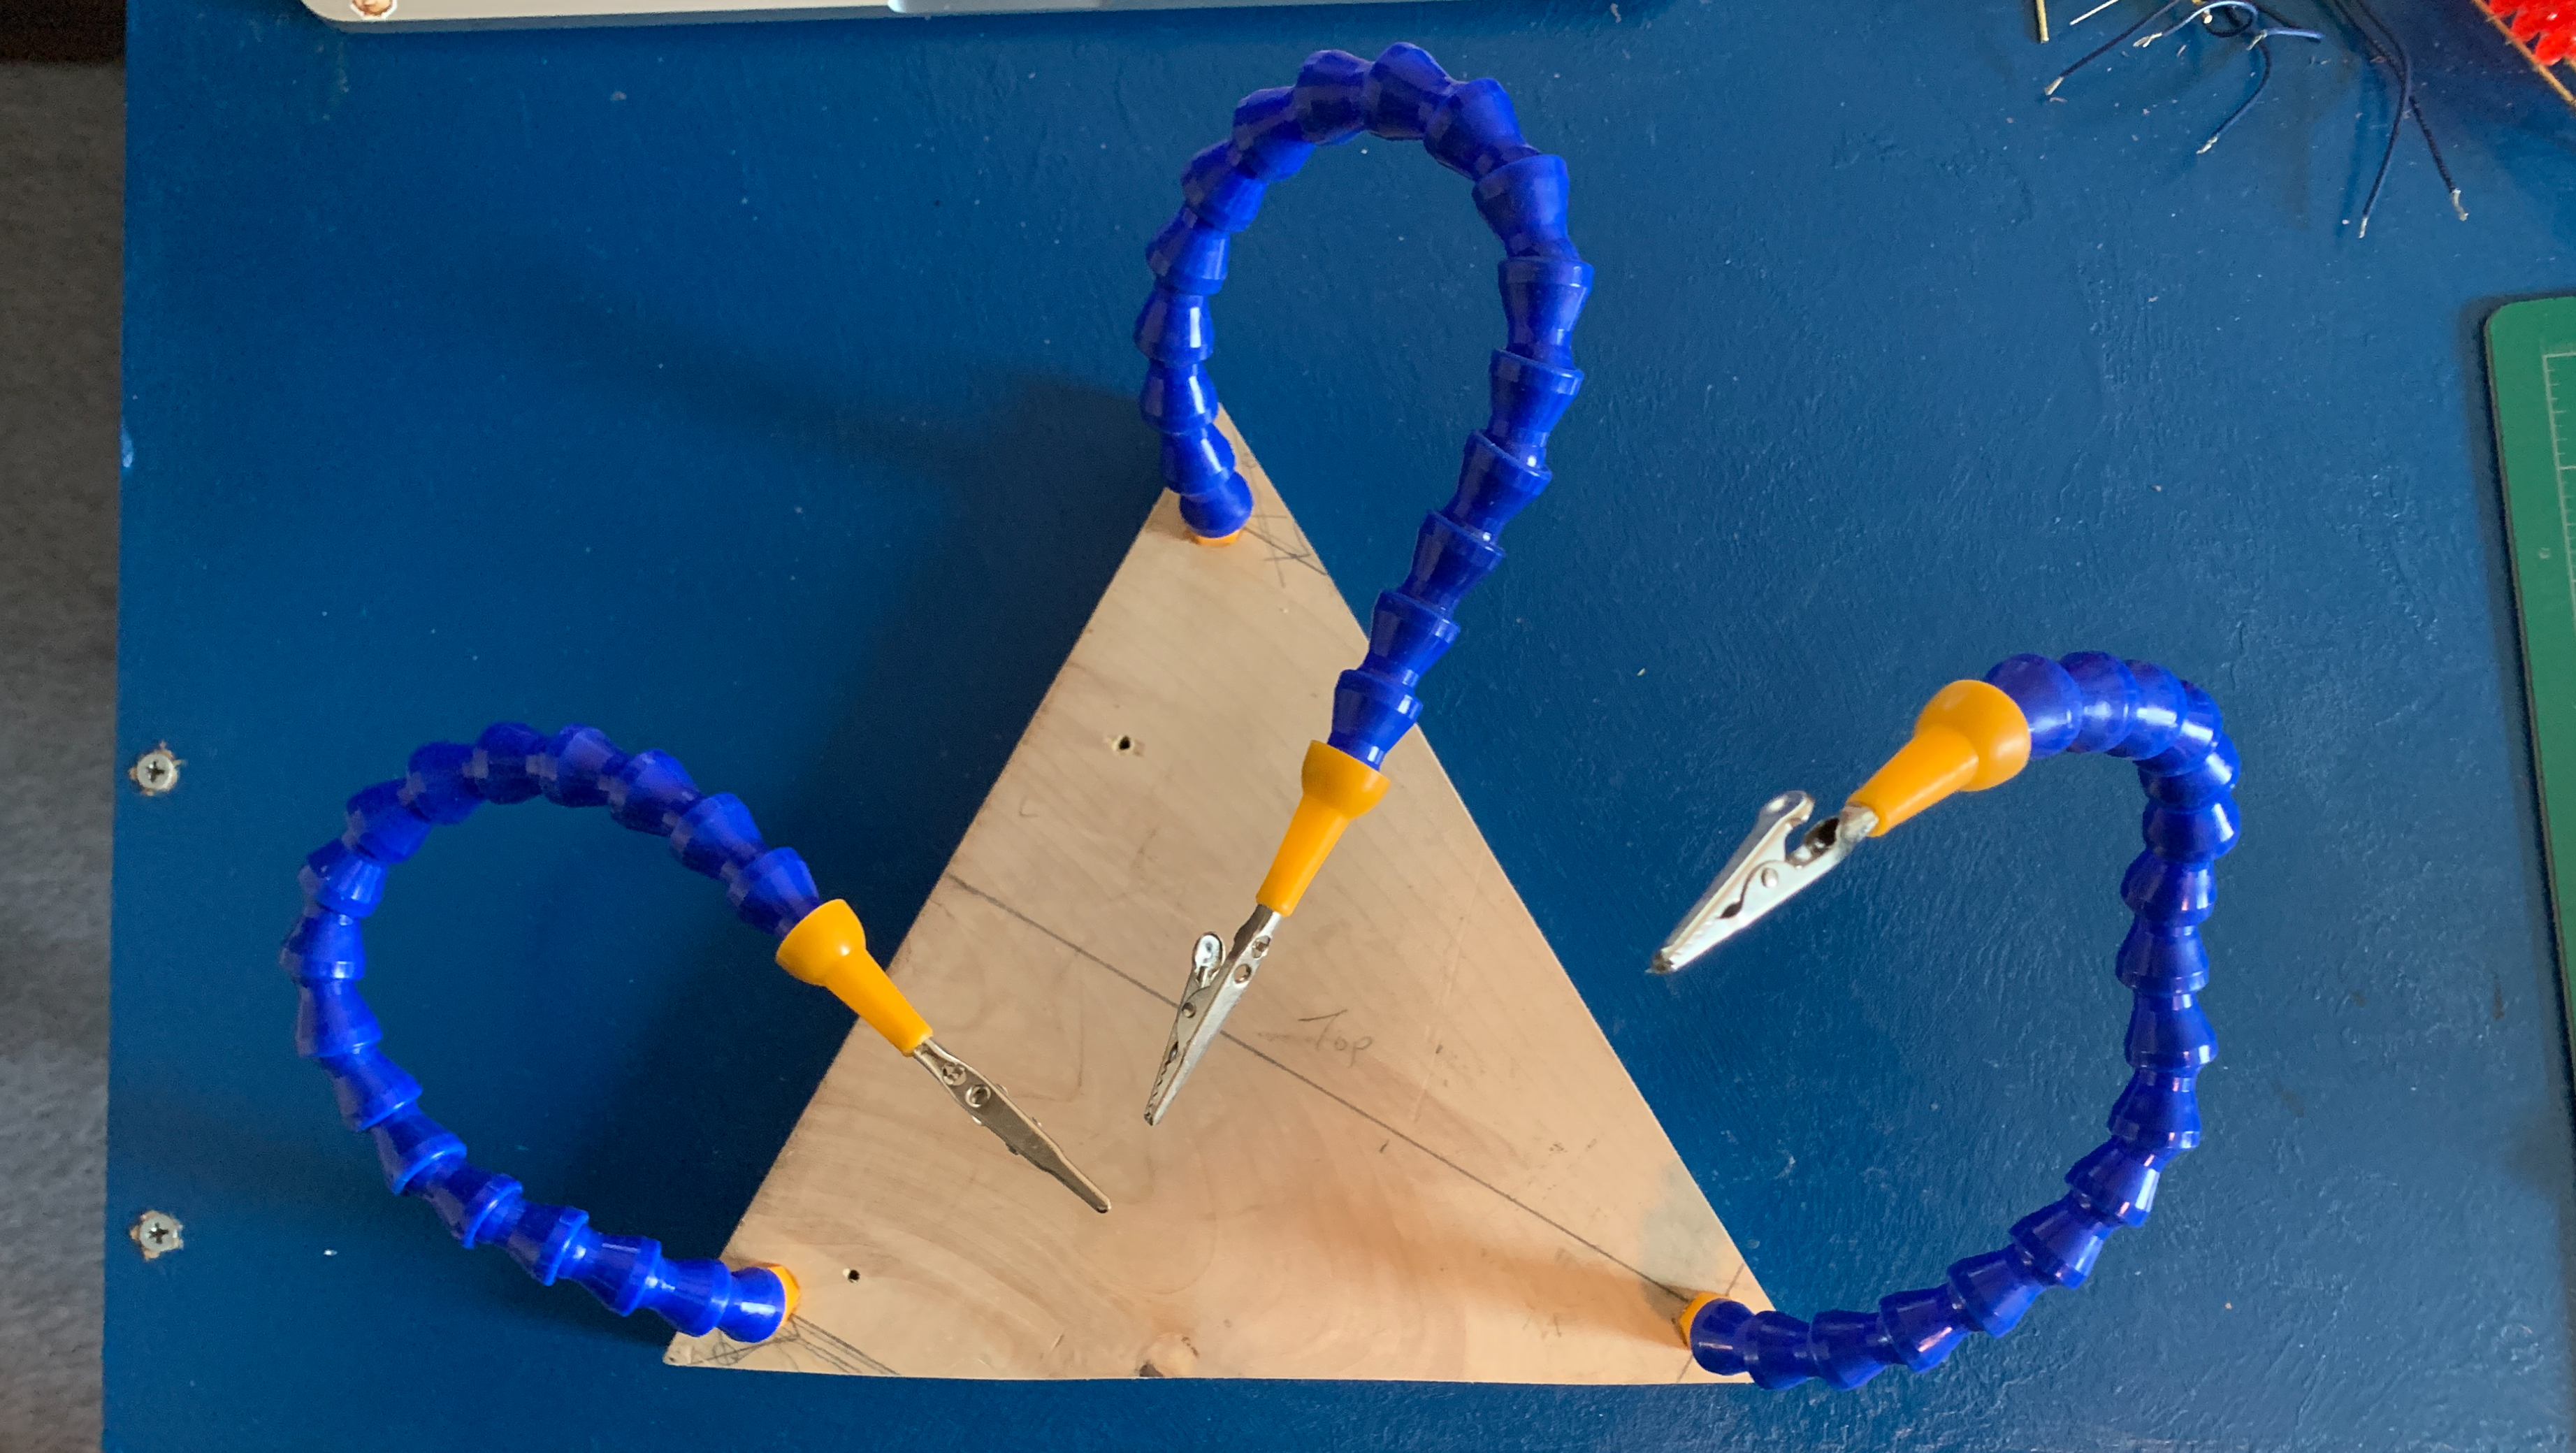
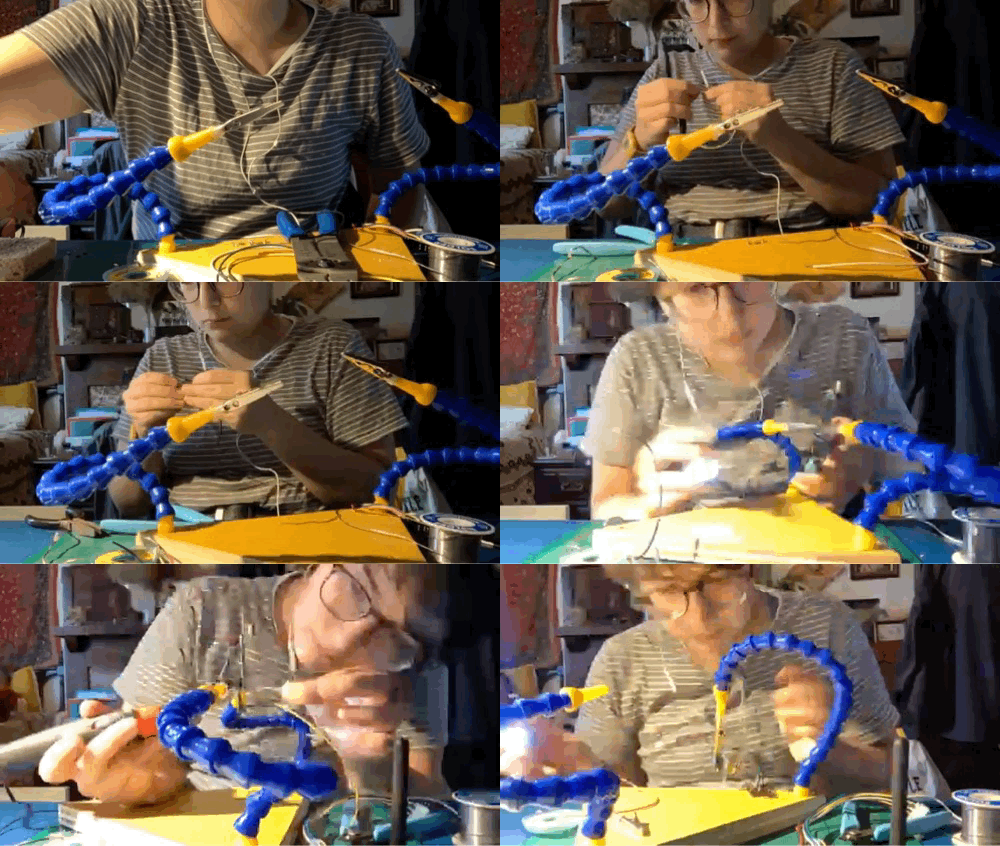
While browsing Sparkfun for things I needed for the LED matrix project, I came across a third hand kit utilizing machining coolant hose parts. I was in need of helping hands, and I liked the versatility of this compared to standard ones, but I didn't want to pay $35 for a kit. Luckily Sparkfun also sells just the arms for $1.95 each, and alligator clips for 50¢, so the obvious move was to make my own. I cut out a triangle of 3/4 inch plywood, tapped some 1/2-20 holes, and had a sweet set of helping hands. See it in action while I modified the transceiver boards for my RC boat!
|
|
|
|